Bonnes pratiques Unity
Nouveau sur cette page
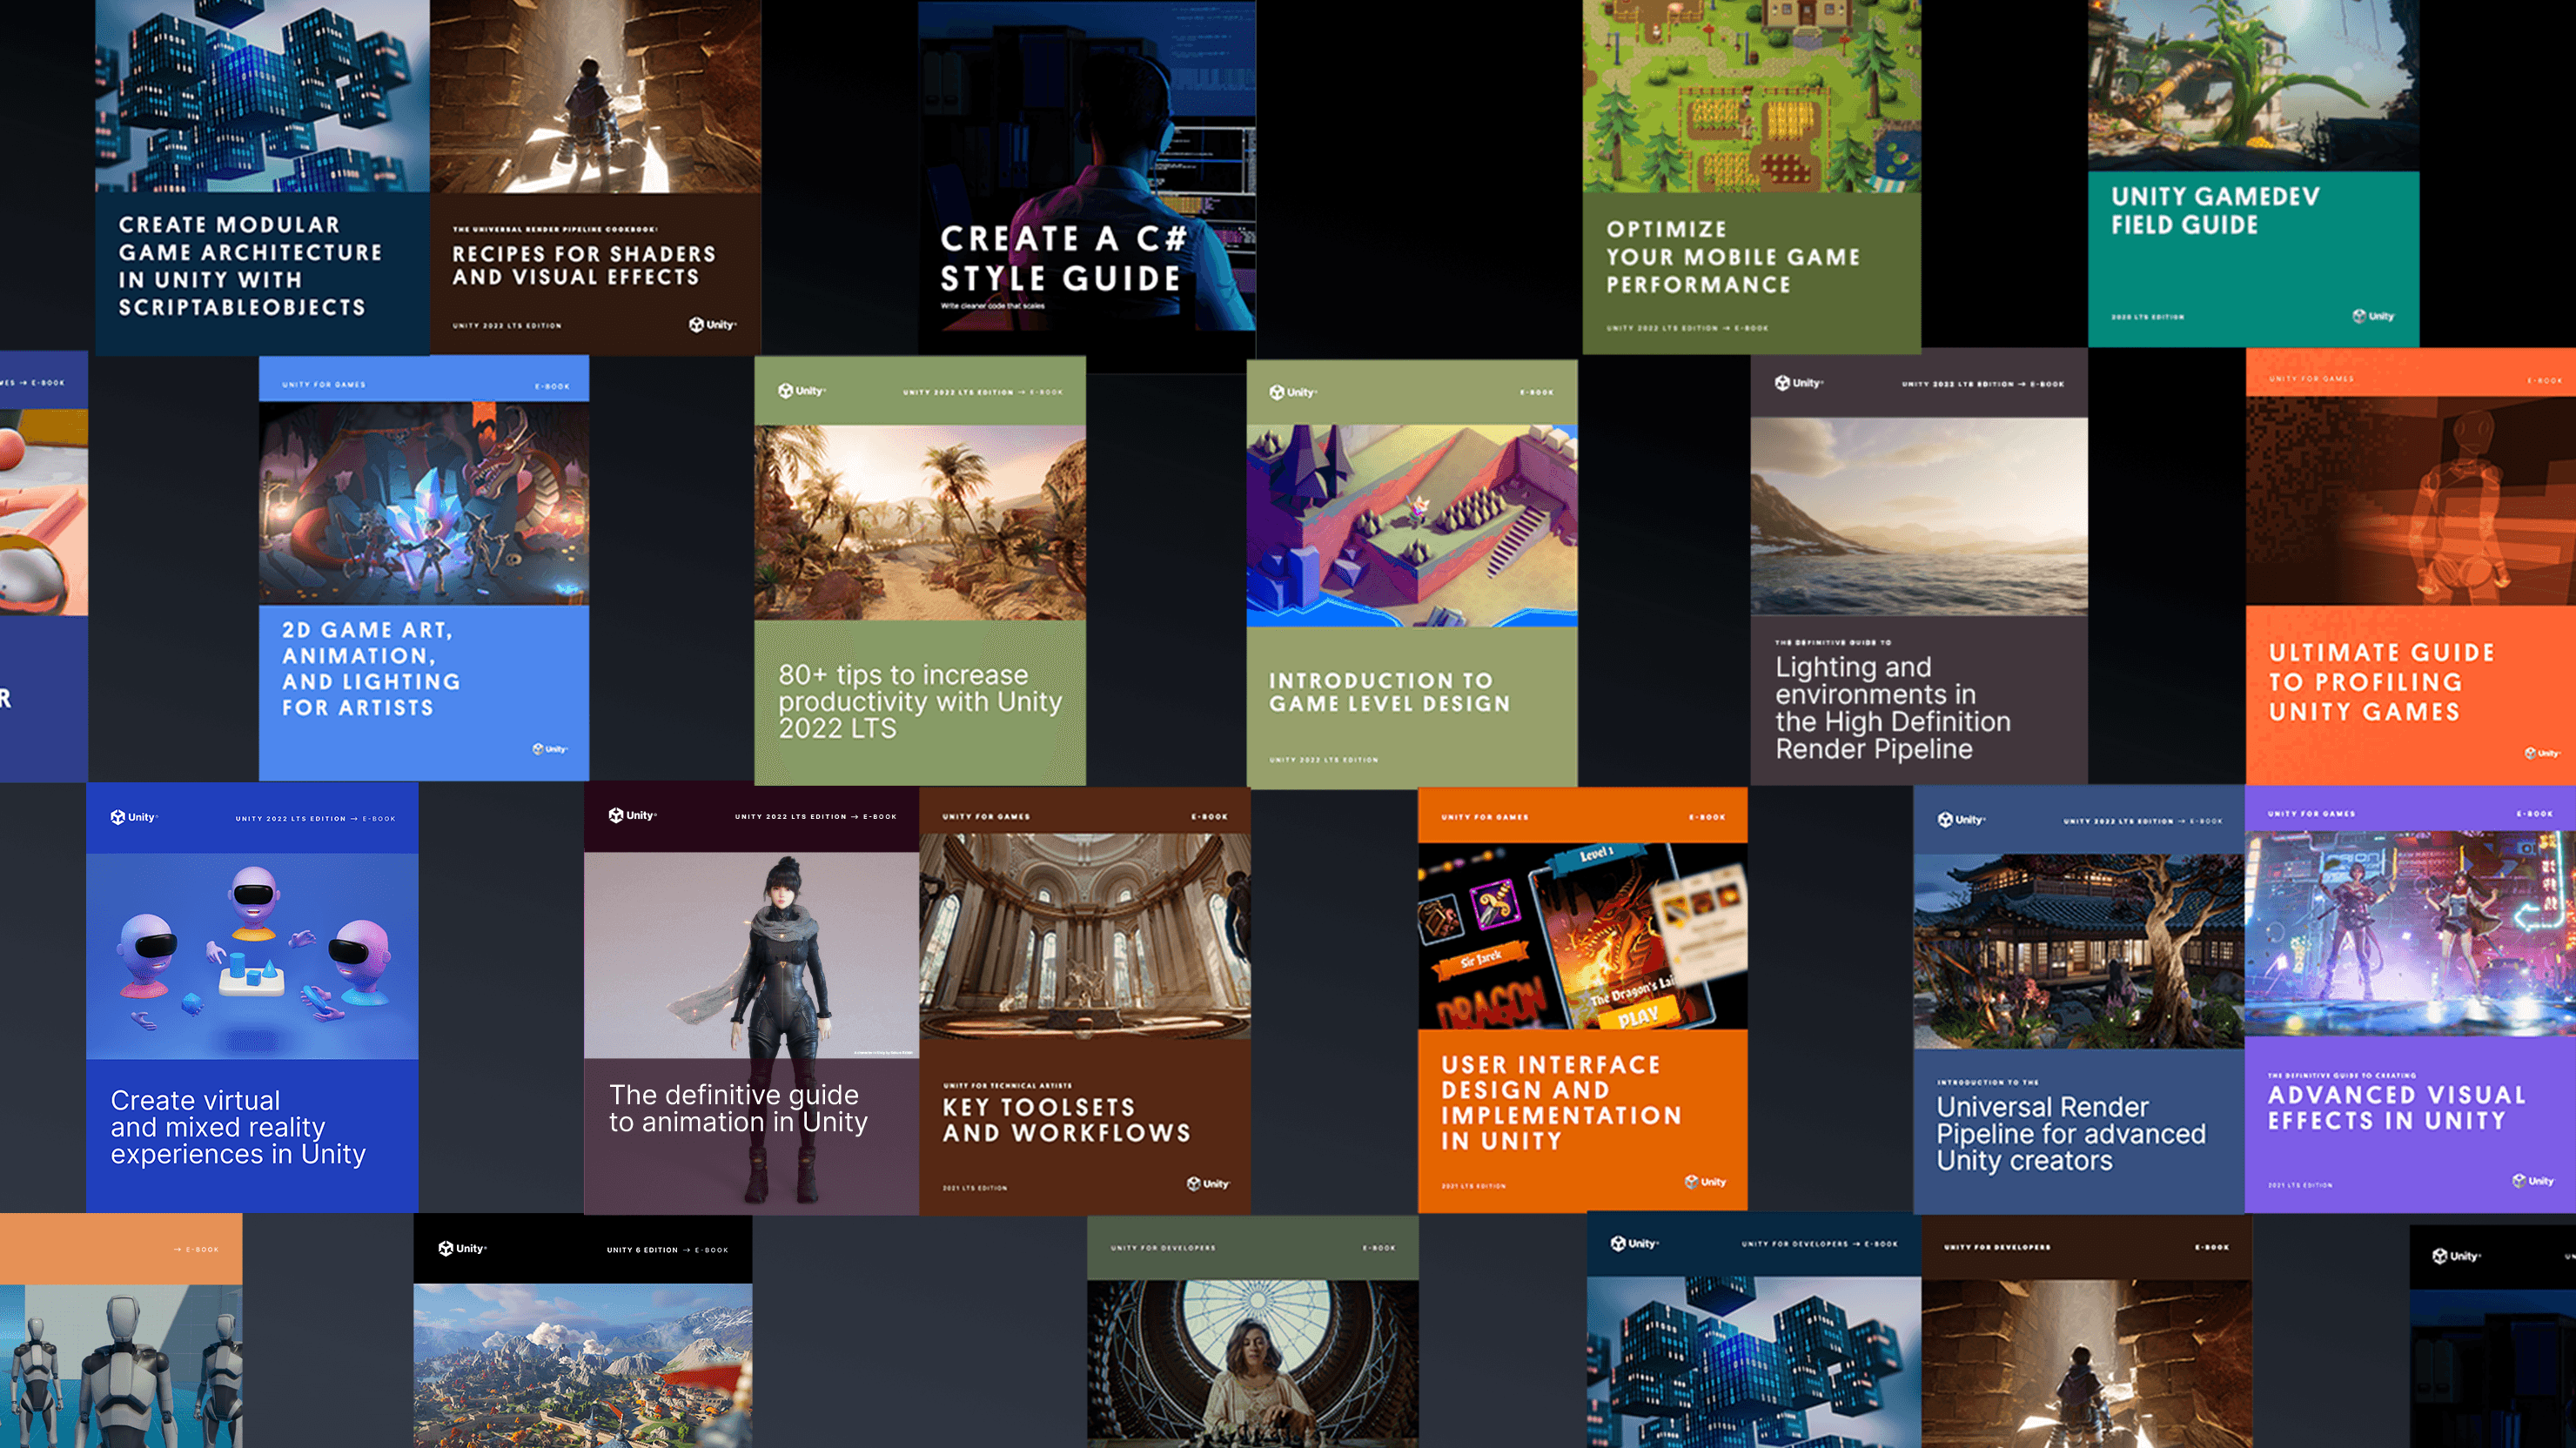
E-books techniques

Projet d'exemple : Chasseur de gemmes Match
2D
Graphiques et rendu
- Commencer à utiliser le pipeline de rendu haute définition
- Anticrénelage, volumes et exposition avec le pipeline de rendu haute définition
- Lumières et ombres avec HDRP
- Réflexions et effets d'éclairage en temps réel
- Post-traitement et ray tracing avec HDRP
- Introduction au VFX Graph dans Unity
- Paramètres de projet et de qualité URP : Apprenez à partir de l'échantillon 3D URP
DevOps
Programmation C# dans Unity
- 10 façons d'accélérer vos flux de travail de programmation dans Unity avec Visual Studio 2019
- Comprendre le langage de sérialisation de Unity, YAML
- Accélérez vos flux de travail de programmeur
- Bonnes pratiques de formatage pour le scripting C# dans Unity
- Conseils sur la nomination et le style de code pour le scripting C# dans Unity
- Créez un code modulaire et maintenable avec le modèle observateur
- Développez une base de code modulaire et flexible avec le modèle de programmation d'état
- Utilisez le pooling d'objets pour améliorer les performances des scripts C# dans Unity
- Construisez une base de code modulaire avec les modèles de programmation MVC et MVP
- Comment utiliser le modèle de fabrique pour la création d'objets à l'exécution
- Utilisez le modèle de commande pour des systèmes de jeu flexibles et extensibles
- Comment utiliser le modèle Model-View-ViewModel
- Comment utiliser le modèle de stratégie
- Comment utiliser le modèle Flyweight
- Comment utiliser le modèle Dirty Flag
- Un guide sur l'utilisation du nouveau package de navigation AI dans Unity 2022 LTS et supérieur
- Commencez avec la démo Unity ScriptableObjects
- Utilisez des événements basés sur ScriptableObject avec le modèle observateur
- Utilisez des énumérations basées sur ScriptableObject dans votre projet Unity
- Séparez les données et la logique du jeu dans Unity avec ScriptableObjects
- Utilisez ScriptableObjects comme objets délégués
- Utilisez ScriptableObjects dans Unity pour stocker des données dynamiques
Interface utilisateur (UI)
- Conseils d'optimisation pour Unity UI
- Comment créer la prochaine génération de HMI automobile avec Unity
- Le projet d'exemple UI Toolkit QuizU
- QuizU: État des motifs pour le flux de jeu
- QuizU: Gestion des écrans de menu dans UI Toolkit
- QuizU: Le modèle de présentation Model View Presenter
- QuizU: Gestion des événements dans UI Toolkit
- QuizU: Conseils de performance pour UI Toolkit
- L'échantillon Unity UI Toolkit - Dragon Crashers mini manuel
Optimisation des performances
- Outils pour le profilage et le débogage
- Profilage de la mémoire dans Unity
- Conseils de profilage de performance pour les développeurs de jeux
- Conseils utiles sur le profilage avancé
- Profilage dans Unity 2021 LTS : Quoi, quand et comment
- Comment optimiser votre jeu avec le Profile Analyzer
- Optimisation des performances pour des graphiques haut de gamme
- Gestion de l'utilisation du GPU pour les jeux PC et console
- Optimisation des performances : Configuration du projet et actifs
- Conseils pour l'optimisation des performances dans Unity : Programmation et architecture de code
- Meilleures pratiques pour l'optimisation des performances physiques
Art et conception de jeux
- Comment résoudre les problèmes d'animations importées dans Unity
- Conseils pour créer des contrôleurs d'animateur dans Unity
- Conseils d'optimisation mobile pour les artistes techniques – Partie I
- Conseils d'optimisation mobile pour les artistes techniques – Partie II
- Systèmes qui créent des écosystèmes : Conception de jeux émergents
- Imprévisiblement amusant : La valeur de la randomisation dans la conception de jeux
Industrie
- Introduction aux méthodes de transfert de gestion des actifs dans Unity
- Créez un configurateur de produit simple dans Unity en une heure ou moins
- Série Créateur | Ingestion de données : Gérer les données CAO, BIM et nuages de points
- Déverrouiller les données CAD et Mesh avec Unity Asset Transformer Studio
- Ingestion de données 3D dans Unity Industry avec Unity Asset Transformer Toolkit
Unity Gaming Services
Développement de jeux
- Les huit facteurs du développement de jeux multijoueurs
- Comment gérer la latence réseau dans les jeux multijoueurs
- Neuf cas d'usage pour les outils Game Backend de Unity
- Qu'est-ce qu'une économie de jeu
- Élaboration d'une économie de jeu
Fidélisation des joueurs
- Améliorer la rétention à chaque étape du cycle de vie du joueur
- Comment appliquer les tests A/B aux jeux
Unity Ads
- Comment monétiser de façon efficace et durable dans les jeux mobiles
Tests, débogage et assurance qualité
- Comment déboguer le code de jeu avec les analyseurs Roslyn
- Comment exécuter des tests automatisés pour vos jeux avec le Unity Test Framework
- Accélérez votre flux de travail de débogage avec Microsoft Visual Studio Code
- Comment déboguer votre code avec Microsoft Visual Studio 2022
- Conseils pour les tests et l'assurance qualité pour les projets Unity
Nouveaux e-books

Éclairage et environnements dans le High Definition Render Pipeline dans Unity 6
Téléchargez ce livre électronique pour en savoir plus sur toutes les capacités incluses dans HDRP dans Unity 6 et 6.1.

UI Toolkit pour les développeurs Unity avancés (édition Unity 6)
Lire ce nouveau guide majeur qui se concentre sur les fonctionnalités de l'UI Toolkit, avec des sections couvrant les capacités de Unity 6 telles que la liaison de données, la localisation, les contrôles personnalisés, et bien plus encore.
Créez une architecture de jeu modulaire dans Unity avec des ScriptableObjects (édition Unity 6)
Lisez ce livre électronique qui assemble des conseils et astuces de développeurs professionnels pour déployer des ScriptableObjects en production.
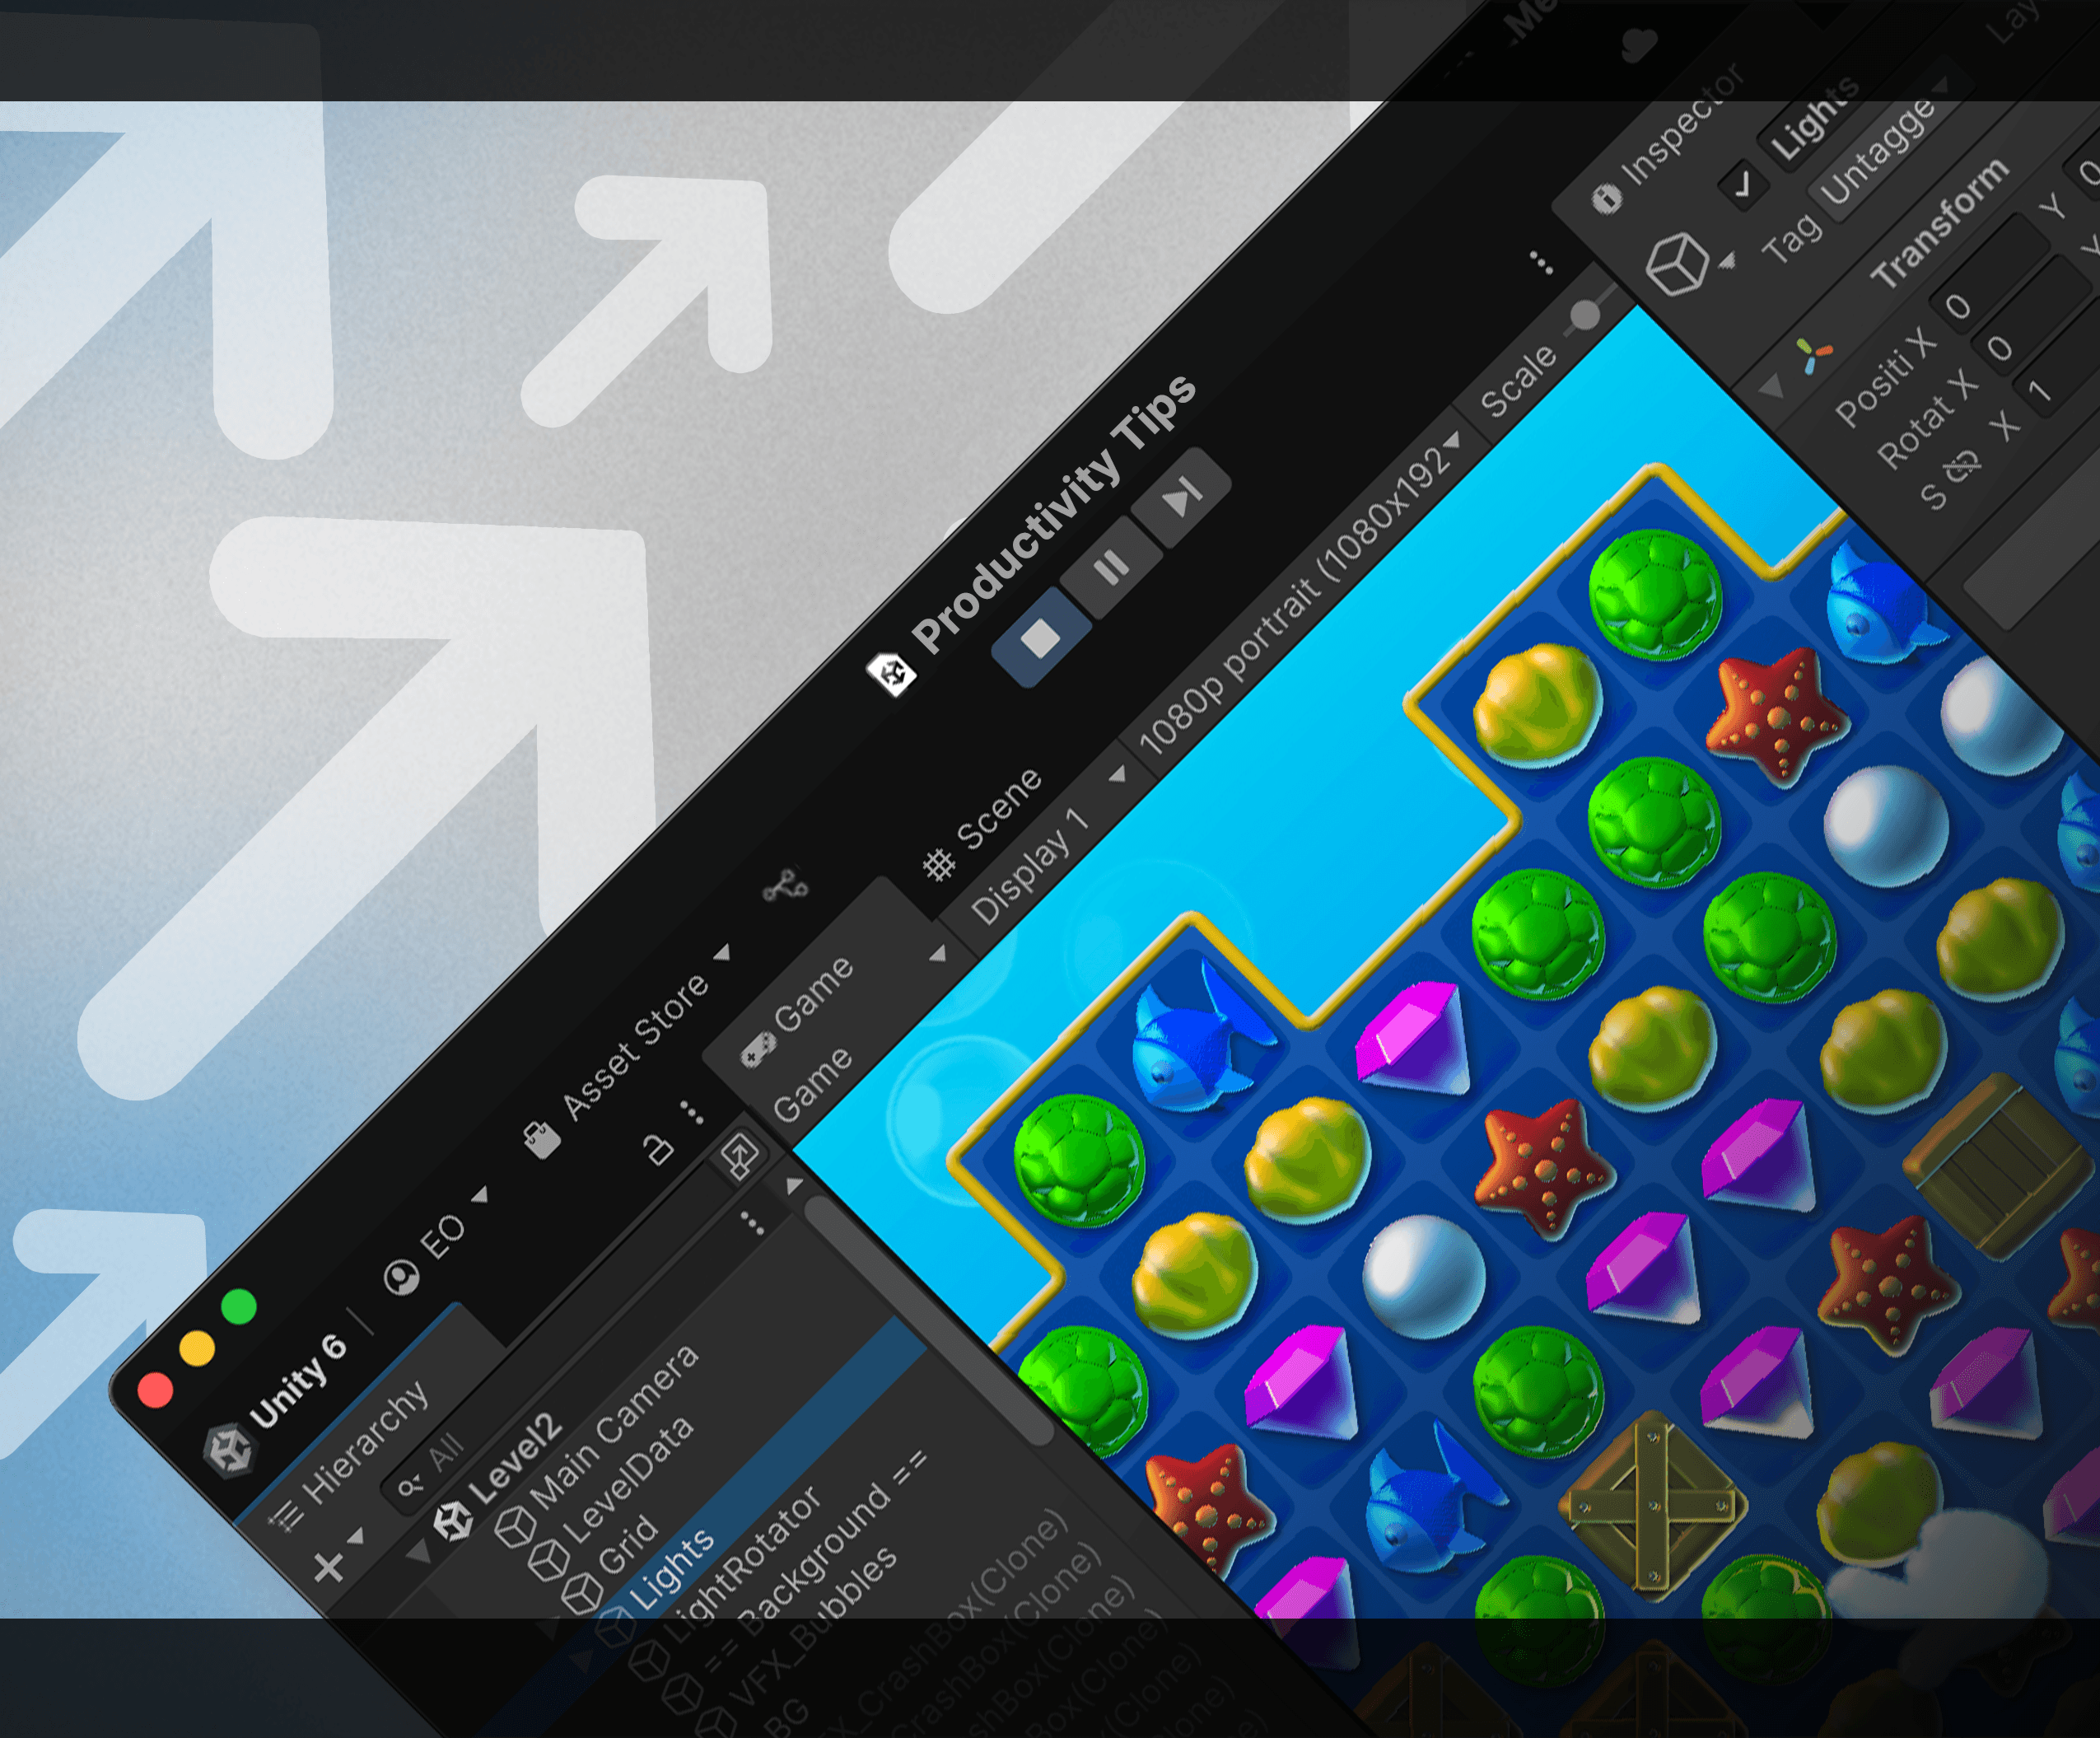
Conseils pour augmenter la productivité avec Unity 6
Ce guide mis à jour de plus de 100 pages offre des conseils pour accélérer vos flux de travail à chaque étape du développement de jeux, et il est utile que vous débutiez ou que vous soyez développeur Unity depuis des années.
Art, animation et éclairage de jeu 2D pour les artistes (édition Unity 6.3 LTS)
Notre e-book 2D populaire est maintenant mis à jour pour inclure des techniques et des flux de travail pour développer un jeu 2D professionnel dans Unity 6.3 LTS. Obtenez les meilleures pratiques pour l'art, le design, l'animation, les lumières et les VFX, ainsi que des conseils sur l'utilisation des actifs 3D dans les jeux 2D.
E-books techniques pour les programmeurs
- Créez une architecture de jeu modulaire dans Unity avec des ScriptableObjects (édition Unity 6)
- Conseils pour augmenter la productivité avec Unity 6
- Guide ultime pour le profilage des jeux Unity (édition Unity 6)
- Introduction aux concepts, fonctionnalités et exemples DOTS pour les développeurs Unity avancés (édition Unity 6)
- Utilisez un guide de style C# pour un code de jeu propre et évolutif (édition Unity 6)
- Le guide ultime du réseau multijoueur pour les développeurs Unity avancés
- Optimisez la performance de votre jeu pour les appareils mobiles, la réalité étendue et le Web dans Unity (Unity 6)
- Optimisez la performance de votre jeu pour les consoles et les PC dans Unity (Unity 6)
- Bonnes pratiques pour l'organisation de projets et la gestion de versions (Unity 6)
- Introduction au DOTS pour les développeurs Unity avancés
- Guide essentiel pour le profilage des jeux Unity
- Créer un guide de style de code C#
- Optimisez les performances de votre jeu pour mobile (Unity 2020 LTS)
- Guide de terrain pour le développement de jeux Unity
- Optimisez les performances de vos jeux sur console et PC
- Augmentez votre productivité avec Unity 2020 LTS
- Meilleures pratiques pour la gestion de versions et l'organisation de projets pour les développeurs de jeux
- Améliorez votre programmation avec des motifs de programmation de jeux
- Améliorez votre codage grâce à des motifs de conception et SOLID
- Créez une architecture de jeu modulaire dans Unity avec des ScriptableObjects
- Optimisez les performances de vos jeux mobiles (Unity 2022 LTS)
- Optimisez les performances de vos jeux sur console et PC (Unity 2022 LTS)
- 80+ conseils pour augmenter la productivité dans Unity 2022 LTS
E-books techniques pour les artistes et les designers
- Art, animation et éclairage de jeu 2D pour les artistes (édition Unity 6.3 LTS)
- Éclairage et environnements dans le High Definition Render Pipeline dans Unity 6
- UI Toolkit pour les développeurs Unity avancés (édition Unity 6)
- Créez des shaders populaires et des effets visuels avec le pipeline de rendu universel (édition Unity 6)
- Le guide définitif pour créer des effets visuels avancés dans Unity (édition Unity 6)
- Introduction au pipeline de rendu universel pour les créateurs avancés dans Unity (Unity 6)
- Le guide définitif de l'animation dans Unity
- Créez des expériences de réalité virtuelle et mixte dans Unity
- Éclairage et environnements dans le pipeline de rendu haute définition (Unity 2022 LTS)
- Introduction au pipeline de rendu universel (URP) pour les créateurs avancés dans Unity 2022 LTS
- Introduction à la conception de niveaux de jeu dans Unity
- Recettes pour des effets visuels populaires utilisant le pipeline de rendu universel
- Conception et mise en œuvre de l'interface utilisateur dans Unity
- Le guide définitif pour créer des effets visuels avancés dans Unity
- Le guide définitif de l'éclairage dans le pipeline de rendu haute définition (HDRP) Unity 2021 LTS
- Le guide définitif de l'éclairage dans le pipeline de rendu haute définition (HDRP) Unity 2020 LTS
- Graphisme de jeu en 2D, animation et éclairage pour les artistes
- Introduction au pipeline de rendu universel (URP) pour les créateurs avancés dans Unity
- Le manuel du concepteur de jeu Unity
- Unity pour les artistes techniques : Ensembles d'outils et flux de travail clés (édition Unity 2020 LTS)
- Unity pour les artistes techniques : Ensembles d'outils et flux de travail clés (édition Unity 2021 LTS)
Nouveaux exemples de projets
Dragon Crashers - Projet d'exemple de kit d'outils IU
Ce projet officiel de kit d'outils IU fournit des interfaces de jeu qui mettent en valeur les flux de travail de l'UI Toolkit et de l'UI Builder pour les jeux en temps réel. Explorez ce projet avec son e-book compagnon pour plus de conseils intéressants.

QuizU - Un exemple de kit d'outils IU
QuizU est un exemple officiel d'Unity démontrant divers modèles de conception et l'architecture de projet, y compris MVP, le modèle d'état, la gestion des écrans de menu et bien plus encore en utilisant l'UI Toolkit.
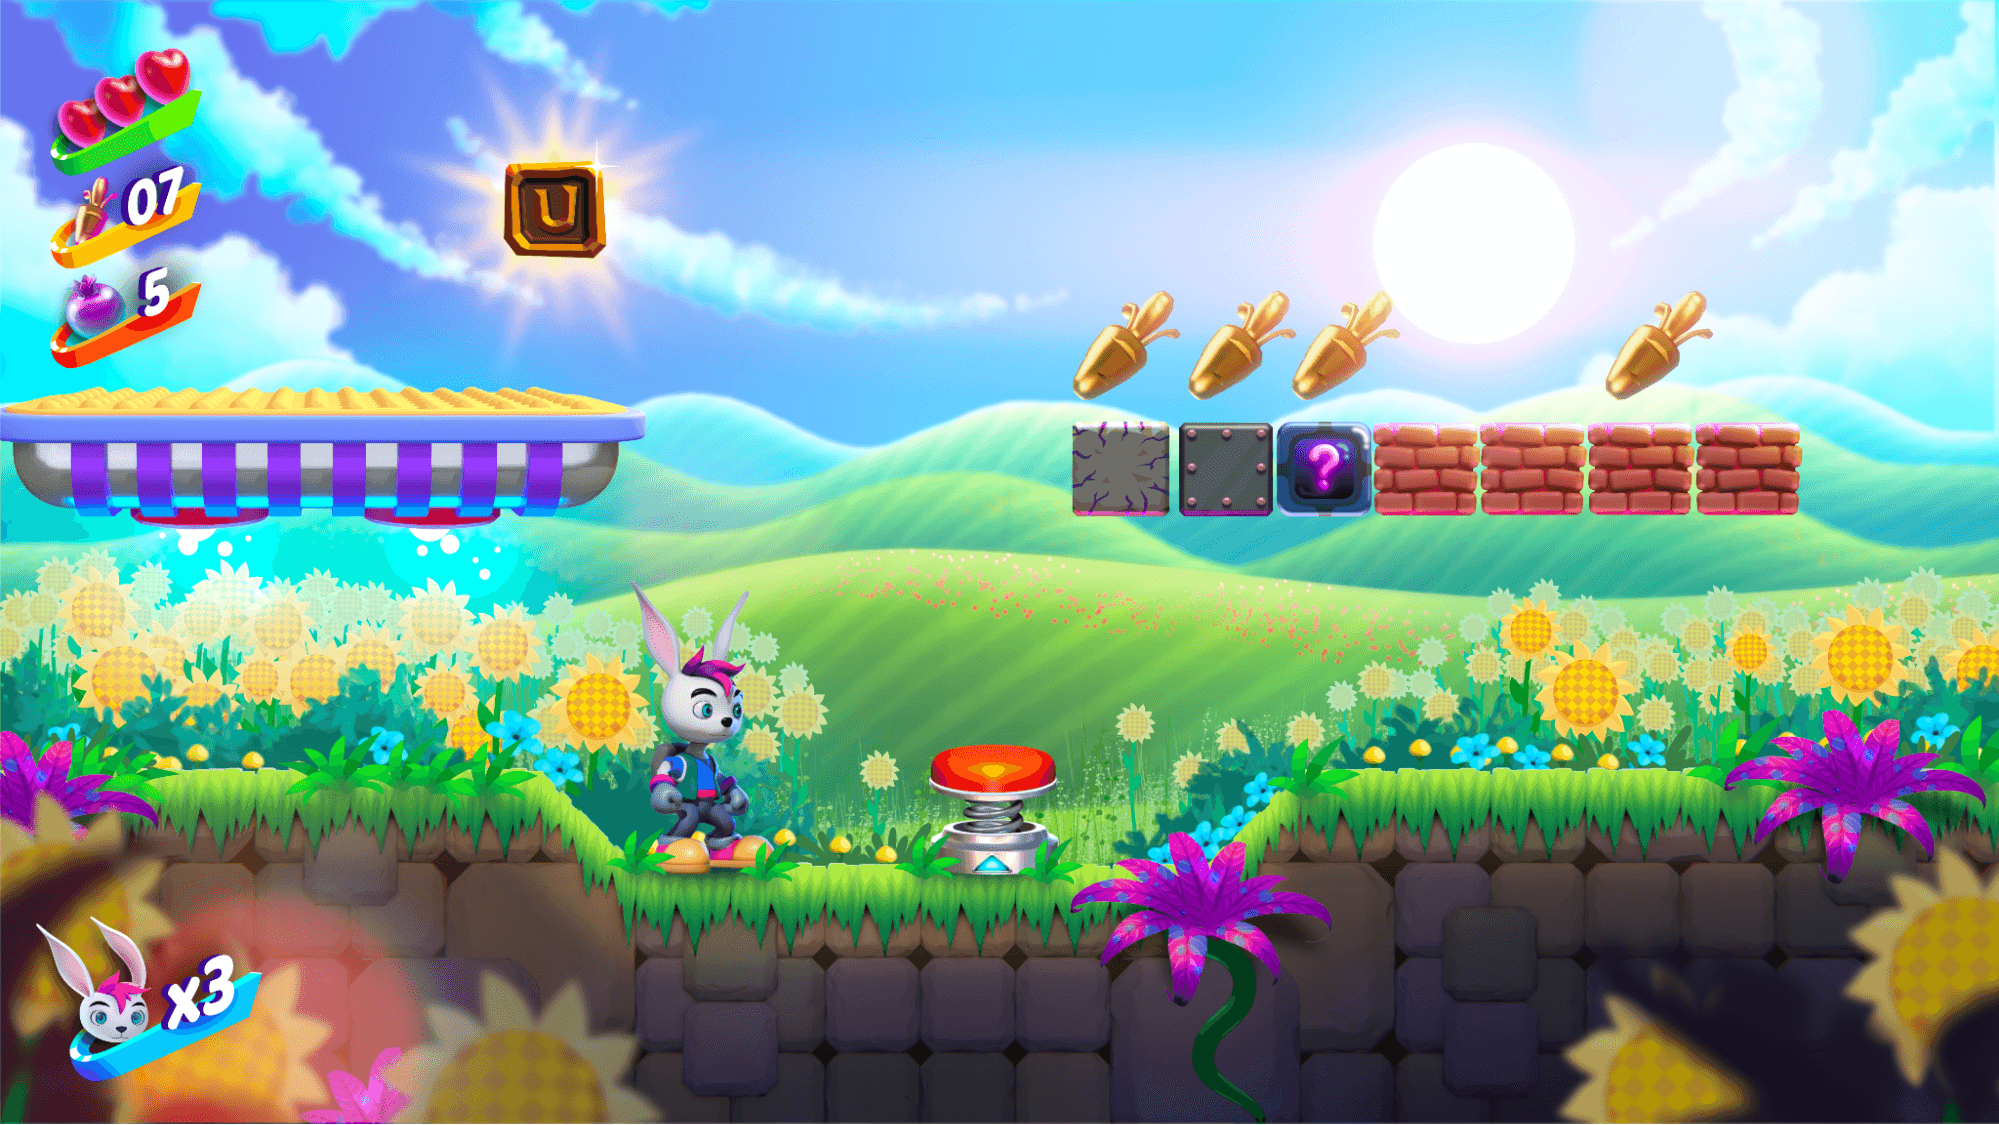
Gem Hunter Match - Exemple de projet 2D
Gem Hunter Match est un projet d'exemple officiel d'Unity multiplateforme qui met en valeur les capacités de l'éclairage 2D et des effets visuels dans le pipeline de rendu universel (URP) dans Unity 2022 LTS.
Exemples de projets pour les artistes et les programmeurs
- Dragon Crashers - Exemple de projet 2D URP
- Dragon Crashers - Exemple de projet de kit d'outils IU
- QuizU - Un exemple de kit d'outils IU
- Exemple de projet de ScriptableObjects pour le jeu de paddle
- Améliorez votre codage grâce à des motifs de conception et SOLID