
This is the first in a series of articles that unpacks optimization tips for your Unity projects. Use them as a guide for running at higher frame rates with fewer resources. Once you’ve tried these best practices, be sure to check out the other pages in the series:
See our latest optimization guides for Unity 6 developers and artists:
A well-optimized asset pipeline can speed up load times, reduce memory usage, and improve runtime performance. By working with an experienced technical artist, your team can define and enforce asset formats, specifications, and import settings to ensure an efficient and streamlined workflow.
Don’t rely solely on default settings. Take advantage of the platform-specific override tab to optimize assets like textures, mesh geometry, and audio files. Incorrect settings can result in larger build sizes, longer build times, and poor memory usage.
Consider using Presets to establish baseline settings tailored to your specific project needs. This proactive approach helps ensure that assets are optimized from the start, leading to better performance and a more consistent experience across all platforms.
For more guidance, refer to the best practices for art assets or explore the 3D Art Optimization for Mobile Applications course on Unity Learn. These resources provide valuable insights that can help you make informed decisions about asset optimization for Unity web builds, mobile, and XR applications.
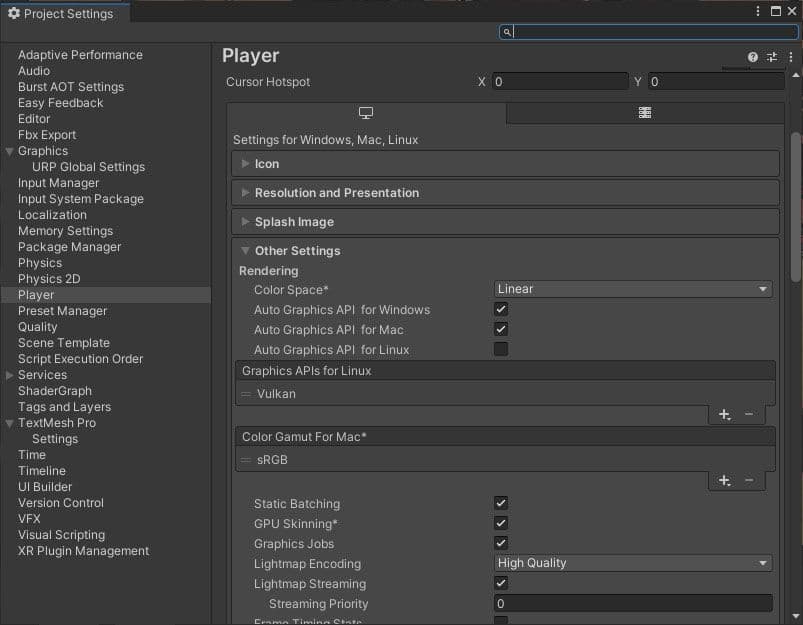
In the Player settings, disable Auto Graphics API for unsupported platforms to prevent generating excessive shader variants. Disable Target Architectures for older CPUs if your application is not supporting them.
In the Quality settings, disable needless Quality levels.
Learn more about the Graphics API.
Switching the scripting backend from Mono to IL2CPP (Intermediate Language to C++) can provide overall better runtime performance. However, it can also increase build times. Some developers prefer to use Mono locally for faster iteration, then switch to IL2CPP for build machines and/or release candidates. Refer to the Optimizing IL2CPP build times documentation for more on reducing your build times.
Note: By using this option, Unity converts ILcode from scripts and assemblies to C++ before creating a native binary file (.exe, .apk, .xap) for your target platform.
See the Introduction to IL2CPP internals or consult the Compiler options manual page to learn how the various compiler options affect runtime performance.
Mobile projects must balance frame rates against battery life and thermal throttling. Instead of pushing the limits of your device at 60 fps, consider running at 30 fps as a compromise. Unity defaults to 30 fps for mobile.
When targeting XR platforms, the frame rate considerations are even more critical. A frame rate of 72 fps, 90 fps, or even 120 fps, is often necessary to maintain immersion and prevent motion sickness. These higher frame rates help ensure a smooth and responsive experience, which is crucial for comfort in VR environments. However, these come with their own challenges in terms of power consumption and thermal management, particularly in standalone VR headsets.
Choosing the right frame rate is about understanding the specific demands and constraints of your target platform, whether it's a mobile device, a standalone VR headset, or an AR device. By carefully selecting an appropriate frame rate, you can optimize both performance and user experience across different platforms.
You can also adjust the frame rate dynamically during runtime with Application.targetFrameRate. For example, you could drop below 30 fps for slow or relatively static scenes and reserve higher fps settings for gameplay.
More information is available in the documentation.
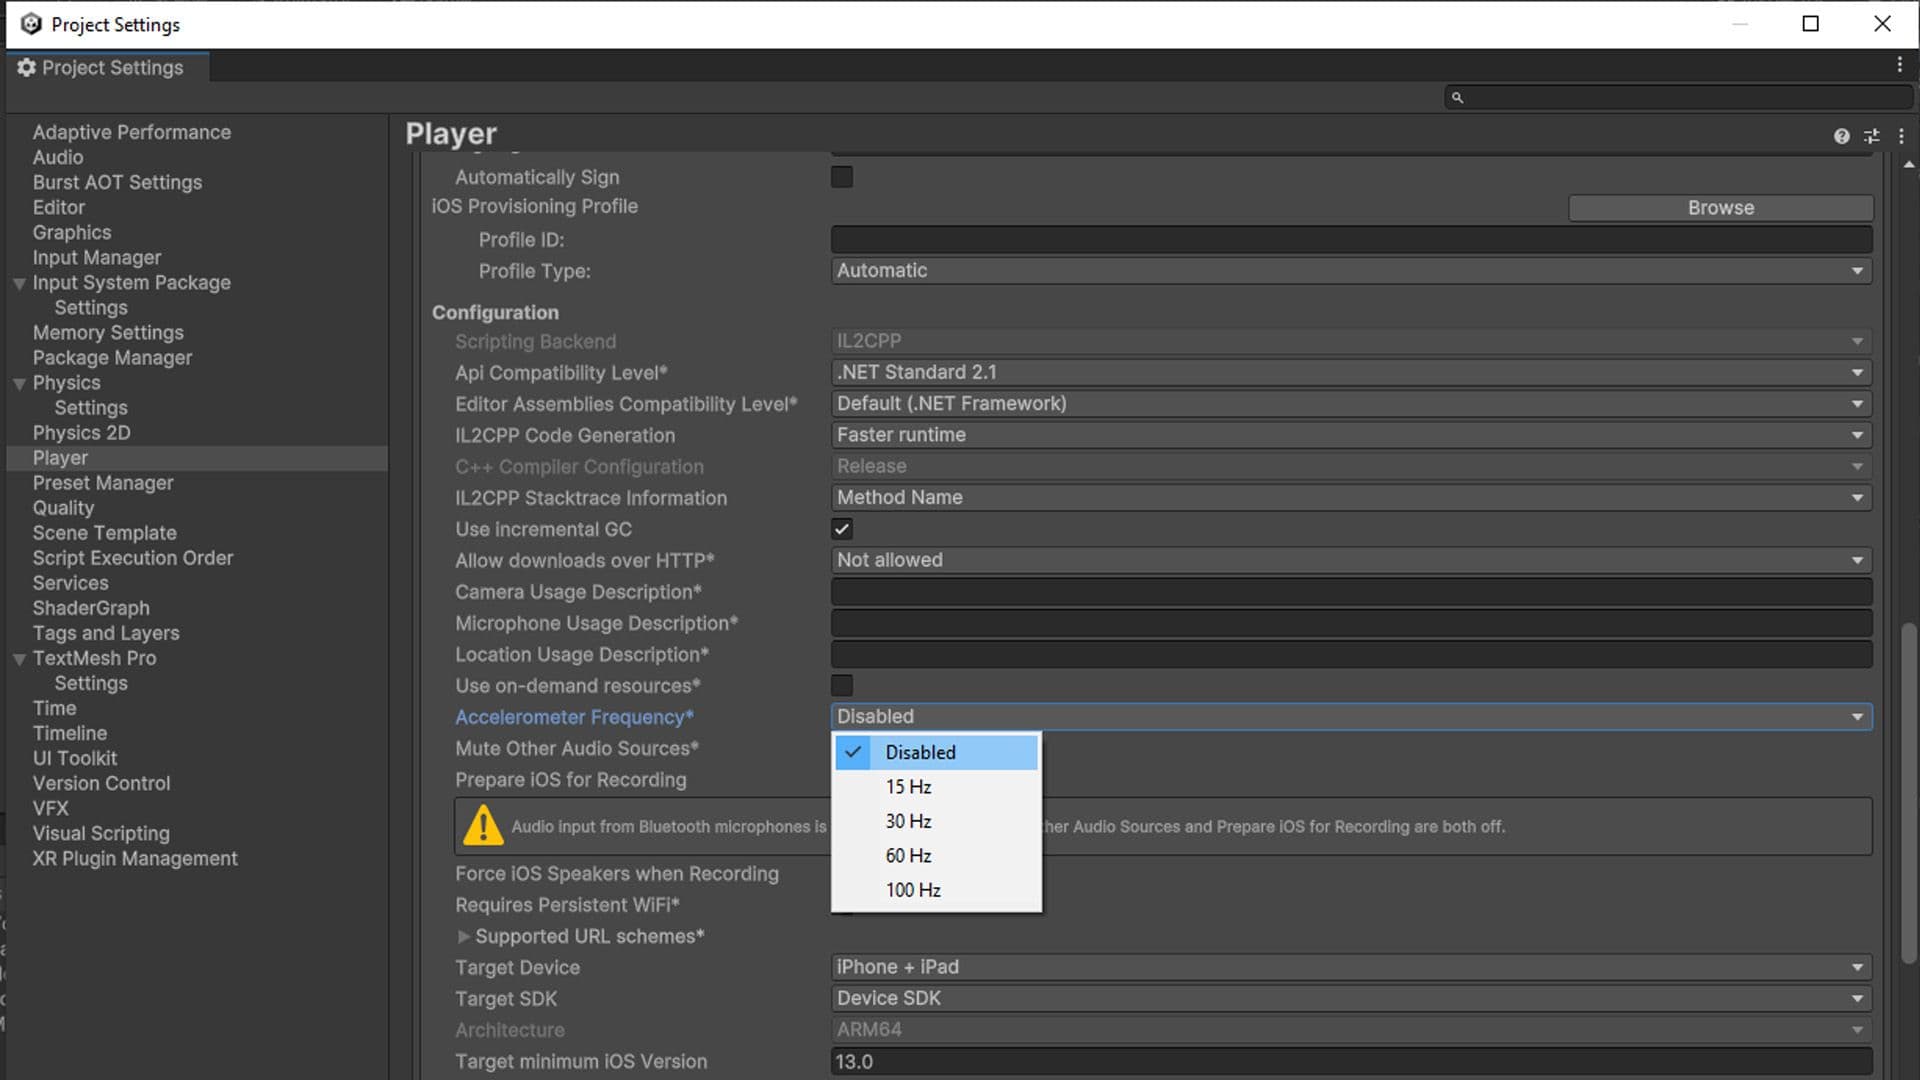
Unity pools your mobile’s accelerometer several times per second. Disable this if it’s not being used in your application, or reduce its frequency for better overall performance.
Learn more about the accelerometer.
Split your hierarchies. If your GameObjects do not need to be nested in a hierarchy, simplify the parenting.
Smaller hierarchies benefit from multithreading to refresh the Transforms in your scene. Complex hierarchies incur unnecessary Transform computations and more cost to garbage collection.
See Optimizing the Hierarchy and this Unite talk for tips on Transforms.
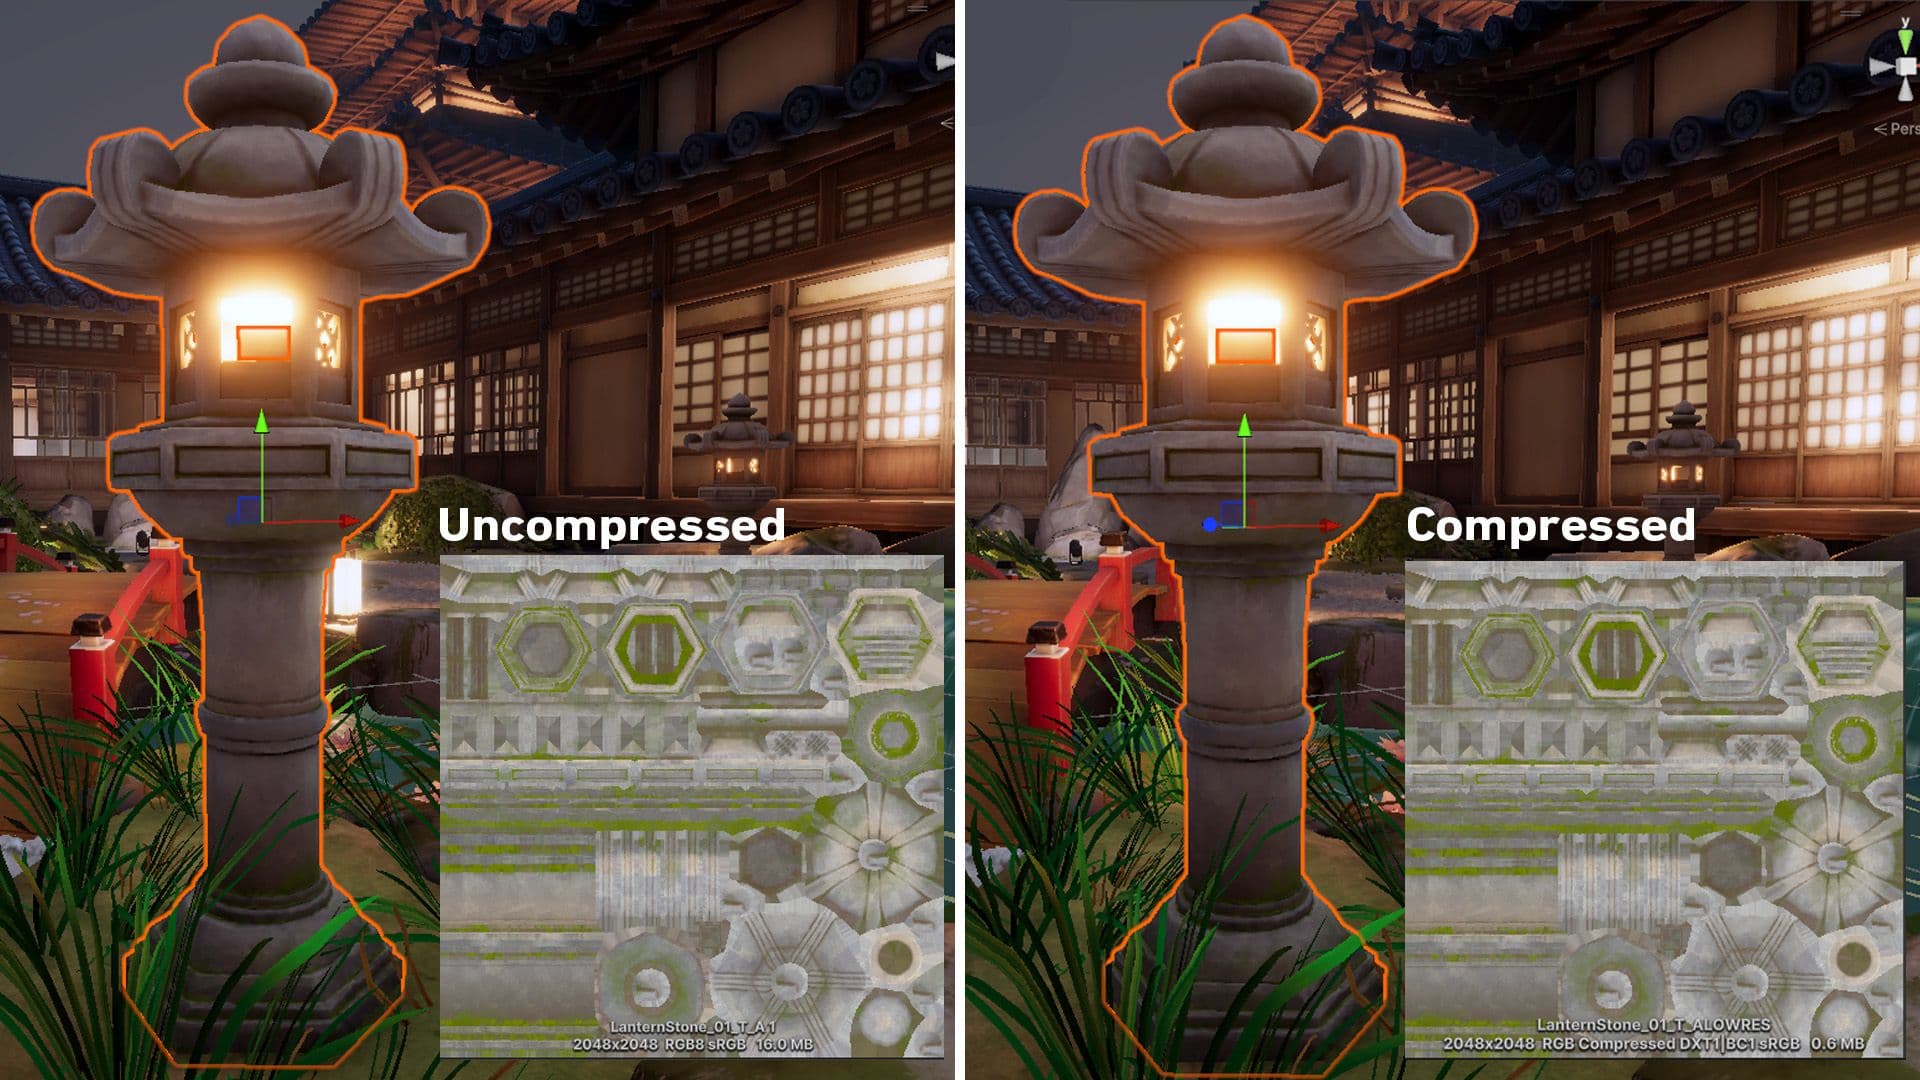
Consider these two examples above using the same model and texture. The settings on the left consume almost 26 times the memory as those on the right, without much improvement in visual quality.
Use Adaptive Scalable Texture Compression (ATSC) for mobile, XR and the web. The vast majority of games in development tend to target min-spec devices that support ATSC compression.
The only exceptions are:
If compressed formats such as PVRTC and ETC aren’t sufficiently high-quality, and if ASTC is not fully supported on your target platform, try using 16-bit textures instead of 32-bit textures.
See the manual for more information on recommended texture compression format by platform.
Textures can potentially use excess resources, so optimizing your Import Settings is critical. In general, try to follow these guidelines:
Learn more about Texture Import Settings.
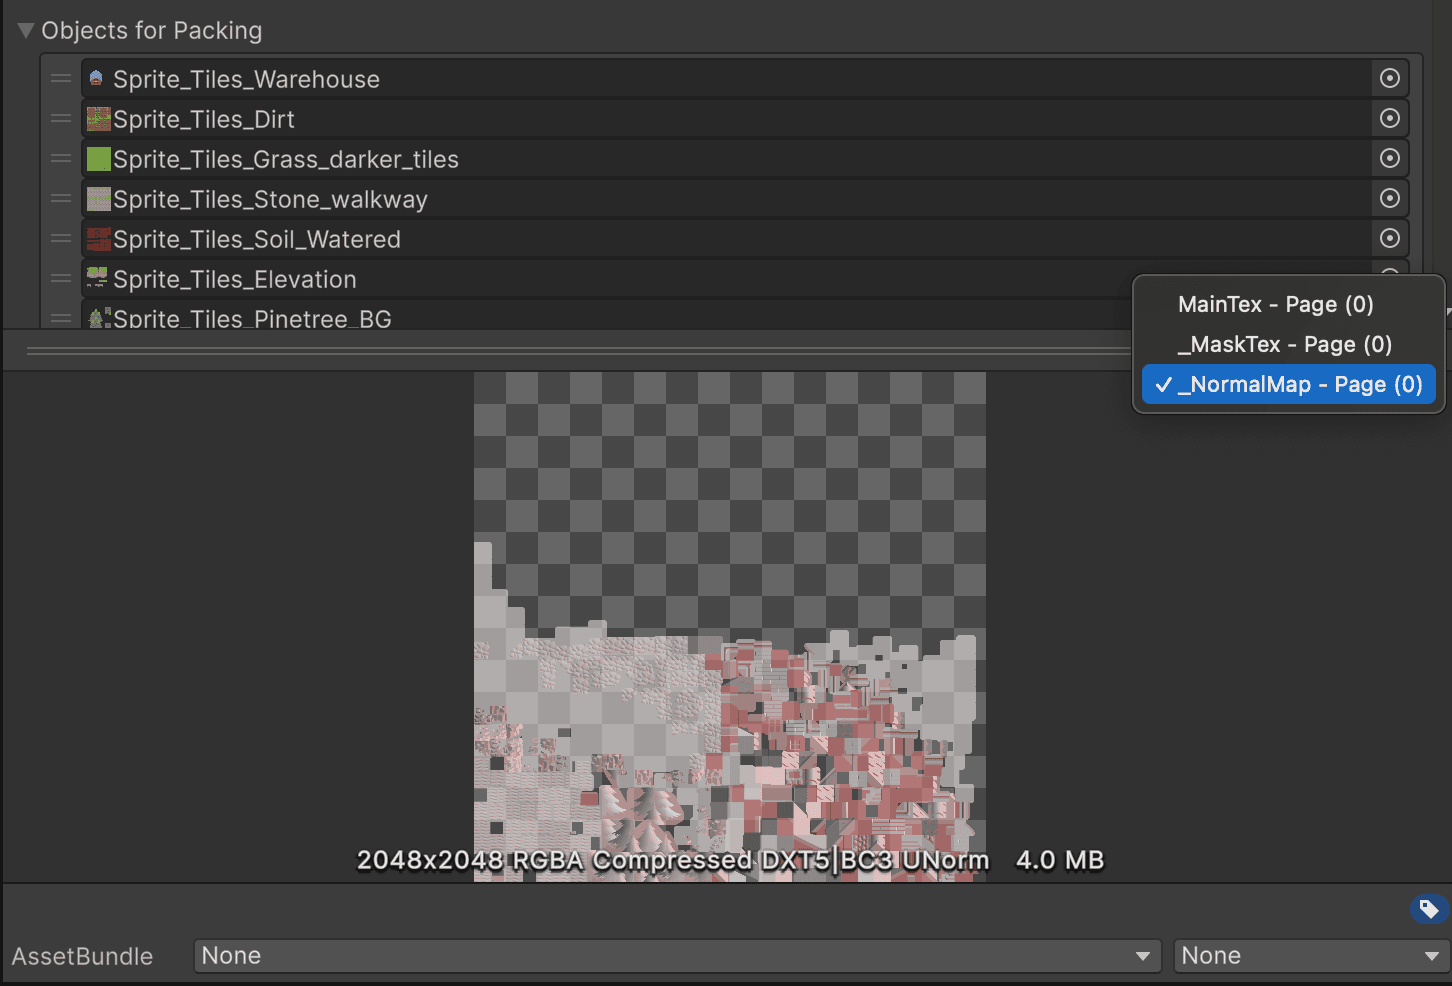
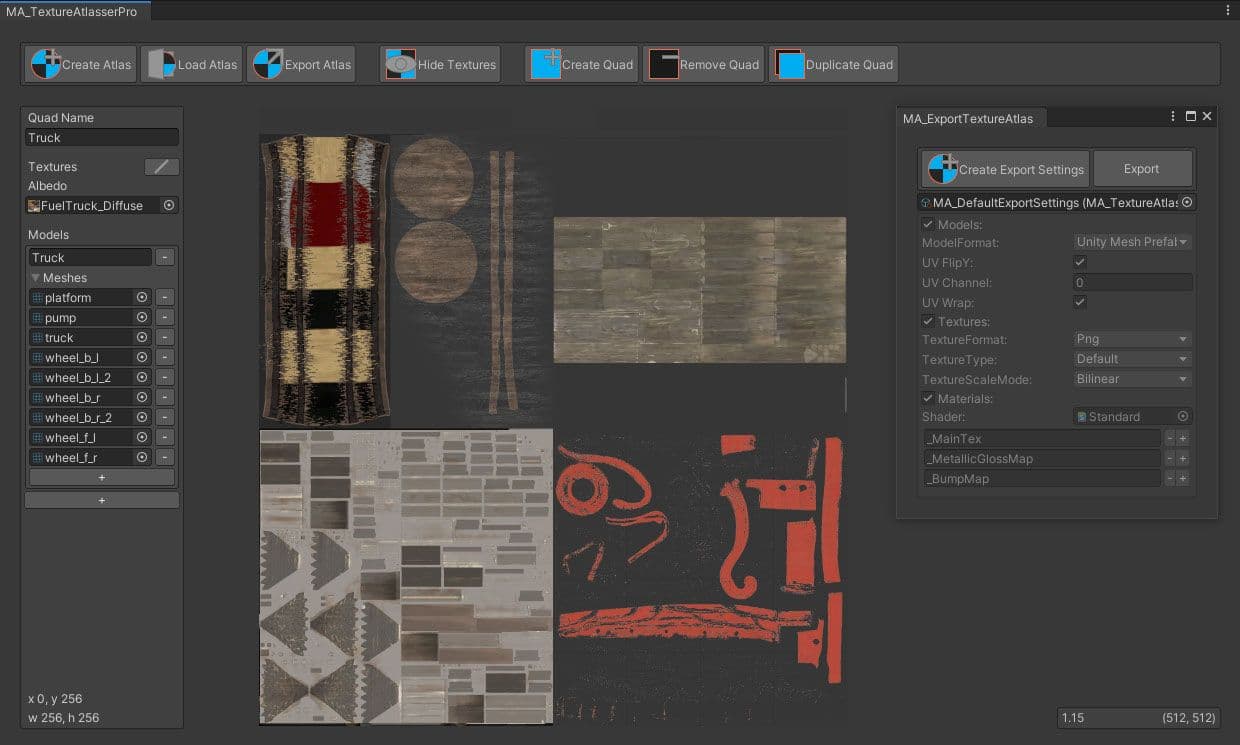
Atlasing is the process of grouping together several smaller textures into a single larger texture. Texture Atlases reduce memory usage and require fewer draw calls, thereby decreasing the effort required by the GPU.
Combine textures and remap UVs for any 3D geometry that doesn’t require high-resolution maps. A visual editor gives you the ability to set and prioritize the sizes and positions in the Texture Atlas or Sprite Sheet.
The Texture Packer consolidates the individual maps into one large texture. Unity can then issue a single draw call to access the packed textures with a smaller performance overhead.
Read more about Sprite Atlases here.
Higher-resolution models mean more memory usage and potentially longer GPU times. Does your background geometry need half a million polygons? Consider cutting down models in your DCC package of choice. Delete unseen polygons from the camera’s point of view, and use textures and normal maps for fine detail instead of high-density meshes.
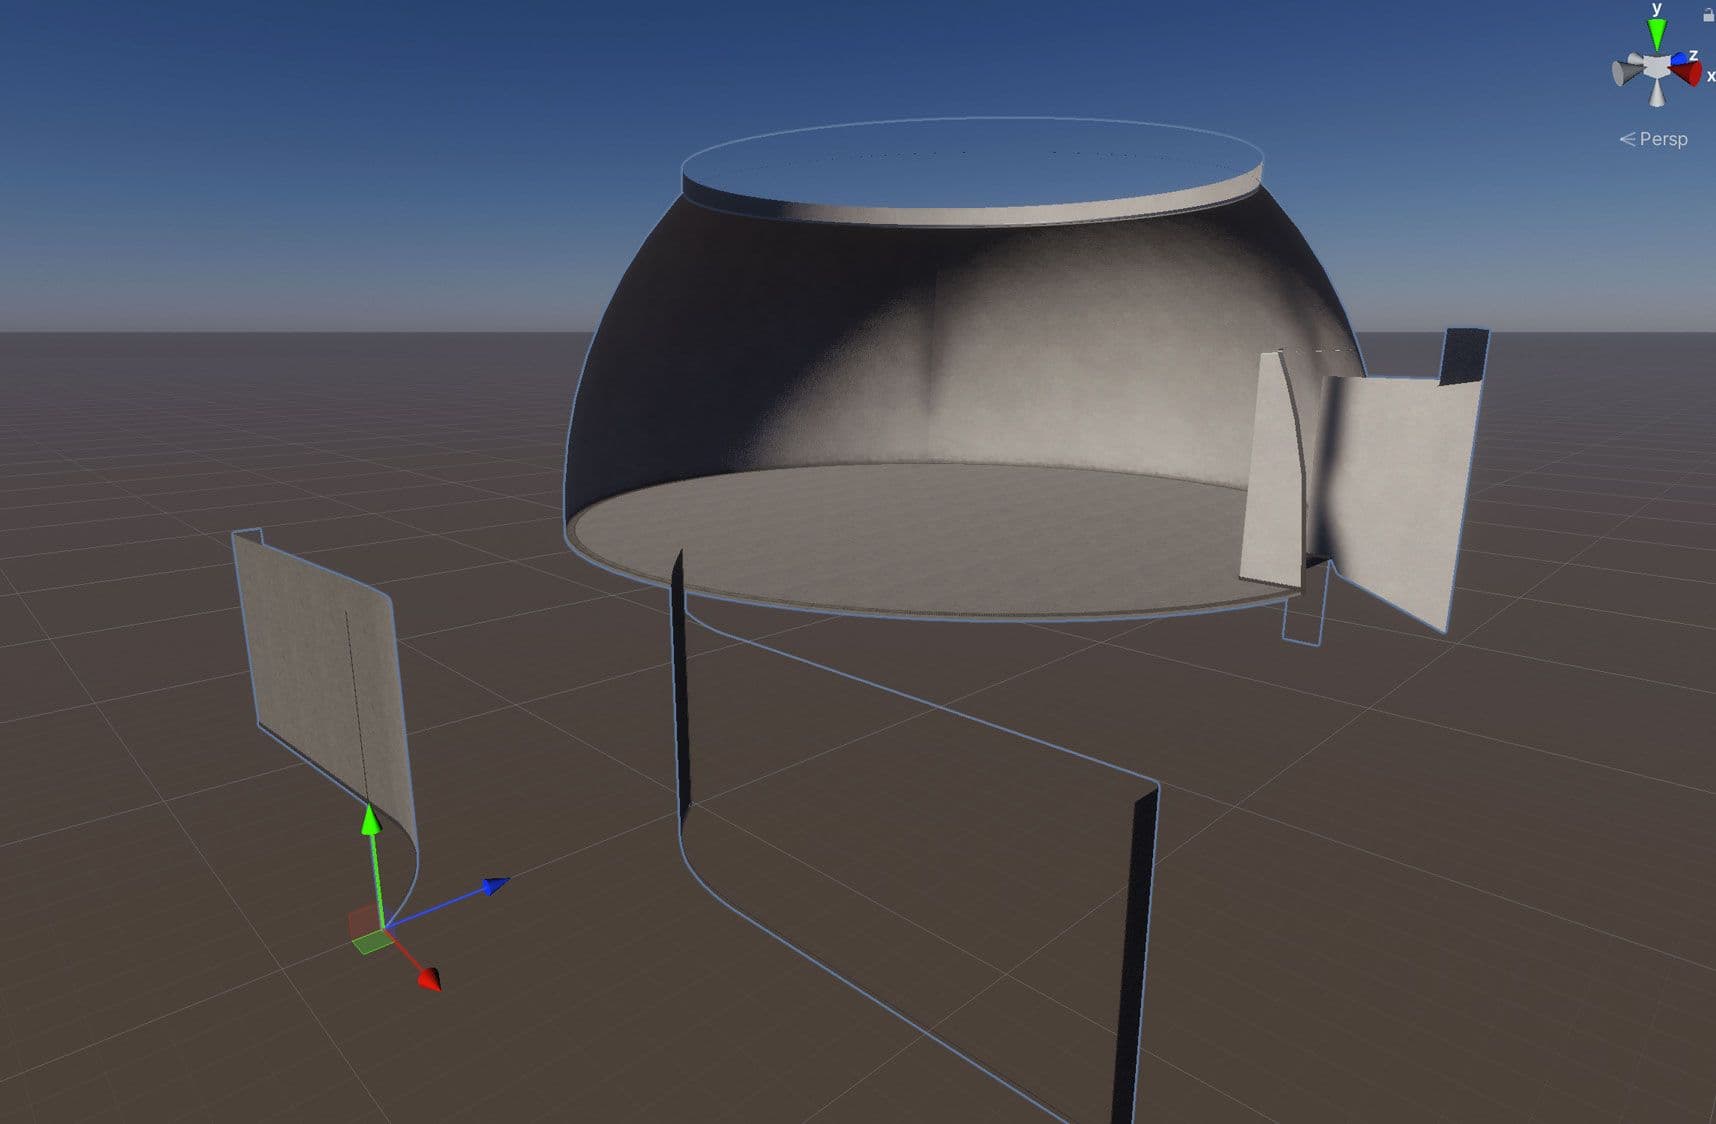
Just like textures, meshes can consume significant memory, so choose optimal import settings for them. Reduce the memory footprint of meshes with the following practices:
Disable normals and tangents: If you are absolutely certain that the mesh material will not need normals or tangents, uncheck these options for extra savings.
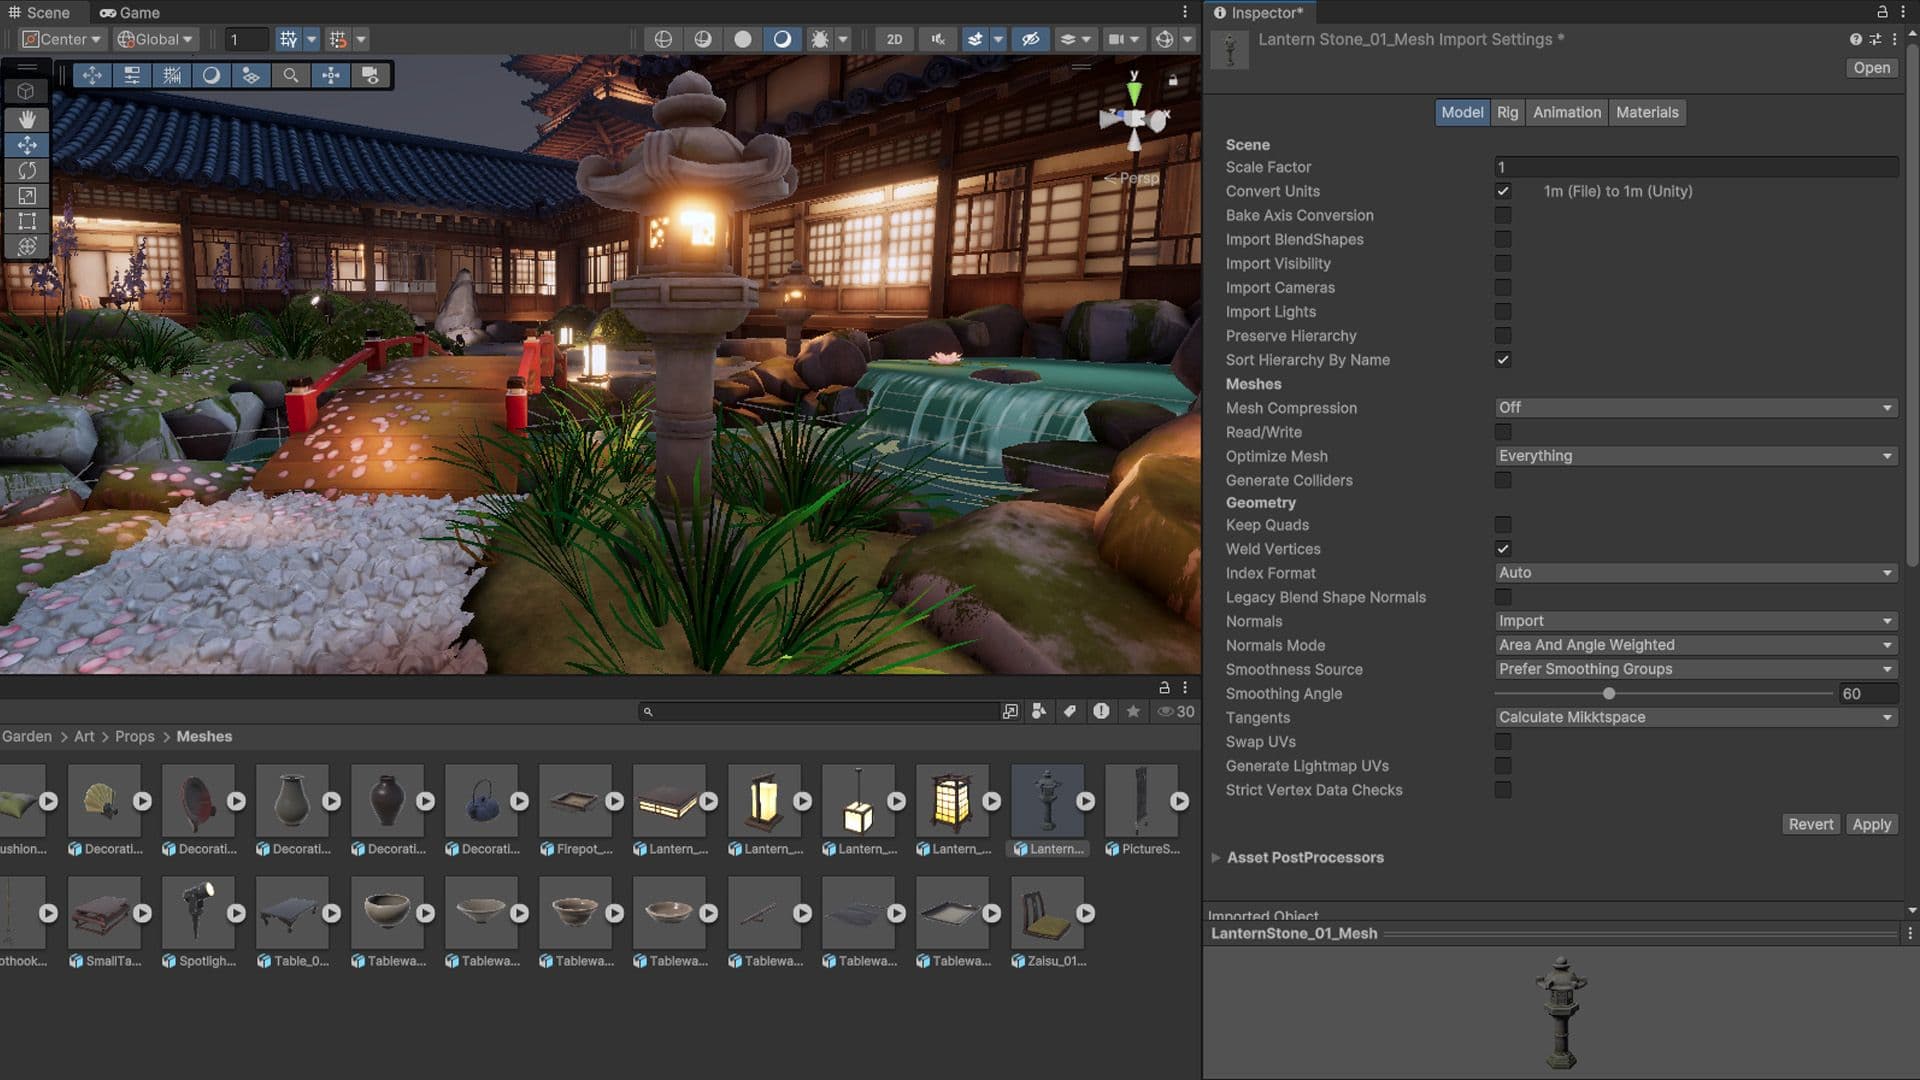
Additional mesh optimization options are available in the Player Settings:
By automating the audit process, you can avoid accidentally changing asset settings. The AssetPostProcessor can help you standardize your Import Settings or analyze existing assets. It allows you to run scripts when importing assets, and essentially, prompts you to customize settings before and/or after importing models, textures, audio, and more.
Read more about Asset auditing in the Understanding optimization guide.
Unity uses a ring buffer to push textures to the GPU. You can manually adjust this async texture buffer via QualitySettings.asyncUploadBufferSize.
If either the upload rate is too slow or the main thread stalls while loading several textures at once, adjust these texture buffers. You can usually set the value (in MB) to the size of the largest texture you need to load in the scene.
Keep in mind that changing the default values can lead to high memory pressure. Also, you cannot return ring buffer memory to the system after Unity allocates it. If GPU memory overloads, the GPU unloads the most recent and least-used texture, and forces the CPU to reupload it the next time it enters the Camera frustum.
Explore all the memory restrictions for texture buffers in the Memory management tutorial, and refer to Optimizing loading performance to see how you can improve loading times.
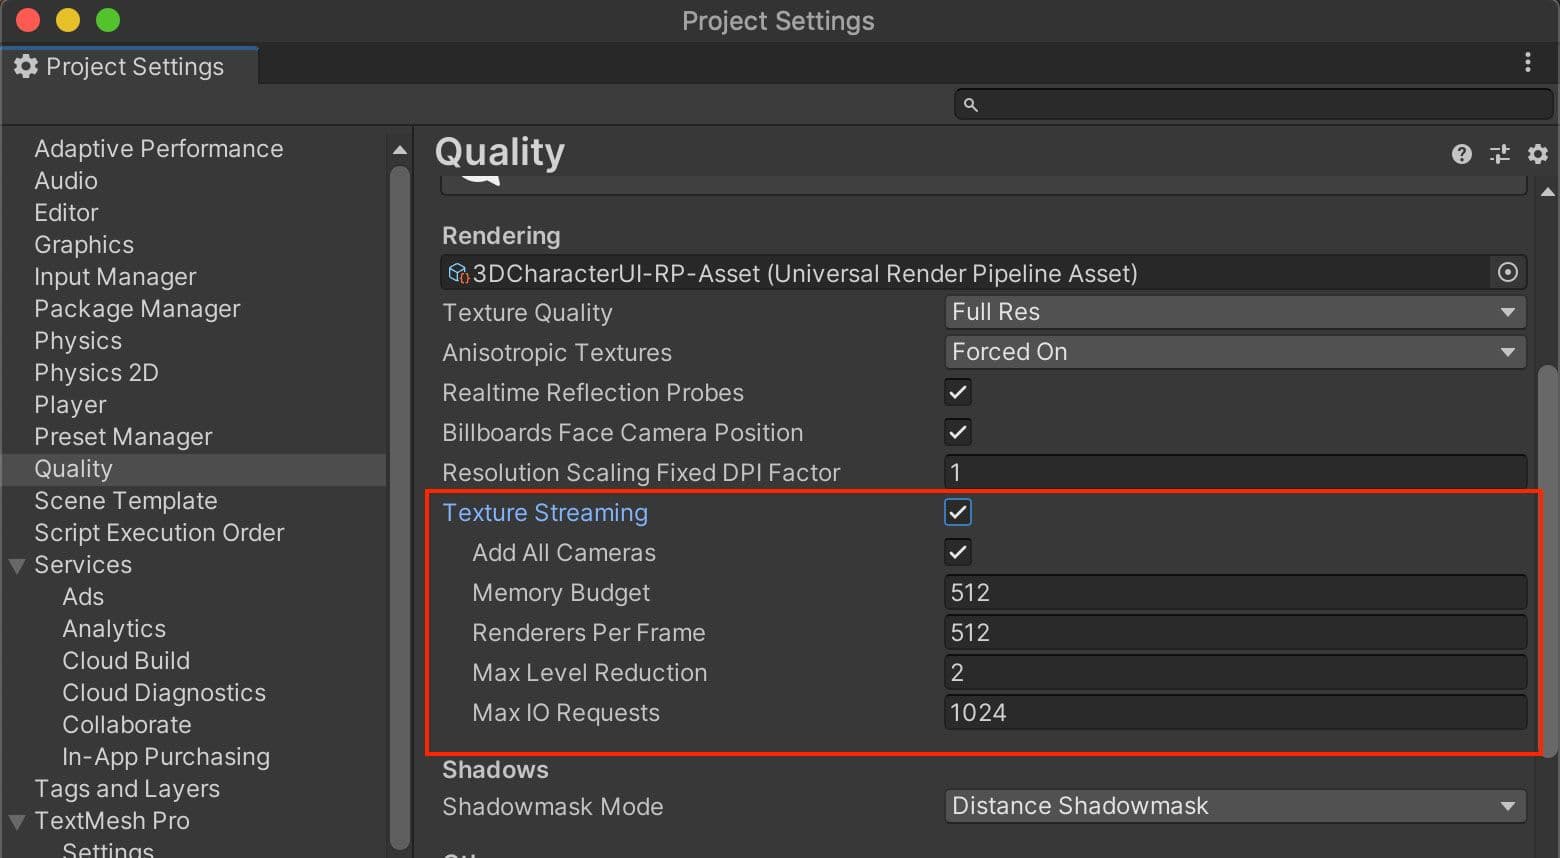
The Mip Map Streaming system gives you control over which Mip Map levels should load into memory. Enable it by going to Unity’s Quality settings (Edit > Project Settings > Quality) and check the Texture Streaming option. You can enable Streaming Mip Maps in the Texture Import Settings under Advanced.
This system reduces the total amount of memory needed for textures because it only loads the Mip Maps necessary for rendering the current Camera position. Otherwise, Unity loads all of the textures by default.
Texture Streaming trades a small amount of CPU resources to save a potentially large amount of GPU memory. It also automatically reduces Mip Map levels to stay within the user-defined Memory Budget.
You can use the Mip Map Streaming API for further control.
The Addressable Asset System provides a simplified way to manage your content. This unified system loads AssetBundles by “address” or alias, asynchronously from either a local path or a remote content delivery network (CDN).
If you split your non-code assets (models, textures, Prefabs, audio, and even entire scenes) into an AssetBundle, you can separate them as downloadable content (DLC).
Then, use Addressables to create a smaller initial build for your mobile application. Cloud Content Delivery lets you host and deliver your game content to players as they progress through the game.
See the tutorial Get started with Addressables on Unity Learn for a quick overview of how the Addressable Asset System can work in your project.
And click here to see how the Addressable Asset System can take the hassle out of asset management.


Find more best practices and tips for advanced Unity developers and creators from the Unity best practices hub. Choose from over 30 guides, created by industry experts, and Unity engineers and technical artists, that will help you develop efficiently with Unity’s toolsets and systems.