Create animator controllers for your characters as you would a script – so that they’re simple enough to reuse, support, and debug throughout the development cycle.
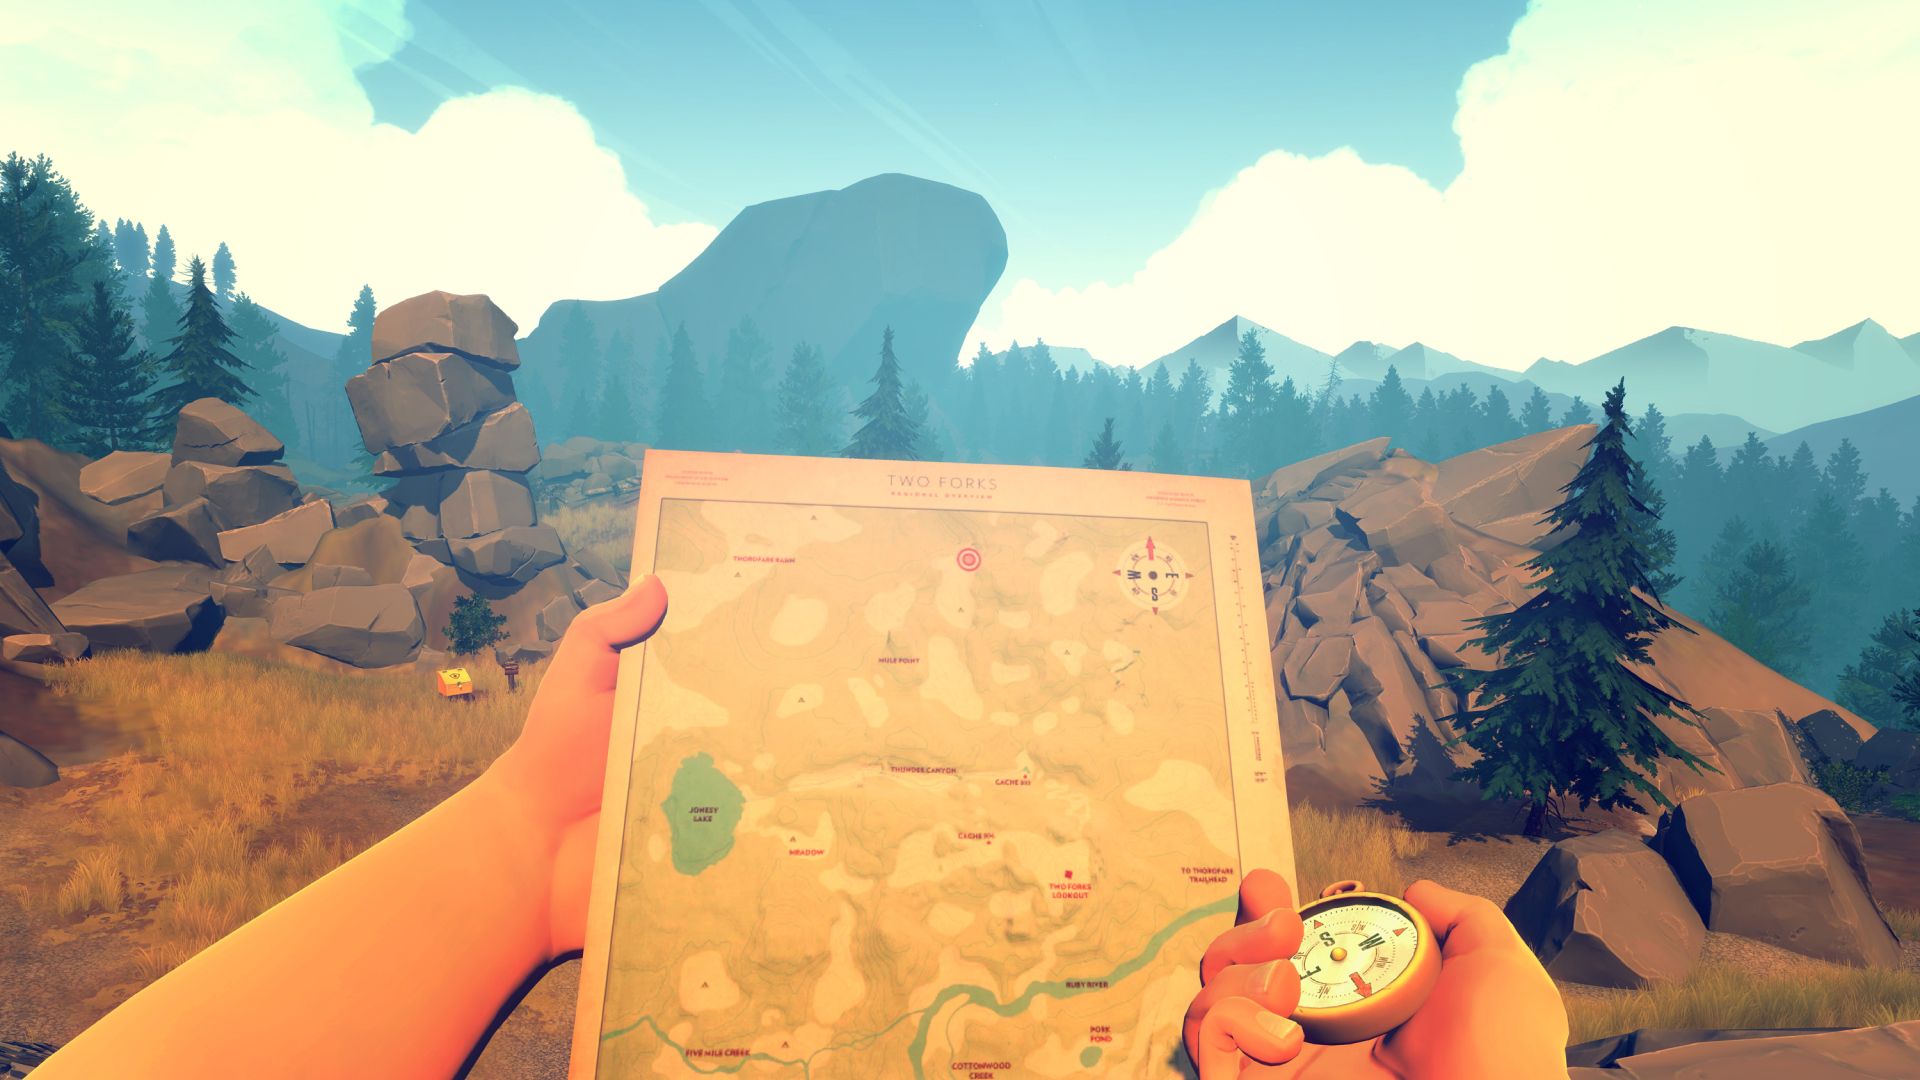
All screenshots below come from animation for the character Henry in Firewatch by Campo Santo.
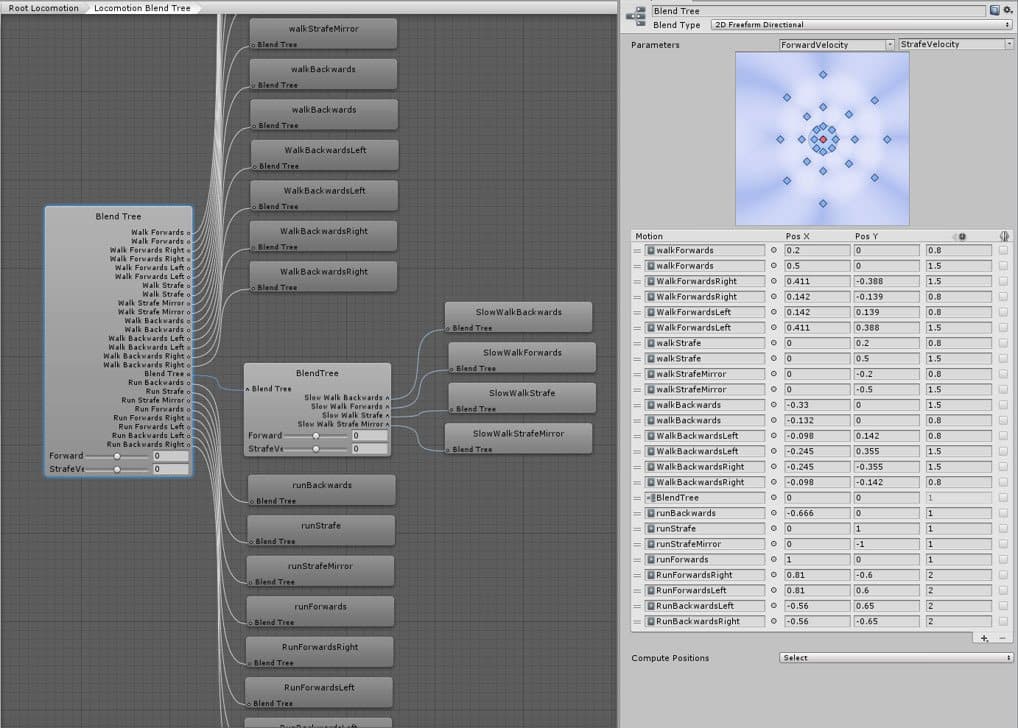
Blend Trees are great for hiding complexity. A Blend Tree doesn’t have state as it doesn’t call back out into code. It blends between the different clips based on the parameters you define.
The significance of this is that you can iterate on Blend Trees without worrying about breaking the rest of your game. You can hide a complex web of states and prevent bugs down the road because you can’t tie behavior to most of the animations in a Blend Tree.
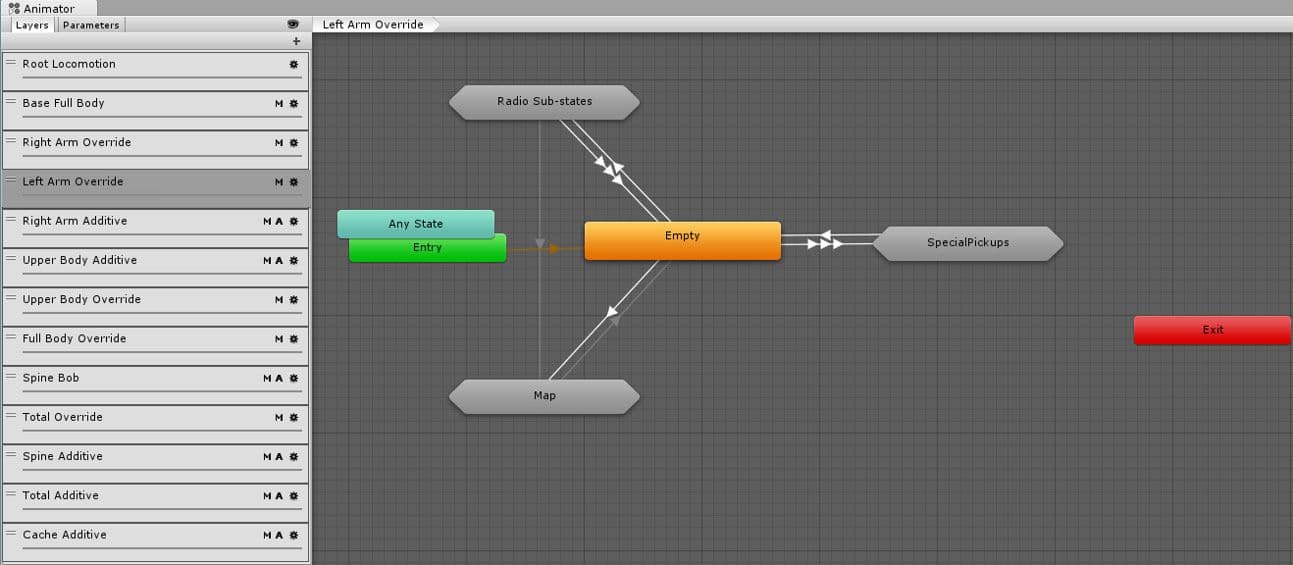
It helps to think of layers as a class in a script. You want everything in a layer to serve both the same logical and behavioral function. This is because each individual layer controls what other layers it overrides – whether or not it affects certain bones, whether that layer is additive, and so on.
Reusable, logical patterns in state and substate machines speed up development, facilitate debugging, and can reduce bugs, all while allowing multiple people to make similar content.
The following sections present patterns that are useful for structuring your layers.
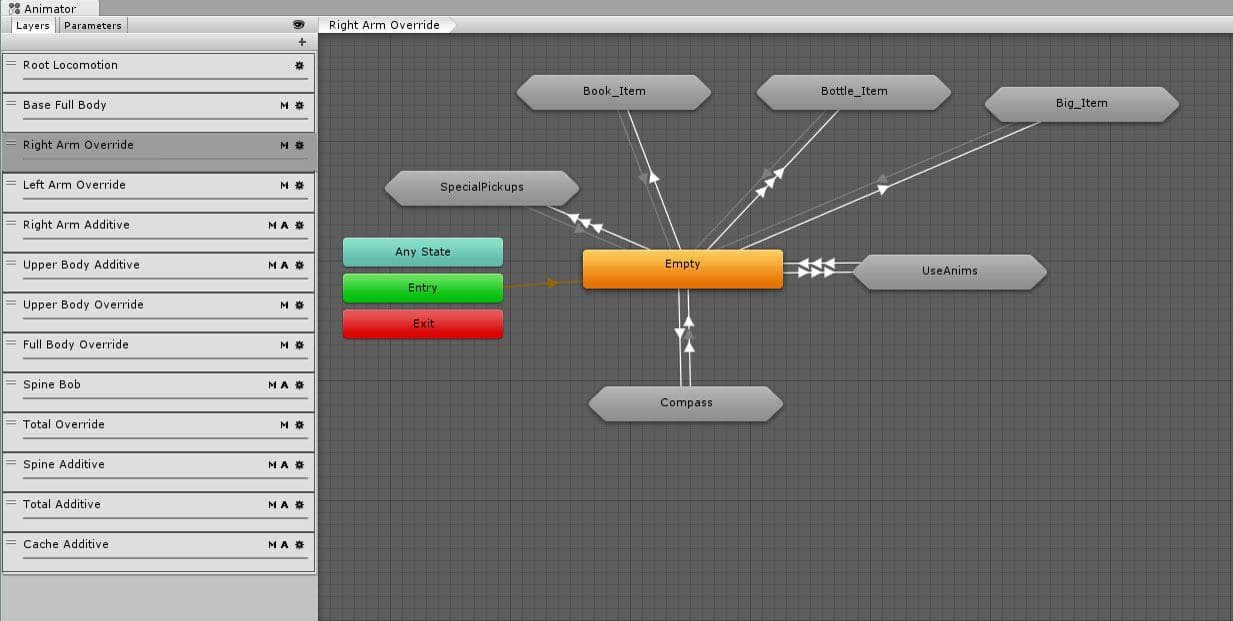
This pattern makes it easier to debug as you can clearly see the transitions go out and come back into the empty state. Every spoke of the hub should reset any state it touches.
Spokes are solid candidates for making substate machines using the following patterns.
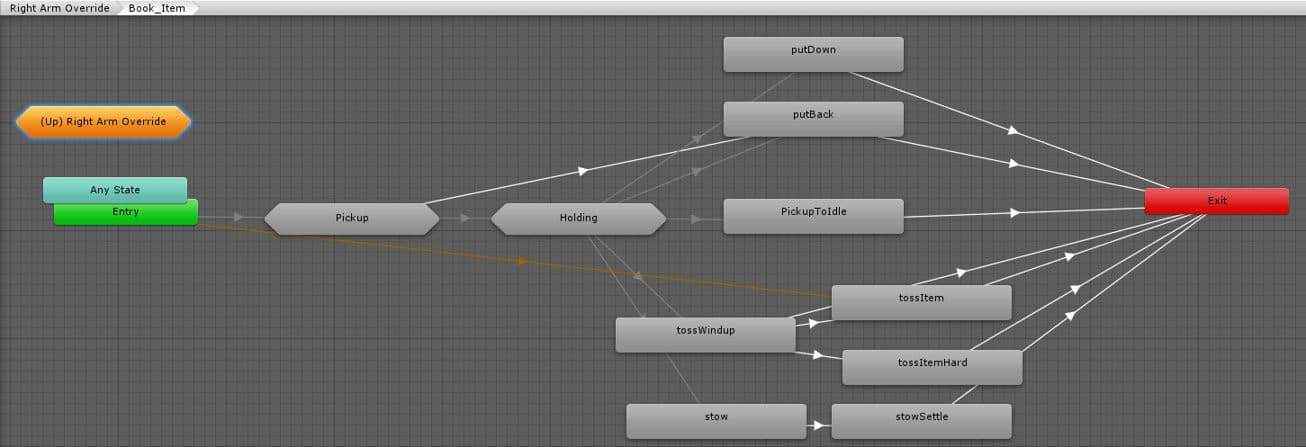
By grouping states into a pattern of “intro” – execution/loop – “outro” you can cleanly attach any Animation Events or State Machine Behaviours to the intro and outro states. Much like a Blend Tree, you can iterate and change the inner execution/loop states without worrying about breaking your game.

For interruptible animations, especially player input driven animations, break your clip into two parts. First, maintain a critical section that contains all state changes, effects, and damages that must always play to completion. Second, devise a settle animation that looks good getting you back to idle and that can be interrupted by new input.
Once your animations behave and appear as desired, you need to feed back the state of your animators into the state of your game. See the following sections for some key points to keep in mind.
State Machine Behaviours are bits of code that you can attach to any Animation State. Use them to tie behaviors directly to the state of the animator itself.
Avoid writing complex gameplay code inside of them because it can get difficult to track down where your changes in the state are coming from. If you are using State Machine Behaviour to drive gameplay code, leverage a messaging system; talk to a manager class, or trigger your code off of parameters at a higher level.
Debug.Break() is one of the most effective State Machine Behaviours you can use. Attach it anywhere in your animation setup and you’ll have a breakpoint similar to that of a visual scripting system.
Use C# code where appropriate. Rather than managing hundreds or thousands of transitions, or hooking up AnyState transitions all over the place, use Animator.Play or Animator.CrossFade to dynamically create direct transitions from code. If that still isn’t enough control for you, look into Unity’s Playables API for more ways to animate using code. Some examples can be found here.
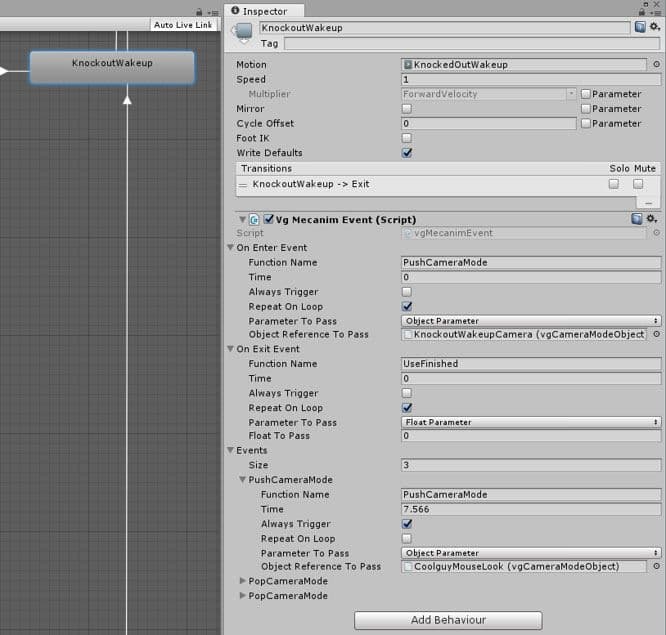
Animation Events tie a specific moment of your Animation Clip to a specific change of state in your game. They can be used to set off elements such as visual and sound effects. However, if you transition out of a clip before it was fired, then it will never fire. One way to solve this is to add a State Machine Behaviour that ensures the event always fires when a specific point in time is reached, no matter what else happens (or doesn’t happen) in the game.