Práticas recomendadas do Unity
Novidade nesta página
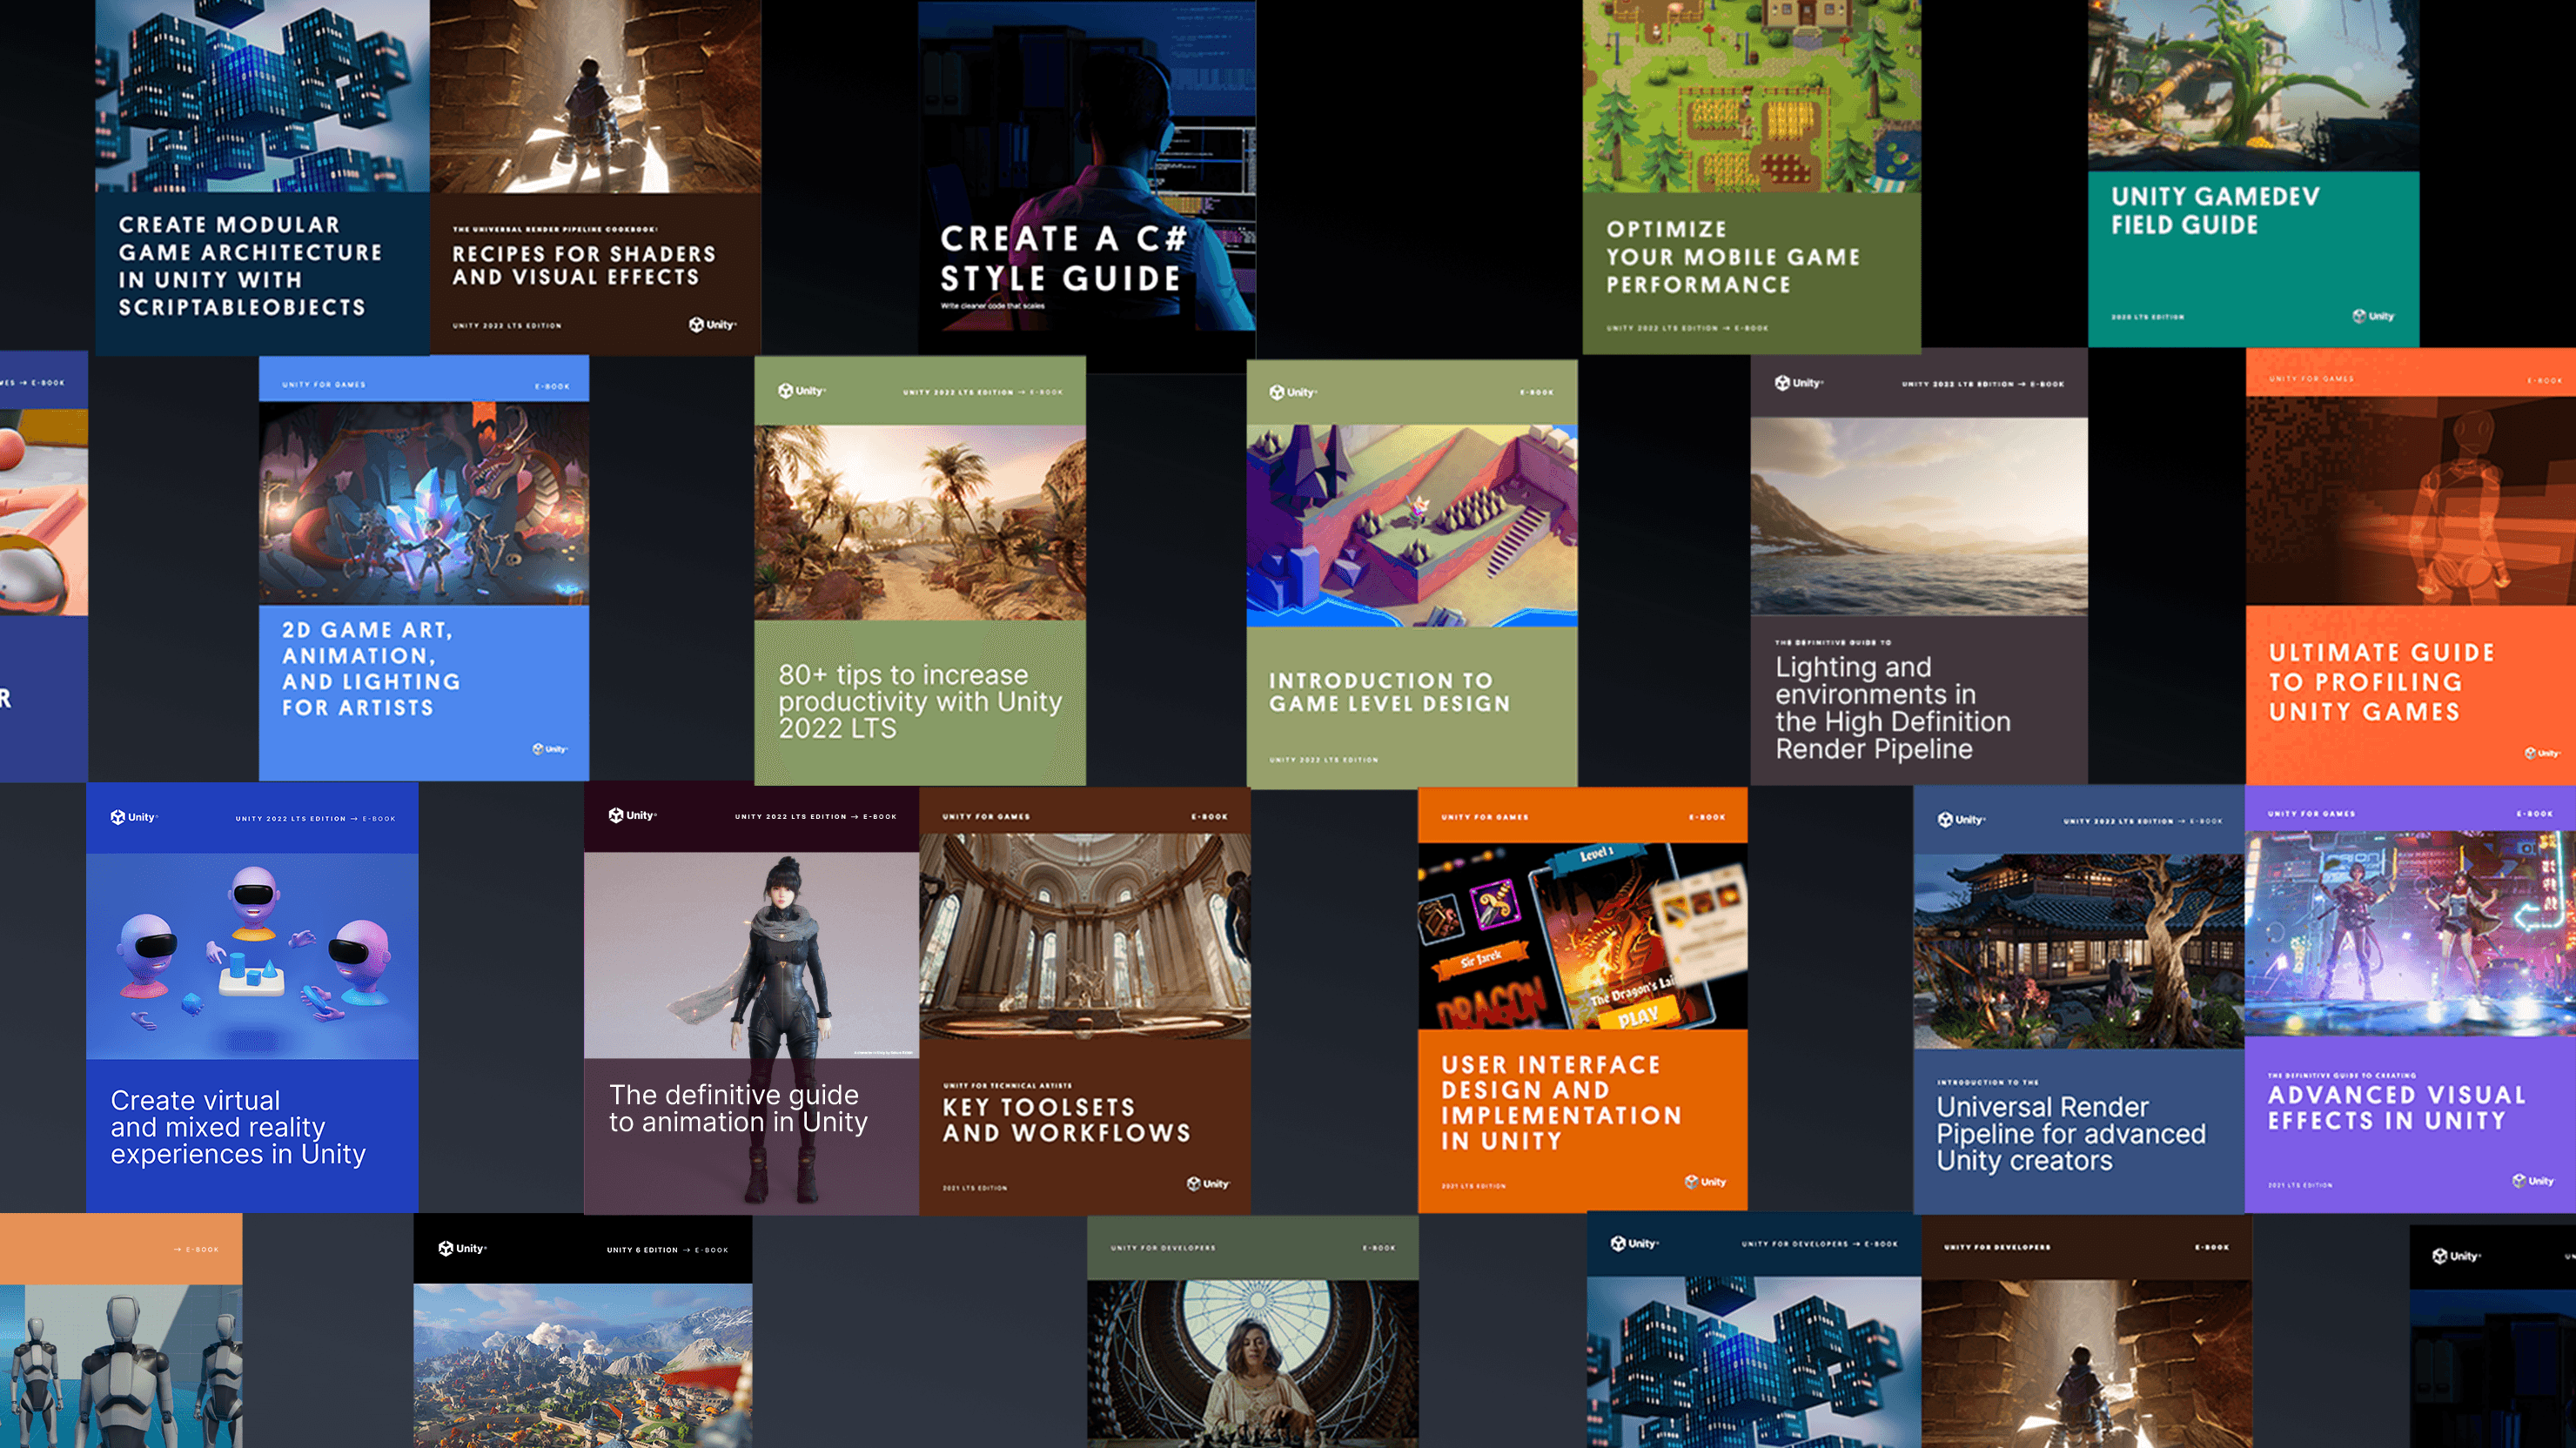
E-books técnicos

Projeto de amostra: Caçador de Gemas Match
2D
Gráficos e renderização
- Conceitos básicos do Pipeline de Renderização de Alta Definição
- Anti-aliasing, volumes e exposição com o Pipeline de Renderização de Alta Definição
- Reflexões e efeitos de iluminação em tempo real
- Pós-processamento e ray tracing com HDRP
- Introdução ao VFX Graph no Unity
- Configurações de Projeto e Qualidade do URP: Aprenda com o Exemplo 3D do URP
DevOps
Programação em C# no Unity
- 10 maneiras de acelerar seus fluxos de trabalho de programação no Unity com Visual Studio 2019
- Compreendendo a linguagem de serialização do Unity, YAML
- Acelere seus fluxos de trabalho de programador
- Práticas recomendadas de formatação para scripts em C# no Unity
- Dicas de nomenclatura e estilo de código para scripts em C# no Unity
- Crie um código modular e manutenível com o padrão observer
- Desenvolva uma base de código modular e flexível com o padrão de programação state
- Use pooling de objetos para aumentar o desempenho dos scripts C# no Unity
- Construa uma base de código modular com os padrões de programação MVC e MVP
- Como usar o padrão factory para criação de objetos em tempo de execução
- Use o padrão command para sistemas de jogo flexíveis e extensíveis
- Como usar o padrão Model-View-ViewModel
- Como usar o padrão Flyweight
- Como usar o padrão Dirty Flag
- Um guia sobre como usar o novo pacote de Navegação AI no Unity 2022 LTS e acima
- Comece com a demonstração de ScriptableObjects do Unity
- Use eventos baseados em ScriptableObject com o padrão observer
- Use enums baseados em ScriptableObject em seu projeto Unity
- Separe dados e lógica do jogo no Unity com ScriptableObjects
- Use ScriptableObjects como objetos delegados
- Use ScriptableObjects no Unity para armazenar dados dinâmicos
Interface do Usuário (UI)
- Dicas de otimização do Unity UI
- Como criar a próxima geração de HMI automotivo com Unity
- O projeto de amostra do UI Toolkit QuizU
- QuizU: Defina padrões para o fluxo do jogo
- QuizU: Gerenciando telas de menu no UI Toolkit
- QuizU: O padrão Model View Presenter
- QuizU: Manipulação de eventos no UI Toolkit
- QuizU: Dicas de desempenho do UI Toolkit
- O Exemplo do UI Toolkit do Unity - Dragon Crashers mini manual
Otimização de desempenho
- Ferramentas para perfis e depuração
- Dicas de perfil de desempenho para desenvolvedores de jogos
- Dicas úteis sobre perfis avançados
- Perfis no Unity 2021 LTS: O que, quando e como
- Como otimizar o seu jogo com o Profile Analyzer
- Otimização de desempenho para gráficos de alta qualidade
- Gerenciando o uso da GPU para jogos de PC e console
- Otimização de desempenho: Configuração de projeto e ativos
- Dicas para otimização de desempenho no Unity: Programação e arquitetura de código
Arte e design de jogos
- Como solucionar problemas de animações importadas no Unity
- Dicas para construir controladores de animador no Unity
- Dicas de otimização para artistas técnicos – Parte I
- Dicas de otimização para artistas técnicos – Parte II
- Sistemas que criam ecossistemas: Design de jogos emergentes
- Divertido de forma imprevisível: O valor da randomização no design de jogos
Setor
- Introdução aos métodos de transferência do Gerenciador de Ativos no Unity
- Crie um configurador de produtos simples no Unity em uma hora ou menos
- Série Criador | Ingestão de dados: Gerenciar dados CAD, BIM e Nuvem de Pontos
- Desbloqueie dados CAD e Mesh com o Unity Asset Transformer Studio
- Ingestão de dados 3D no Unity Industry com o Unity Asset Transformer Toolkit
Unity Gaming Services
Desenvolvimento de jogos
- Os oito fatores do desenvolvimento de jogos multijogador
- Como gerenciar a latência de rede em jogos multijogador
- Nove casos de uso das ferramentas do Game Backend da Unity
- O que é uma economia dentro do jogo
- Construindo uma economia dentro do jogo
Engajamento de jogadores
- Melhore a retenção em cada estágio do ciclo de vida do jogador
- Como aplicar testes A/B em jogos
Unity Ads
- Como monetizar de modo eficiente e sustentável nos jogos para dispositivos móveis
Testes, depuração e garantia de qualidade
- Como depurar o código do jogo com Analisadores Roslyn
- Como executar testes automatizados para seus jogos com o Unity Test Framework
- Acelere seu fluxo de trabalho de depuração com o Microsoft Visual Studio Code
- Como depurar seu código com o Microsoft Visual Studio 2022
- Dicas de teste e garantia de qualidade para projetos Unity
Novos e-books

Iluminação e ambientes no Pipeline de Renderização de Alta Definição no Unity 6
Baixe este e-book para aprender sobre todas as capacidades incluídas no HDRP no Unity 6 e 6.1.

UI Toolkit para desenvolvedores avançados de Unity (edição Unity 6)
Leia este novo guia importante que foca nos recursos do UI Toolkit, com seções cobrindo as capacidades do Unity 6, como vinculação de dados, localização, controles personalizados e muito mais.
Crie arquitetura de jogo modular no Unity com ScriptableObjects (edição Unity 6)
Leia este e-book que reúne dicas e truques de desenvolvedores profissionais para implantar ScriptableObjects em produção.
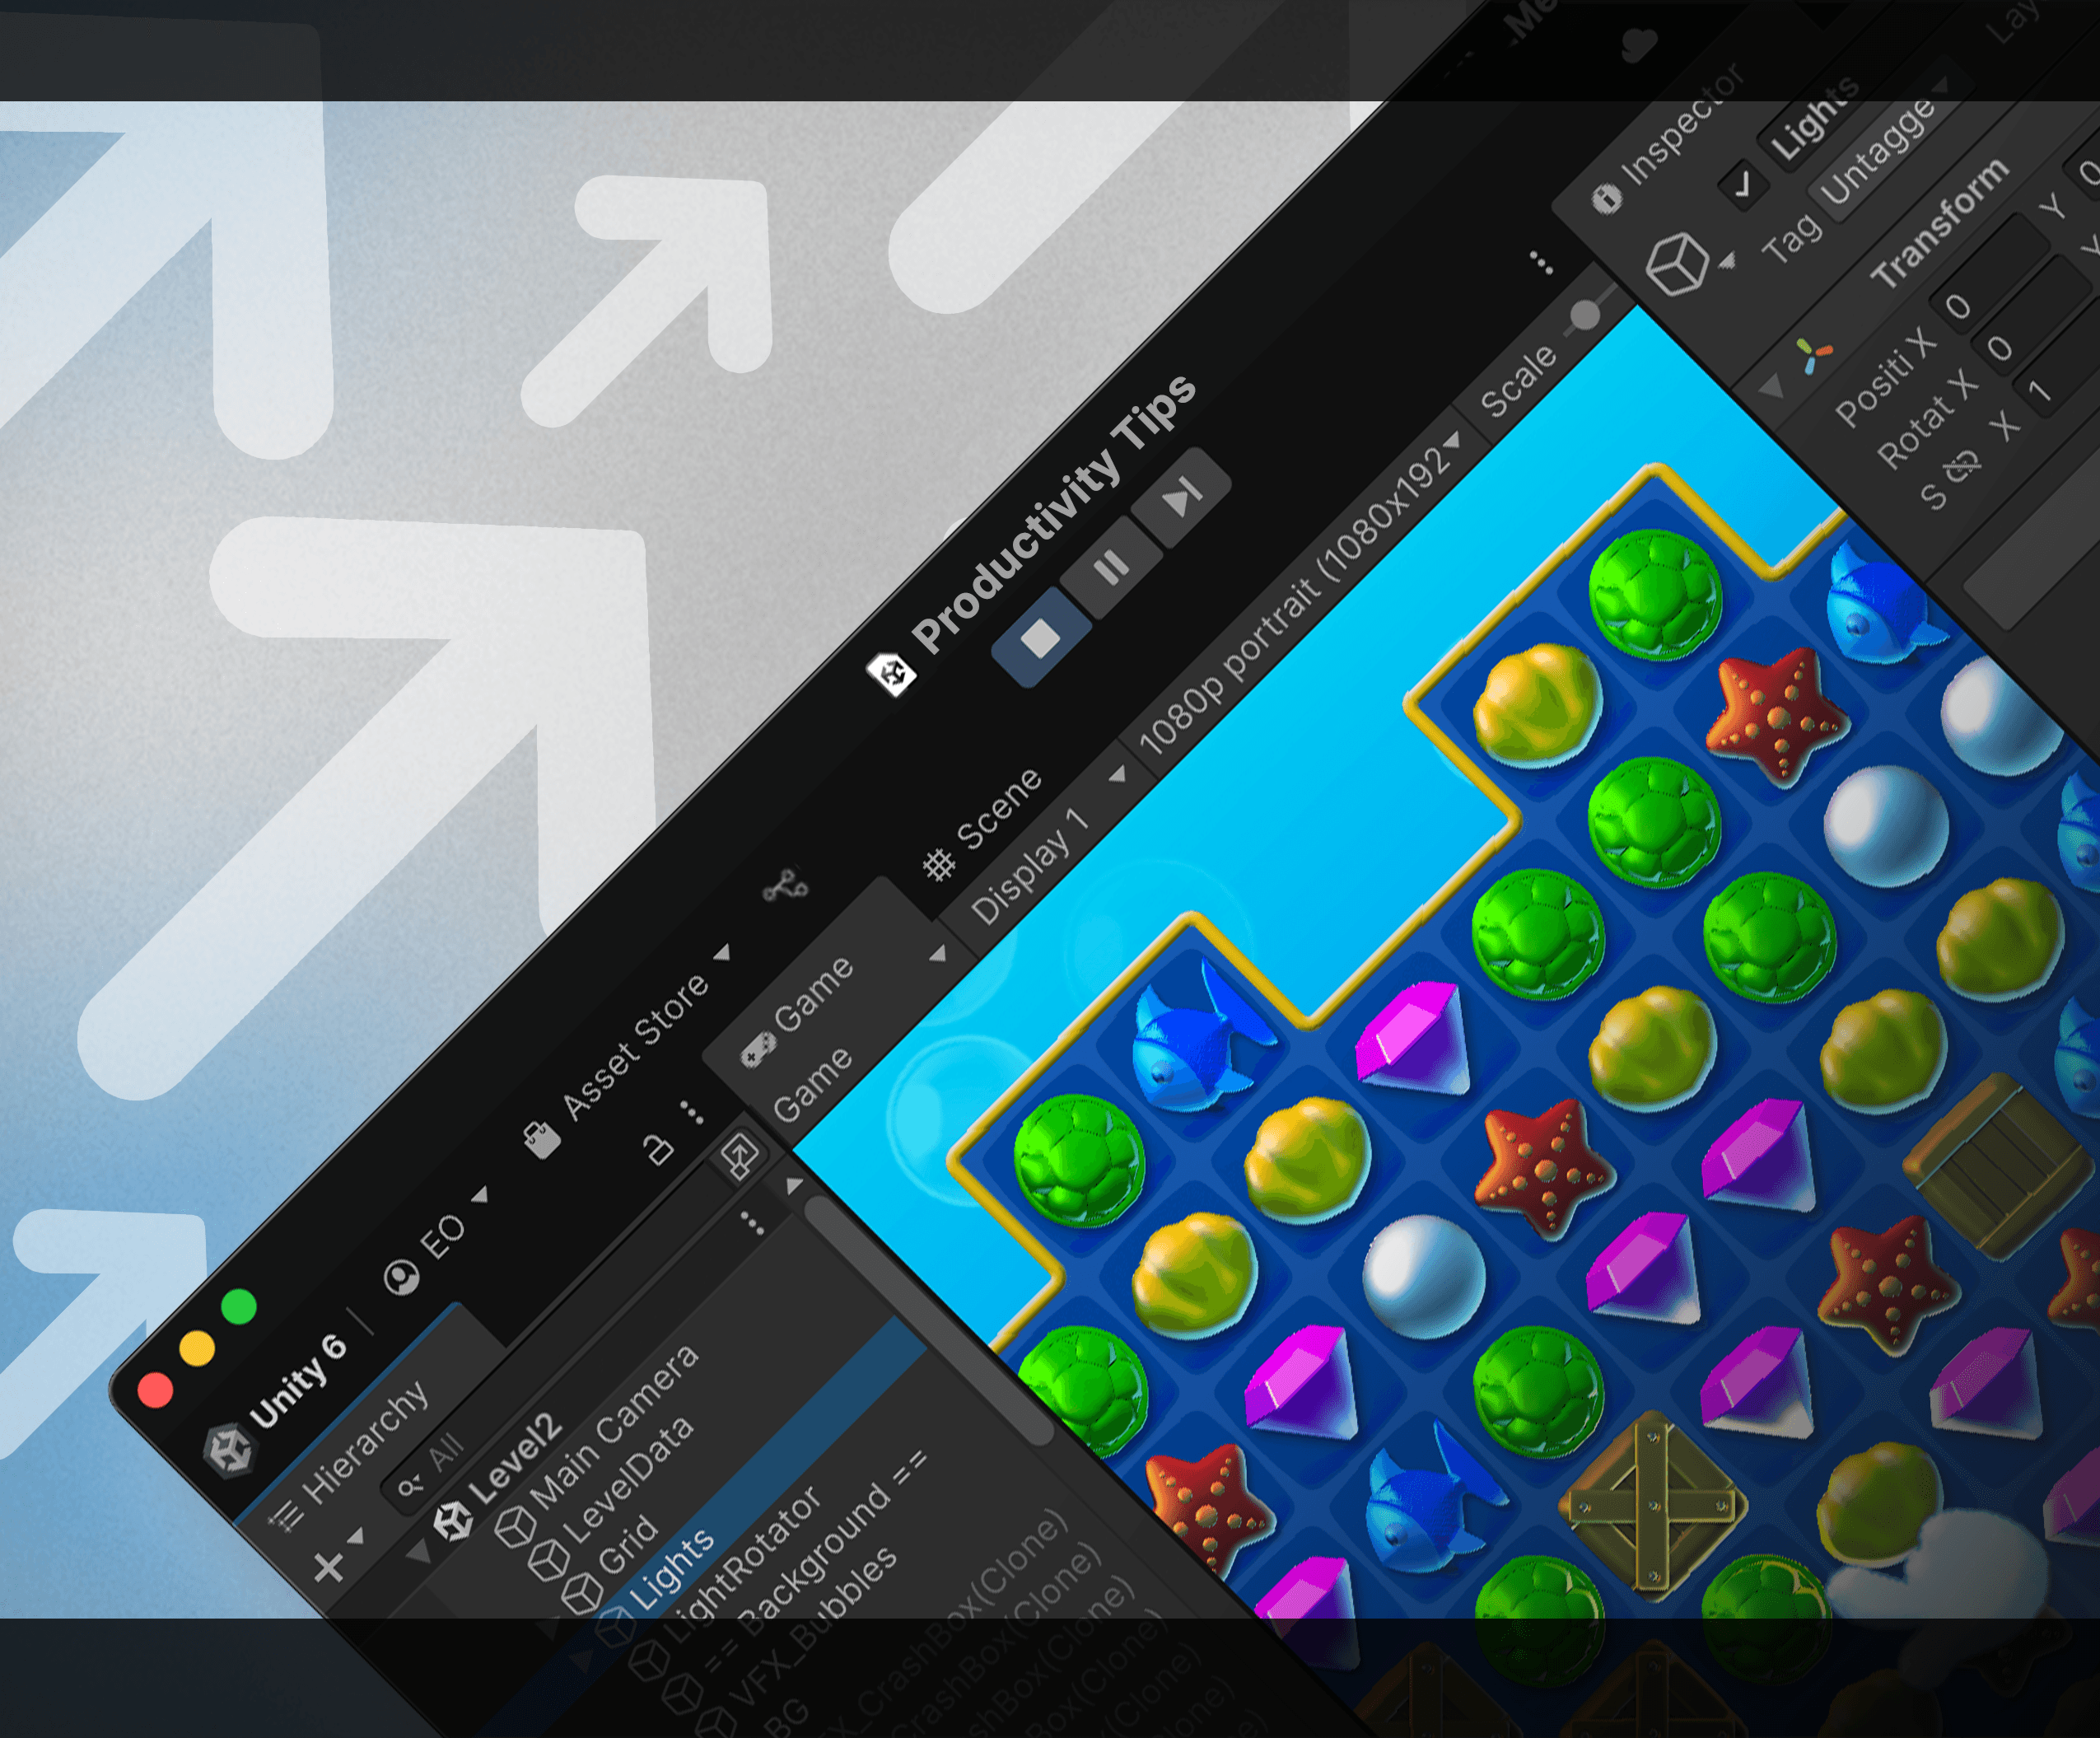
Dicas para aumentar a produtividade com o Unity 6
Este guia atualizado de mais de 100 páginas oferece dicas para acelerar seus fluxos de trabalho em todas as etapas do desenvolvimento de jogos, e é útil tanto se você está começando agora quanto se você é um desenvolvedor Unity há anos.
arte de jogo 2D, animação e iluminação para artistas (edição Unity 6.3 LTS)
Nosso popular e-book 2D agora foi atualizado para incluir técnicas e fluxos de trabalho para desenvolver um jogo 2D profissional no Unity 6.3 LTS. Obtenha as melhores práticas para arte, design, animação, luzes e VFX, além de dicas sobre como usar ativos 3D em jogos 2D.
E-books técnicos para programadores
- Crie arquitetura de jogo modular no Unity com ScriptableObjects (edição Unity 6)
- Dicas para aumentar a produtividade com o Unity 6
- Guia definitivo para a criação de perfis de jogos no Unity (edição Unity 6)
- Introdução aos conceitos, recursos e exemplos do DOTS para desenvolvedores avançados de Unity (edição Unity 6)
- Use um guia de estilo C# para um código de jogo limpo e escalável (edição Unity 6)
- O guia definitivo para redes multiplayer para desenvolvedores avançados de Unity
- Otimize o desempenho do seu jogo para dispositivos móveis, XR e para a web no Unity (Unity 6)
- Otimize o desempenho do seu jogo para consoles e PCs no Unity (Unity 6)
- Práticas recomendadas para organização de projetos e controle de versão (Unity 6)
- Introdução ao DOTS para desenvolvedores avançados de Unity
- Guia definitivo para a criação de perfis de jogos no Unity
- Crie um guia de estilo de código C#
- Otimize o desempenho do seu jogo para dispositivos móveis (Unity 2020 LTS)
- Guia de campo para desenvolvedores de jogos Unity
- Otimize o desempenho do seu jogo para console e PC
- Aumente a produtividade com o Unity 2020 LTS
- Práticas recomendadas de controle de versão e organização de projetos para desenvolvedores de jogos
- Nivele sua programação com padrões de programação de jogos
- Nivele seu código com padrões de projeto e SOLID
- Crie uma arquitetura de jogo modular no Unity com ScriptableObjects
- Otimize o desempenho do seu jogo para dispositivos móveis (Unity 2022 LTS)
- Otimize o desempenho do seu jogo para console e PC (Unity 2022 LTS)
- 80+ dicas para aumentar a produtividade no Unity 2022 LTS
E-books técnicos para artistas e designers
- arte de jogo 2D, animação e iluminação para artistas (edição Unity 6.3 LTS)
- Iluminação e ambientes no Pipeline de Renderização de Alta Definição no Unity 6
- UI Toolkit para desenvolvedores avançados de Unity (edição Unity 6)
- Crie shaders populares e efeitos visuais com o Pipeline de Renderização Universal (edição Unity 6)
- O guia definitivo para criar efeitos visuais avançados no Unity (edição Unity 6)
- Introdução ao Pipeline de Renderização Universal para criadores avançados que usam o Unity (Unity 6)
- O guia definitivo para animação no Unity
- Crie experiências de realidade virtual e mista no Unity
- Iluminação e ambientes no Pipeline de Renderização de Alta Definição (Unity 2022 LTS)
- Introdução ao Pipeline de Renderização Universal para criadores avançados que usam o Unity (Unity 2022 LTS)
- Introdução ao design de níveis de jogos no Unity
- Receitas para efeitos visuais populares usando o Pipeline de Renderização Universal
- Design e implementação de interface de usuário no Unity
- O guia definitivo para criar efeitos visuais avançados no Unity
- O guia definitivo para iluminação no Pipeline de Renderização de Alta Definição (HDRP) Unity 2021 LTS
- O guia definitivo para iluminação no Pipeline de Renderização de Alta Definição (HDRP) Unity 2020 LTS
- Arte de jogo 2D, animação e iluminação para artistas
- Introdução ao Pipeline de Renderização Universal para criadores avançados que usam o Unity
- O guia estratégico para designers de jogos do Unity
- Unity para artistas técnicos: Conjuntos de ferramentas e fluxos de trabalho principais (edição Unity 2020 LTS)
- Unity para artistas técnicos: Conjuntos de ferramentas e fluxos de trabalho principais (edição Unity 2021 LTS)
Novos projetos de amostra
Dragon Crashers - Projeto de amostra do Kit de Ferramentas de IU
Este projeto oficial do Kit de Ferramentas de IU fornece interfaces de jogo que demonstram os fluxos de trabalho do Kit de Ferramentas de IU e do Construtor de IU para jogos em tempo de execução. Explore este projeto com seu e-book acompanhante para mais dicas incríveis.

QuizU - Uma amostra do kit de ferramentas de IU
QuizU é um exemplo oficial do Unity que demonstra vários padrões de design e arquitetura de projeto, incluindo MVP, padrão de estado, gerenciamento de telas de menu e muito mais usando o Kit de Ferramentas de IU.
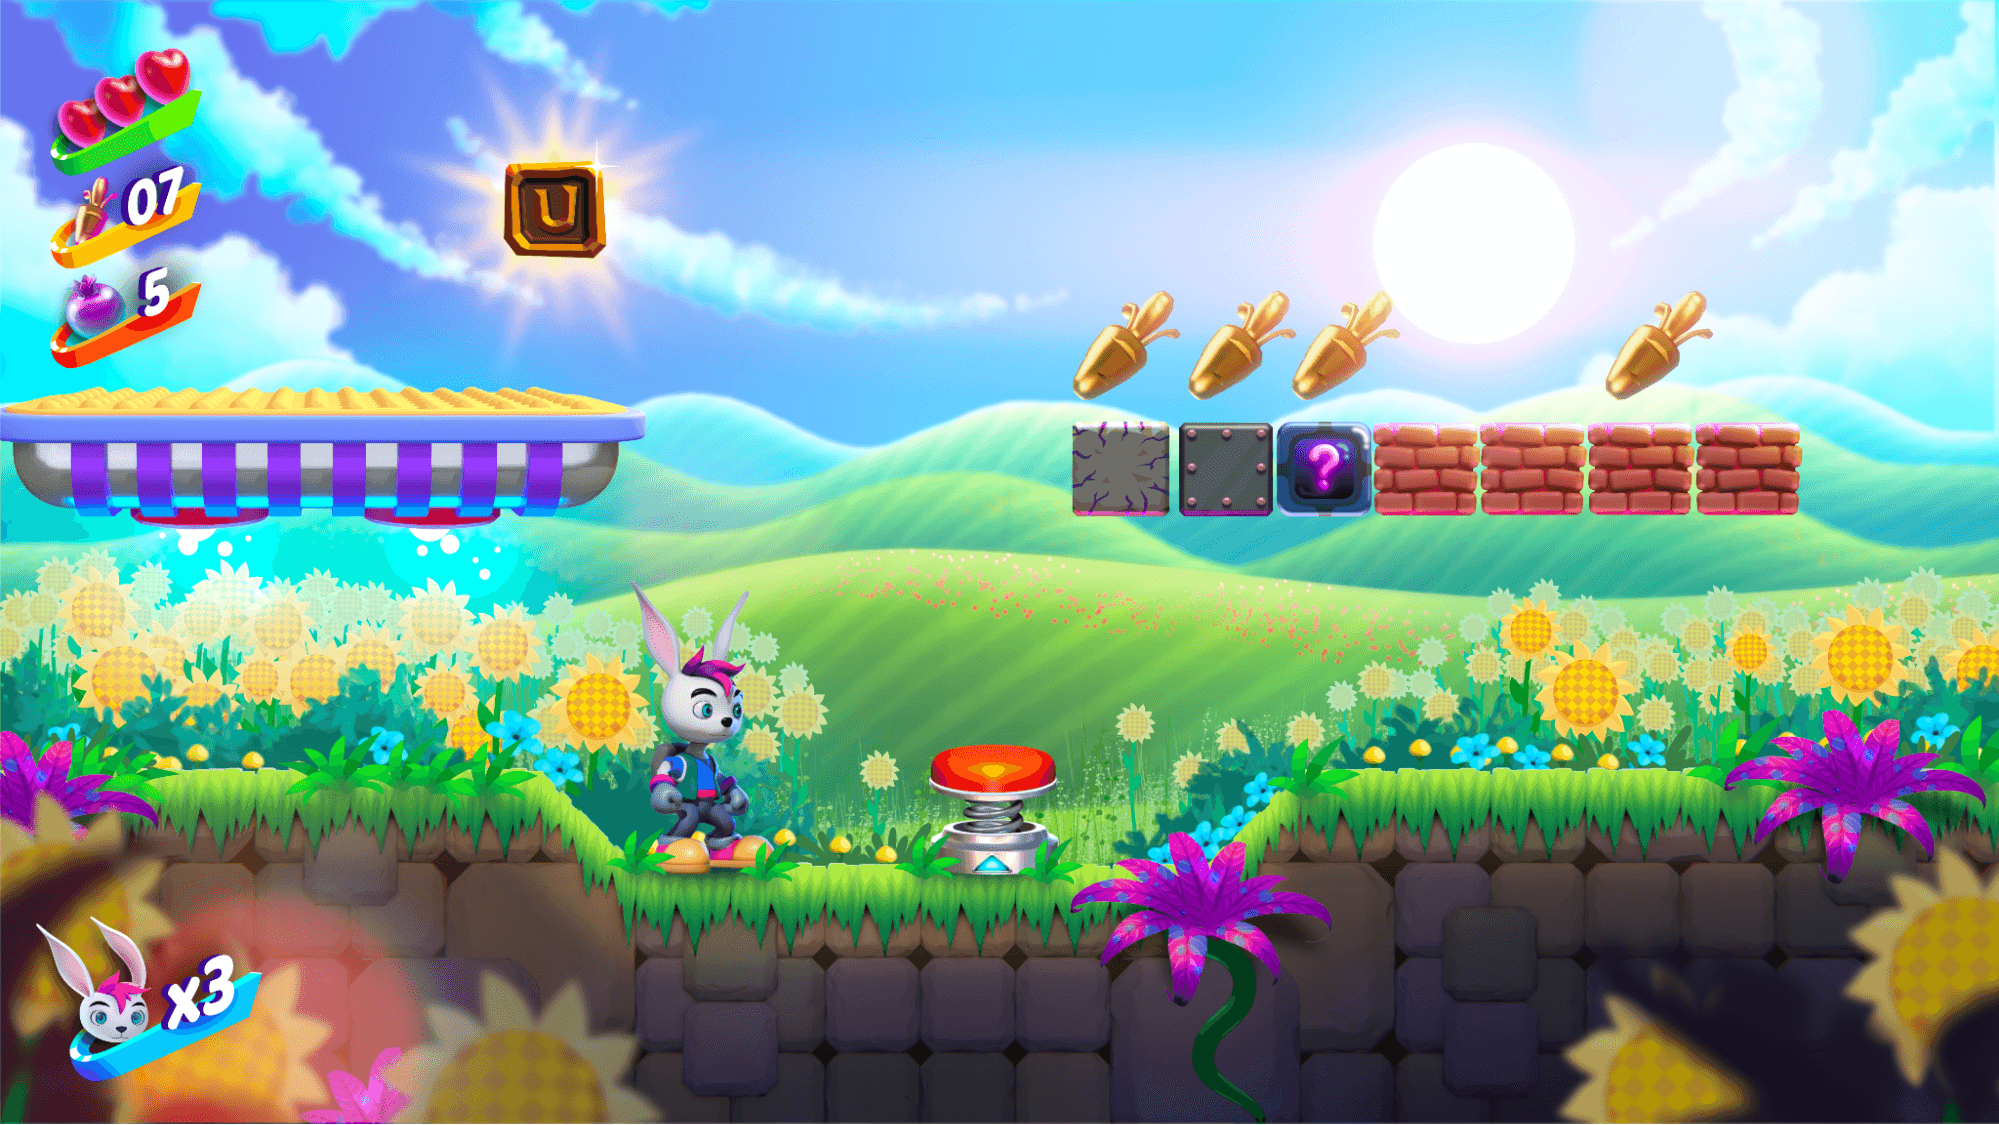
Gem Hunter Match - Projeto de amostra 2D
Gem Hunter Match é um projeto de amostra oficial do Unity multiplataforma que demonstra as capacidades de iluminação 2D e efeitos visuais no Pipeline de Renderização Universal (URP) no Unity 2022 LTS.