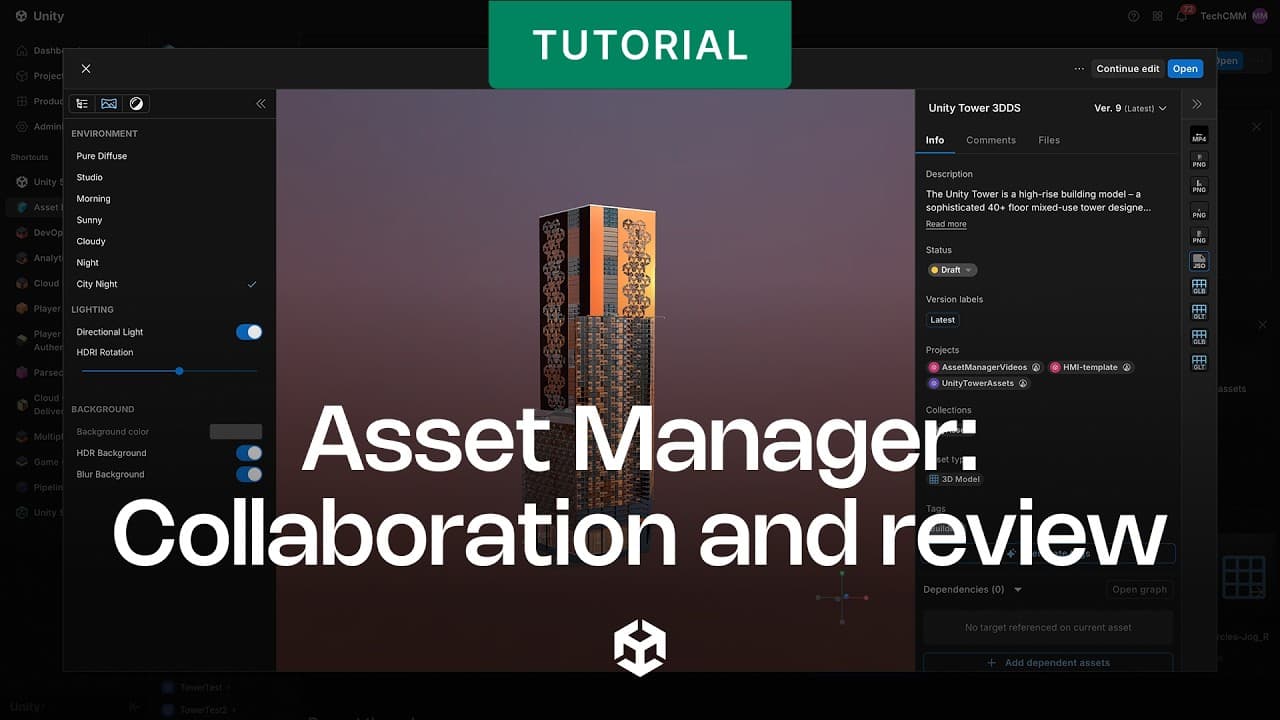
FAQ: Unity Asset Manager collaboration and review

Unity Industry Cloud helps teams create, review, and deliver 3D experiences. This FAQ is based on the video Unity Industry Cloud: Team collaboration and version control. It explains how to invite collaborators and set roles, review assets in the 3D viewer, annotate geometry, edit files and save versions, compare version history, and publish approved assets for production teams.
Unity Asset Manager can help teams collaborate on assets, validate, and prepare them for use in Unity Studio and the Unity Editor. Move an asset from upload through review and approval, then hand it to production teams.
Key takeaways
- Manage project access in Unity Asset Manager from the Unity Dashboard, using the User, Manager, and Owner project types.
- Viewer, Consumer, and Contributor are the three project roles that control what collaborators can do.
- The 3D viewer offers lighting, focus, hierarchy, materials override, and tools to isolate and inspect assets.
- Annotate geometry, attach screenshots, tag teammates, and thread comments directly in the viewer.
- Teams can edit files, save and compare versions, publish approved assets, and find them through search and filters.
How do I give my team access to assets in Unity Asset Manager?
You manage access from the Project section of the Unity Dashboard. The Project section shows every collaborator with access to the project and their roles.
To add a new team member:
1. Open the Project section and go to Members.
2. Click Add members.
3. Enter the person's email address.
4. Select the project user type: User, Manager, or Owner.
5. Assign the new member a role in the relevant dashboard applications.
6. Choose the user type based on responsibility: Select User when the collaborator does not need to manage other users or administer the project. Use Manager or Owner only when the person needs broader project control.
Timestamps:
(1:11): Open Project section and Members
(1:20): Add members and choose a user type
Unity documentation:
What are the user roles in Unity Asset Manager and what can each one do?
Asset Manager has three project-level roles that control what a collaborator can do with assets:
- Viewer: View and discover assets
- Consumer: View and download assets, and create comments, annotations, and Jira issues
- Contributor: Create, update, and delete assets and collections, in addition to all Consumer permissions
Assign the role that matches each person's responsibility. A reviewer who needs to give feedback fits the Consumer role, while someone who maintains the asset files needs Contributor access. For more detail, see roles, seats, and project permissions in Unity Asset Manager.
Timestamps:
(1:42): Three roles available in Asset Manager
(1:46): Consumer and Contributor permissions
Unity documentation:
How do I inspect an asset in the 3D viewer?
Open Unity Asset Manager, select your asset, and open the 3D viewer. You can move the camera freely and view the asset under different lighting conditions. For a walkthrough, watch 3D collaborative design review with Unity Asset Manager.
The viewer includes several inspection tools:
- Lighting: Click Lighting, select your preferred environment, and adjust settings such as high dynamic range image (HDRI).
- Focus: Select a geometry element and press F to focus on it.
- Hierarchy: Expand the hierarchy panel to view the asset structure.
- Materials override: Open this panel to display the asset with one material property at a time, such as albedo or normal map, to find material issues.
- Isolate: Click Isolate to hide everything except your selection and inspect a specific element.
Timestamps:
(1:54): Open the 3D viewer and move the camera
(2:06): Lighting and high dynamic range image (HDRI) settings
(2:14): Focus, hierarchy, materials override, and isolate
Unity documentation:
How do I annotate an asset and leave feedback?
Annotate directly in the 3D viewer to highlight an issue or ask a question.
1. Click Annotate and select the pen to draw directly in the viewer.
2. Add arrows and markers as needed.
3. Add a comment in the right panel and click Send.
Unity Asset Manager automatically attaches a screenshot of your annotation to your comment. Tag a person with @ to notify them. Reviewers can reply to comments, which creates a discussion thread around each feedback point. Learn more about how to validate, navigate, and annotate complex 3D files with Unity Asset Manager.
Timestamps:
(2:37): Annotate with the pen, arrows, and markers
(2:48): Add a comment, attach a screenshot, and tag people
(2:57): Reply to comments to create a discussion thread
Unity documentation:
How do I update an asset's files and save a new version?
To change the files that make up an asset, click Edit files. On this screen, add, remove, or replace the files that make up the asset.
1. Add, remove, or replace files as needed.
2. If you updated the data and need new previews, click Generate previews.
3. Describe your changes.
4. Add labels.
5. Modify any data that must stay in sync with the files.
6. Click Save version.
Describing your changes and adding labels before saving keeps the version history meaningful for everyone who reviews the asset later.
Timestamps:
(3:02): Click Edit files to add, remove, or replace files
(3:14): Generate previews, describe changes, and save a version
Unity documentation:
How do I compare versions of an asset?
As you iterate on an asset, its version history grows. Unity Asset Manager helps you compare any two versions to understand what changed:
1. Open the version drop-down menu.
2. Click Show version history.
3. Review the listed versions, including what changed and who made each change.
4. Click an older version to see it in the viewer.
Learn more about collaborative development with Asset Manager and version control.
Timestamps:
(3:27): Version history grows as you iterate
(3:33): Open Show version history and compare versions
Unity documentation:
How do I publish an approved asset for production?
After your asset is validated and ready for production, set its status to Publish to show that it is approved and ready to use.
1. Set the asset status to Publish.
2. Add a final note summarizing the state of the asset.
3. The final note explains how and where to use the asset. After publishing, the rest of the team can discover the asset.
Timestamps:
(3:48): Asset validated and ready for production
(3:53): Set status to Publish and add a final note
Unity documentation
How do teammates find published assets?
Unity Asset Manager search and filters help teammates find assets using the metadata you provided when publishing.
Teammates can filter assets by:
- Asset type
- Collection
- Status
- Associated metadata
Tags group assets around themes such as “interior”, “mechanical”, or “virtual reality” (VR). Apply clear tags and metadata so the right people can discover the asset. Learn more about how to organize content and create faster with Unity Asset Manager.
Timestamps:
(4:05): Search and filters help teammates find assets
(4:15): Filter by type, collection, status, and metadata
(4:20): Use tags to group assets by theme
Unity documentation: