Unity's material generator: create Physically Based Rendering materials from a text prompt

Today’s entry in our AI tools in beta series shows you how you can quickly iterate on your scene’s look and feel with the Material Generator’s ability to synthesize custom Physically Based Rendering (PBR) surfaces inside the Unity Editor.
Applying the right surface material to a prototype environment can feel premature when the design is still changing. Unity’s material generator removes that barrier. Describe the surface you need, and the generator returns a physically based material ready to drop into your scene.
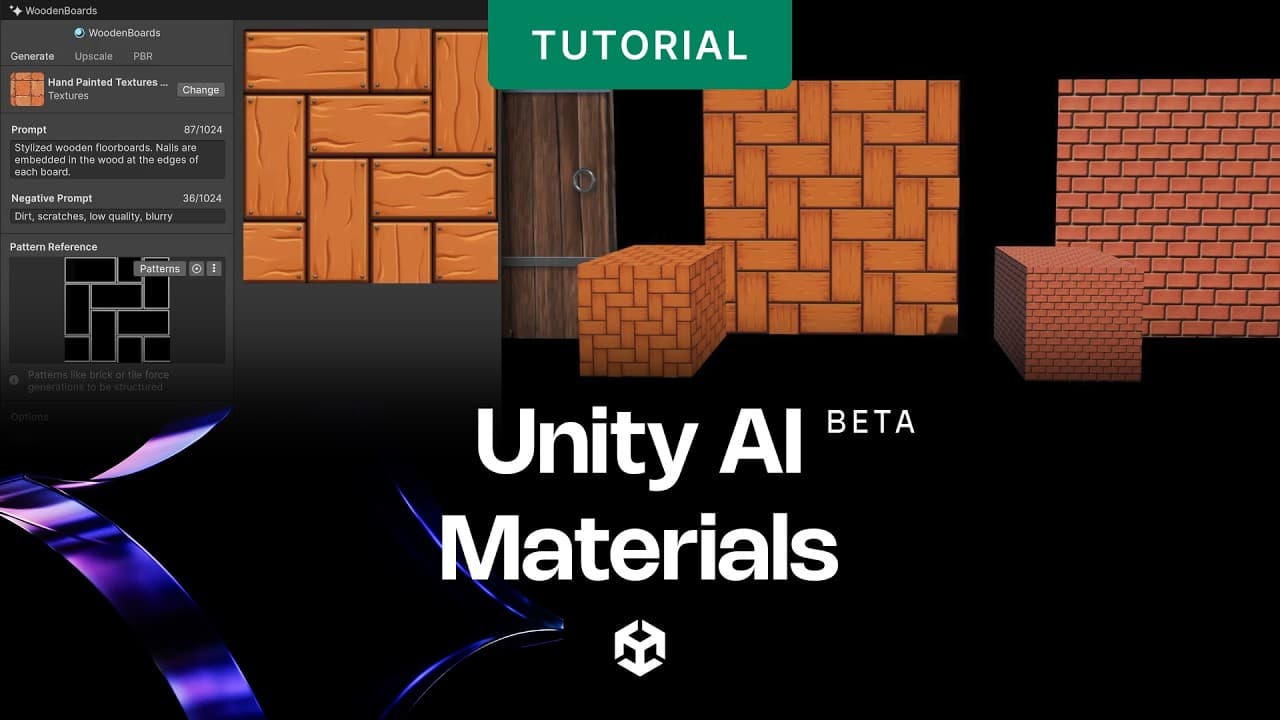
What is the material generator?
Unity’s material generator is part of the Generators toolset – a collection of AI-powered asset creation tools built directly into the Unity Editor. Using machine learning, the Material Generator produces realistic, tileable surface materials for 3D objects based on text prompts and, optionally, reference images.
Materials created by the material generator support physically based rendering (PBR), meaning they respond accurately to lighting and environmental conditions within Unity – the same way any hand-authored PBR material would.
Like all of Unity’s generators, this tool is designed to accelerate prototyping. You can use the generated materials to serve as high-quality placeholder assets during early development, giving your teams visual greybox stand-ins that respond to real lighting conditions. Then in the later production stages you can replace it with real artwork created by artists.

The material generator window inside the Unity Editor
How to access the Unity’s material generator
Unity's material generator requires Unity Editor 6.0 or later. Before you can use it, your project must be linked to Unity Cloud and you need to accept the terms in the AI menu inside the Editor. AI credits are managed and monitored through the Unity Cloud Dashboard.
Once set up, access is straightforward: right-click anywhere in the Project window and select Create > Rendering > Generate Material.
Model selection
The first step in the generator window is choosing a model. Unity offers a choice of models trained on different visual styles – such as realistic or stylised – so you can match the generator's output to your project's art direction from the outset.
Generating a material
Writing a prompt
Unity's material generator takes a plain-English text description as its primary input. Prompts should describe the surface appearance, material type, and any stylistic qualities you want – for example: “Wooden floor with natural grain”
You can also add a Negative Prompt to exclude unwanted elements – for instance, “No scratches or dirt” – giving you more precise control over the output.

Text prompt and negative prompt fields in the material generator
Variations and seeds
The Materials slider sets how many variations to generate in a single run – useful when you want to compare several interpretations of the same surface. Enabling Custom Seed lets you lock in a specific seed number so the generator reproduces consistent results when you run it again. Leave the seed field empty and the tool picks one automatically.
Pattern references
In the Pattern Reference field you can supply a reference image to guide the structural pattern of the generated material. The Generators package ships with a set of pattern_## textures optimized for seamless tiling; using these as references tends to produce the best results for repeating surfaces like brick, tile, and fabric.
Once you select Generate, results appear in the Generations panel. Hovering over any thumbnail shows the model used and the prompt settings that produced it.

Multiple material variations in the Generations panel
Refining a generated material
The initial generation produces a base map – the foundation colour and surface detail. From there, two additional tabs let you push quality further.
The PBR tab – adding surface depth
The PBR tab simulates how light interacts with the material's surface. It extends the base map with a full set of Material Map Assignments:
- map – What it controls
- delighted – Base colour and diffuse surface detail, no lighting baked in
- normal – The illusion of bumps, grooves, or fine surface texture
- height – Simulated physical ridges and indentations
- metallic – How much light the surface reflects (metallic character)
- smoothness – Roughness vs. polish of the surface
- emission – Areas that appear to emit light
- occlusion – Ambient shadow in recessed areas
- mask map – Combined map for complex multi-property materials, used most often with HDRP
You can also supply an Image Reference in this tab to further influence the material's final appearance before generating the PBR maps. Selecting PBR kicks off the additional generation pass.

PBR map assignments in the material generator
The Upscale tab – sharpening resolution
Once you're happy with the surface properties, the Upscale tab refines and resizes the generated material to improve clarity and resolution. A single click on Upscale processes the selected generation.

Material before and after upscaling
Applying and managing generated materials
Applying to scene objects
Generated materials can be dragged directly from the Generations panel onto objects in your Scene view. The Inspector's preview area shows both a sphere and a cube so you can evaluate curved-surface behaviour and tiling simultaneously – useful for assessing whether a texture reads as seamless before you apply it.
Context menu options
Right-clicking any result in the Generations panel surfaces a context menu with the following options:
- Select highlights the asset in the Project window
- Refresh re-applies any recent improvements made in the generator
- Promote to new asset creates a standalone asset file from the generation
- Reveal in Finder opens the file location on disk
- Show Generation Data displays the model and prompt settings used, with options to reuse all or part of those settings for a new generation
Generated material maps are as default stored in a /GeneratedAssets folder at the project root and can be moved anywhere in your project, like any other asset.
The Unity AI label
Any asset you generate and assign is automatically tagged with the Unity AI label. This makes it easy to search for and audit AI-generated content across a project – either by entering Unity AI in Unity's Search window or by right-clicking any asset and selecting Search Generated Assets.This can be useful for when you are looking to replace prototyped assets in the later development stages.

Searching for AI-generated assets
Where Unity’s material generator fits in a real workflow
Unity's material generator accelerates the prototyping stage: a developer or technical artist can populate an environment with plausible PBR materials in minutes, without waiting on the art pipeline. Those placeholder materials get replaced with hand-crafted final assets as the project matures.
The generator works alongside the rest of the generators suite – including the Texture2D Generator, Terrain Layer Generator, Sprite Generator, Sound Generator, and Animation Generator – so teams can prototype an entire scene's look and feel from within the Editor before committing to full asset production.
You can undo steps taken in the generator at any point during your session.
More on AI tools
If you’re interested in reading more about what’s available in the Unity AI Open Beta, we invite you to read other articles in this ongoing series:
- Introducing AI tools in beta
- The in-Editor AI assistant, explained
- How to get started with Unity MCP
- Using Unity AI’s UI Generator
- Create props with Unity AI’s 3D Object Generator
- Create skyboxes and environment reflections with the Cubemap Generator
- Using Sprite Generator to create 2D sprites, icons and spritesheets
Try AI tools today
The AI tools in beta are available now for all Unity 6 developers. Sign up for a free trial, explore the in-Editor AI assistant, connect your preferred tools via the AI Gateway, and start experimenting with what your development workflow looks like with a project-aware AI agent built in.
Sign up and learn more about plans, pricing, and data privacy at unity.com/features/ai
Full documentation is available in the AI tools docs linked from the Editor or at docs.unity3d.com.
The in-Editor AI assistant is currently in open beta. As such, features, behavior, and availability described in this post are under active development and may change, be limited, or be discontinued without notice.