Best Practices für Unity
Neu auf dieser Seite
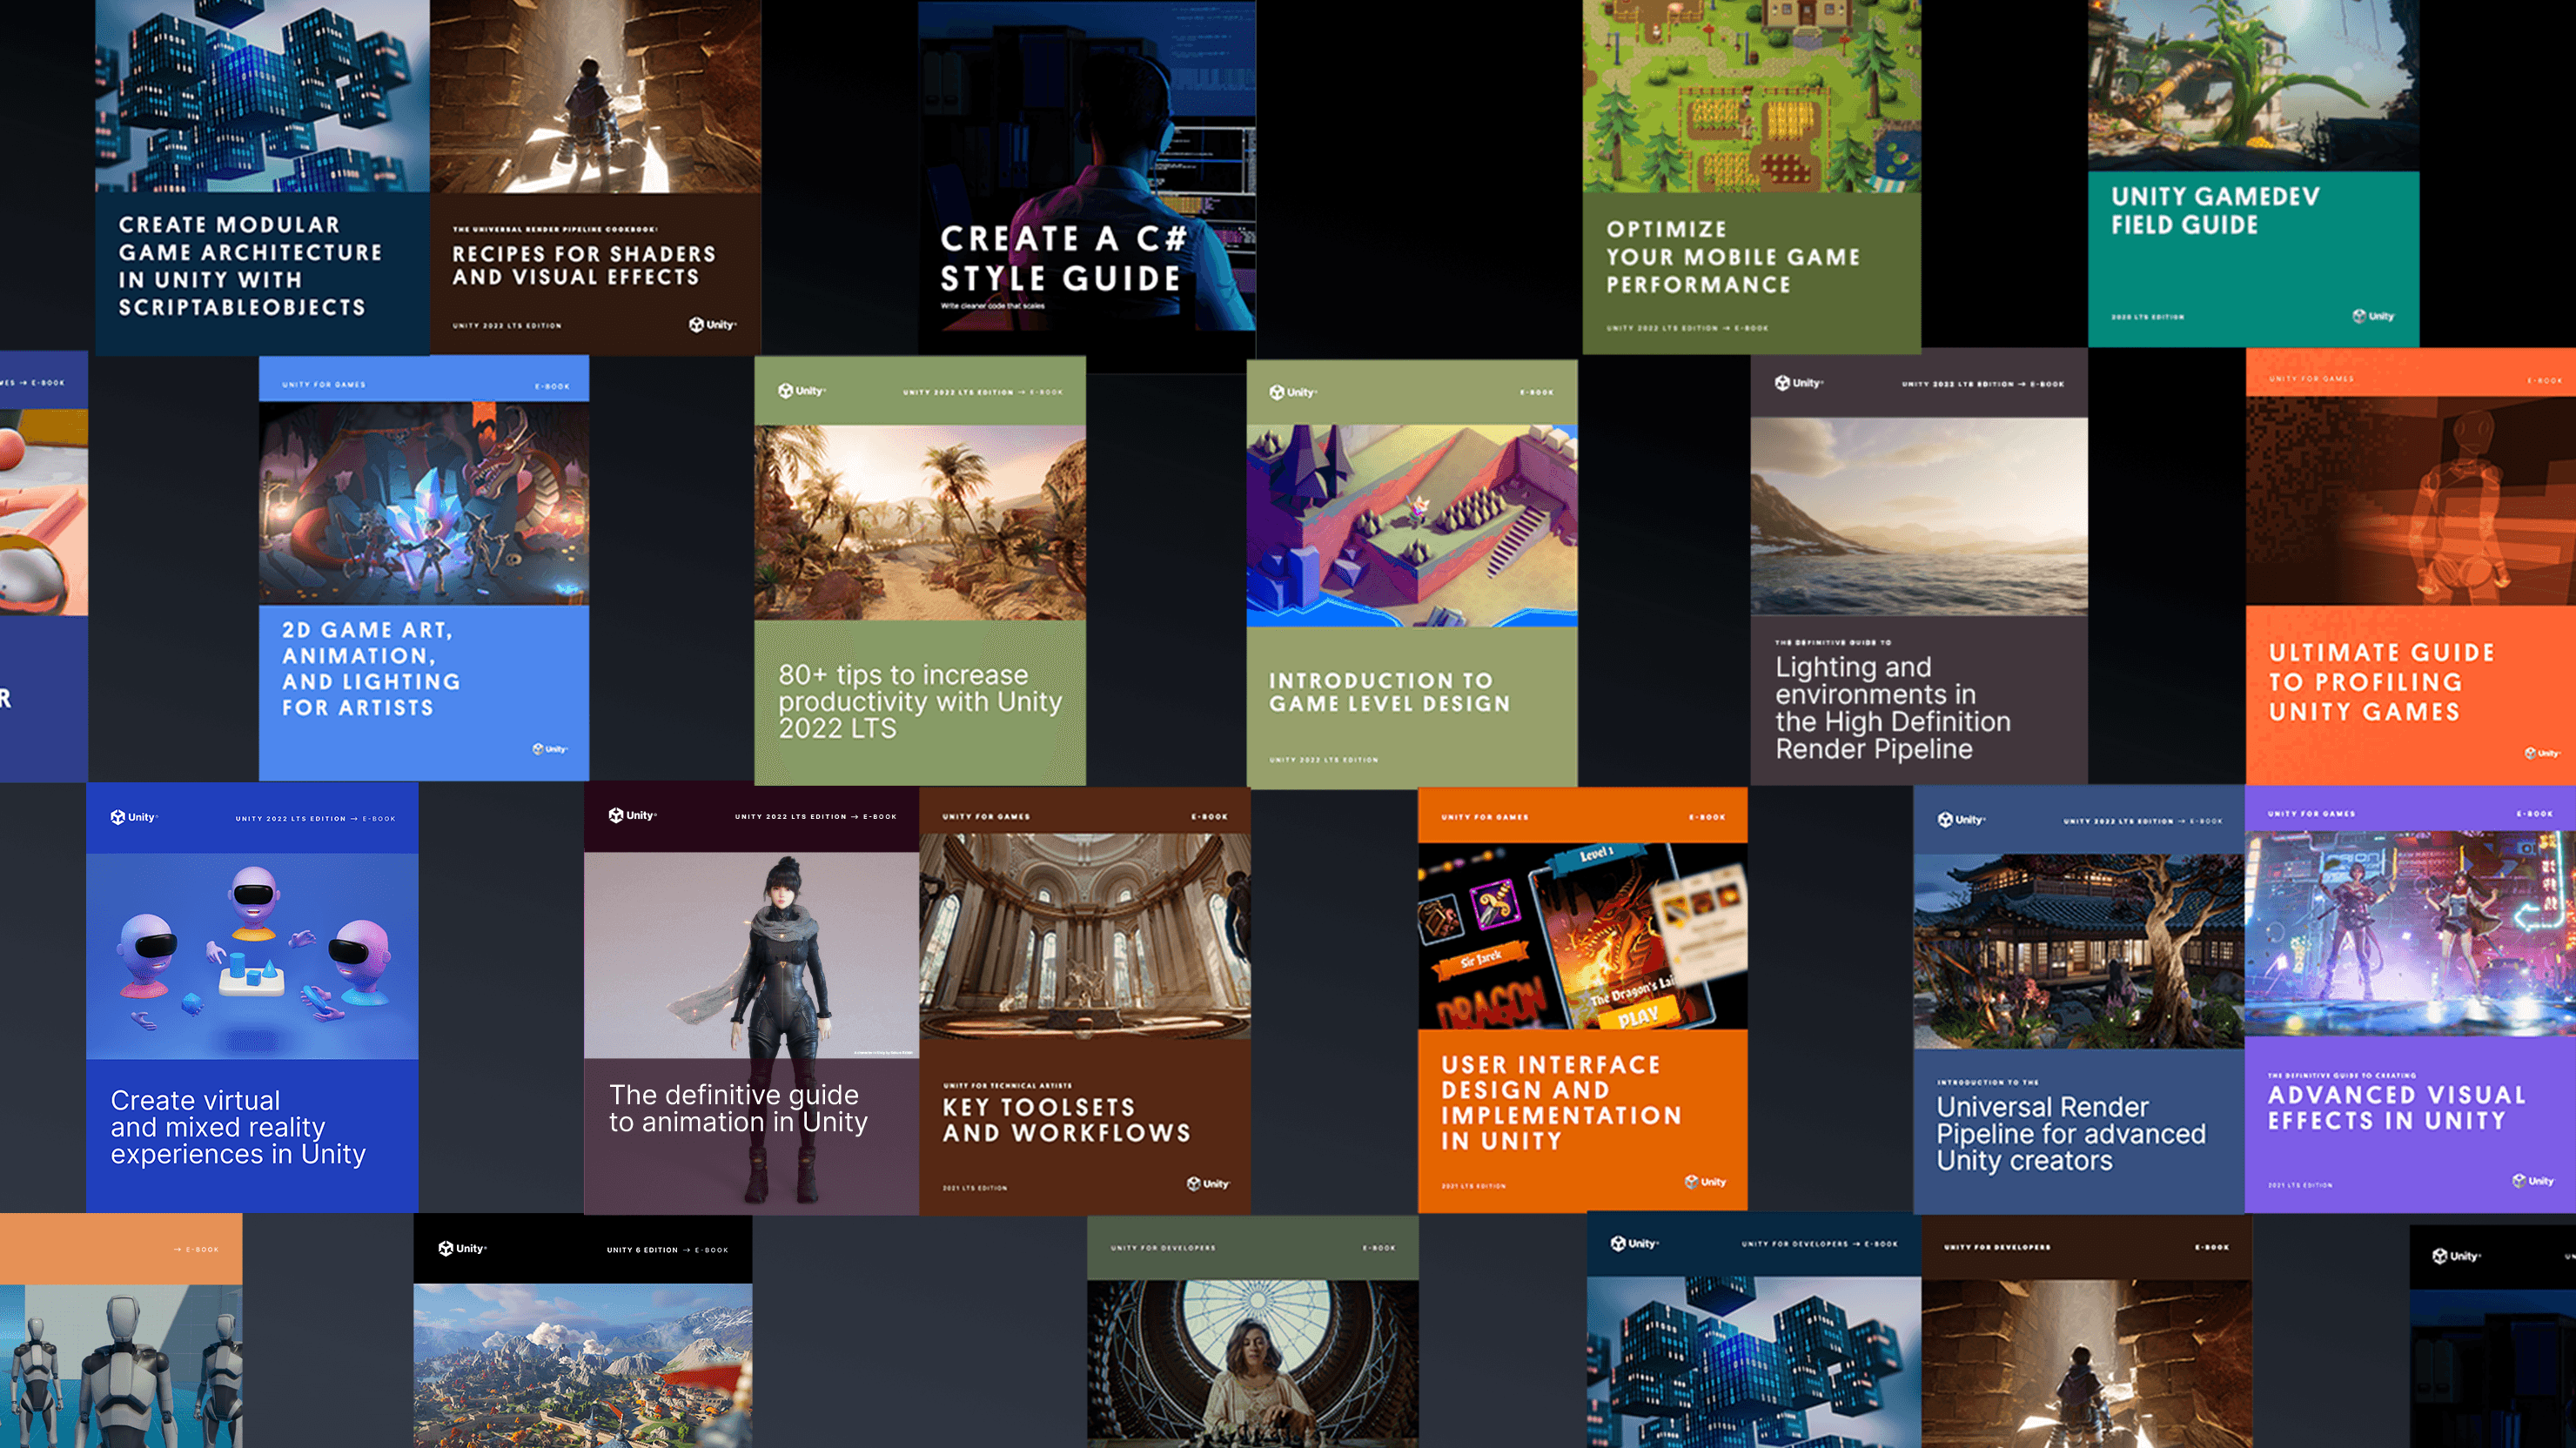
Technische E-Books

Beispielprojekt: Juwelenjäger-Match
2D
Grafik & Rendering
- Erste Schritte mit der High-Definition Render Pipeline
- Anti-Aliasing, Volumen und Belichtung mit der High-Definition Render Pipeline
- Lichter und Schatten mit HDRP
- Reflexionen und Echtzeiteffekte für Beleuchtung
- Nachbearbeitung und Raytracing mit HDRP
- Einführung in das VFX-Graph in Unity
- URP-Projekt- und Qualitätseinstellungen: Lernen Sie aus dem URP 3D-Beispiel
DevOps
C#-Programmierung in Unity
- 10 Möglichkeiten, Ihre Programmier-Workflows in Unity mit Visual Studio 2019 zu beschleunigen
- Verstehen von Unitys Serialisierungsprache, YAML
- Beschleunigen Sie Ihre Programmierer-Workflows
- Formatierungs-Best Practices für C#-Scripting in Unity
- Tipps zu Benennung und Code-Stil für C#-Scripting in Unity
- Erstellen Sie modularen und wartbaren Code mit dem Beobachter-Muster
- Entwickeln Sie eine modulare, flexible Codebasis mit dem Zustandsprogrammiermuster
- Verwenden Sie Object Pooling, um die Leistung von C#-Skripten in Unity zu steigern
- Erstellen Sie eine modulare Codebasis mit MVC- und MVP-Programmiermustern
- So verwenden Sie das Fabrikmuster zur Objekterstellung zur Laufzeit
- Verwenden Sie das Befehlsmuster für flexible und erweiterbare Spielsysteme
- So verwenden Sie das Model-View-ViewModel-Muster
- So verwenden Sie das Strategiemuster
- So verwenden Sie das Flyweight-Muster
- So verwenden Sie das Dirty Flag-Muster
- Ein Leitfaden zur Verwendung des neuen AI-Navigationspakets in Unity 2022 LTS und höher
- Erste Schritte mit der Unity ScriptableObjects-Demo
- Verwenden Sie auf ScriptableObject basierende Ereignisse mit dem Beobachter-Muster
- Verwenden Sie auf ScriptableObject basierende Enums in Ihrem Unity-Projekt
- Trennen Sie Spieldaten und Logik in Unity mit ScriptableObjects
- Verwenden Sie ScriptableObjects als Delegatenobjekte
- Verwenden Sie ScriptableObjects in Unity, um dynamische Daten zu halten
Benutzeroberfläche (UI)
- Optimierungstipps für Unity UI
- So erstellen Sie die nächste Generation von Automotive HMI mit Unity
- Das UI Toolkit-Beispielprojekt QuizU
- QuizU: Zustandsmuster für den Spielablauf
- QuizU: Verwaltung von Menüscreens im UI Toolkit
- QuizU: Das Model-View-Presenter-Muster
- QuizU: Ereignisbehandlung im UI Toolkit
- QuizU: Leistungstipps für das UI Toolkit
- Das Unity UI Toolkit Beispiel - Dragon Crashers Mini-Handbuch
Leistungsoptimierung
- Werkzeuge für Profiling und Debugging
- Speicherprofilierung in Unity
- Leistungprofilierungstipps für Spieleentwickler
- Optimieren Sie die Leistung Ihres Mobilspiels: Experten-Tipps zu Grafiken und Assets
- Nützliche Tipps zum fortgeschrittenen Profiling
- Profiling in Unity 2021 LTS: Was, wann und wie
- Wie Sie Ihr Spiel mit der Profilanalyse optimieren
- Leistungsoptimierung für High-End-Grafiken
- Verwaltung der GPU-Nutzung für PC- und Konsolenspiele
- Leistungsoptimierung: Projektkonfiguration und Assets
- Tipps zur Leistungsoptimierung in Unity: Programmierung und Codearchitektur
Kunst & Spieledesign
- So beheben Sie importierte Animationen in Unity
- Tipps zum Erstellen von Animator-Controllern in Unity
- Tipps zur mobilen Optimierung für technische Künstler – Teil I
- Tipps zur mobilen Optimierung für technische Künstler – Teil II
- Systeme, die Ökosysteme schaffen: Emergentes Spieledesign
- Unvorhersehbar spaßig: Der Wert der Randomisierung im Spieledesign
- Animationskurven, der ultimative Designhebel
- Erfahren Sie, wie Sie 3D- und 2D-Filmanimationen erstellen
Branche
- Einführung in die Übertragungsmethoden des Asset Managers in Unity
- Erstellen Sie einen einfachen Produktkonfigurator in Unity in einer Stunde oder weniger
- Creator Series | Datenaufnahme: CAD-, BIM- und Punktwolken-Daten verwalten
- CAD- und Mesh-Daten mit Unity Asset Transformer Studio freischalten
- 3D-Daten in Unity Industry mit dem Unity Asset Transformer Toolkit importieren
Unity Gaming Services
Spieleentwicklung
- Die acht Faktoren der Multiplayer-Spieleentwicklung
- Netzwerklatenzmanagement in Multiplayer-Spielen
- Neun Anwendungsfälle für die Game Backend-Tools von Unity
- Was ist eine In-Game-Ökonomie
- Aufbau einer In-Game-Ökonomie
Spielerbindung
- Verbesserung der Bindung in jeder Phase des Spielerlebenszyklus
- So wenden Sie A/B-Tests auf Spiele an
Unity Ads
- So monetarisieren Sie effektiv und nachhaltig in mobilen Spielen
Testen, Debuggen und Qualitätssicherung
Neue E-Books

Beleuchtung und Umgebungen im High Definition Render Pipeline in Unity 6
Laden Sie dieses E-Book herunter, um mehr über alle Funktionen zu erfahren, die in HDRP in Unity 6 und 6.1 enthalten sind.

UI-Toolkit für fortgeschrittene Unity-Entwickler (Unity 6-Ausgabe)
Lesen Sie diesen neuen umfassenden Leitfaden, der sich auf die Funktionen des UI-Toolkits konzentriert, mit Abschnitten zu Unity 6-Funktionen wie Datenbindung, Lokalisierung, benutzerdefinierten Steuerelementen und vielem mehr.
Erstellen Sie modulare Spielarchitekturen in Unity mit ScriptableObjects (Unity 6 Ausgabe)
Lesen Sie dieses E-Book, das Tipps und Tricks von professionellen Entwicklern für den Einsatz von ScriptableObjects in der Produktion zusammenstellt.
Tipps zur Steigerung der Produktivität mit Unity 6
Dieser aktualisierte Leitfaden mit über 100 Seiten bietet Tipps zur Beschleunigung Ihrer Arbeitsabläufe in jeder Phase der Spieleentwicklung und ist nützlich, egal ob Sie gerade erst anfangen oder ob Sie seit Jahren Unity-Entwickler sind.
2D-Spielkunst, Animation und Beleuchtung für Künstler (Unity 6.3 LTS-Version)
Unser beliebtes 2D-E-Book wurde jetzt aktualisiert, um Techniken und Arbeitsabläufe für die Entwicklung eines professionellen 2D-Spiels in Unity 6.3 LTS zu enthalten. Erhalten Sie bewährte Verfahren für Kunst, Design, Animation, Beleuchtung und VFX sowie Tipps zur Verwendung von 3D-Assets in 2D-Spielen.
Technische E-Books für Programmierer
- Erstellen Sie modulare Spielarchitekturen in Unity mit ScriptableObjects (Unity 6 Ausgabe)
- Tipps zur Steigerung der Produktivität mit Unity 6
- Ultimative Anleitung zur Profilerstellung für Unity-Spiele (Unity 6 Edition)
- Einführung in DOTS-Konzepte, Funktionen und Beispiele für fortgeschrittene Unity-Entwickler (Unity 6 Edition)
- Verwenden Sie einen C#-Stilrichtlinien für sauberen und skalierbaren Spielcode (Unity 6 Edition)
- Die ultimative Anleitung zum Multiplayer-Netzwerken für fortgeschrittene Unity-Entwickler
- Optimieren Sie die Spieleleistung für Mobilgeräte, XR und das Web in Unity (Unity 6)
- Optimieren Sie die Spieleleistung für Konsolen und PCs in Unity (Unity 6)
- Best Practices für Projektorganisation und Versionskontrolle (Unity 6)
- Einführung in DOTS für fortgeschrittene Unity-Entwickler
- Ultimative Anleitung für die Profilerstellung für Unity-Spiele
- Erstellen Sie einen C#-Code-Stilrichtlinien
- Optimieren Sie die Spieleleistung für Mobilgeräte (Unity 2020 LTS)
- Unity GameDev-Feldführer
- Optimieren Sie die Spieleleistung bei Konsolen- und PC-Spielen
- Produktivität mit Unity 2020 LTS steigern
- Versionskontrolle und bewährte Verfahren der Projektorganisation für Spieleentwickler
- Bringen Sie Ihre Programmierkenntnisse mit Game-Programmiermustern auf die nächste Stufe
- Bringen Sie Ihren Code mit Designmustern und SOLID auf die nächste Stufe
- Modulare Spielarchitektur in Unity mit ScriptableObjects erstellen
- Optimieren Sie die Leistung Ihres Mobilspiels (Unity 2022 LTS)
- Optimieren Sie die Leistung Ihrer Konsolen- und PC-Spiele (Unity 2022 LTS)
- 80+ Tipps zur Steigerung der Produktivität in Unity 2022 LTS
Technische E-Books für Künstler und Designer
- 2D-Spielkunst, Animation und Beleuchtung für Künstler (Unity 6.3 LTS-Version)
- Beleuchtung und Umgebungen im High Definition Render Pipeline in Unity 6
- UI Toolkit für fortgeschrittene Unity-Entwickler (Unity 6 Edition)
- Beliebte Shader und visuelle Effekte mit der Universal Render Pipeline erstellen (Unity 6 Edition)
- Der definitive Leitfaden zur Erstellung fortgeschrittener visueller Effekte in Unity (Unity 6 Edition)
- Einführung in die Universal Render Pipeline für fortgeschrittene Unity-Entwickler (Unity 6)
- Der definitive Leitfaden zur Animation in Unity
- Virtuelle und gemischte Realitätserlebnisse in Unity erstellen
- Beleuchtung und Umgebungen in der High Definition Render Pipeline (Unity 2022 LTS)
- Einführung in die Universal Render Pipeline für fortgeschrittene Unity-Entwickler (Unity 2022 LTS)
- Einführung in das Level-Design von Spielen in Unity
- Rezepte für beliebte visuelle Effekte mit der Universal Render Pipeline
- Benutzeroberflächendesign und -implementierung in Unity
- Der definitive Leitfaden zur Erstellung fortgeschrittener visueller Effekte in Unity
- Der definitive Leitfaden zur Beleuchtung in der High Definition Render Pipeline (HDRP) Unity 2021 LTS
- Der definitive Leitfaden zur Beleuchtung in der High Definition Render Pipeline (HDRP) Unity 2020 LTS
- 2D-Spielegrafiken, Animation und Beleuchtung für Grafiker
- Einführung in die Universal Render Pipeline für fortgeschrittene Unity-Entwickler
- Das Unity Game Designer Playbook
- Unity für technische Künstler: Schlüsselwerkzeuge und Arbeitsabläufe (Unity 2020 LTS Edition)
- Unity für technische Künstler: Schlüsselwerkzeuge und Arbeitsabläufe (Unity 2021 LTS Edition)
Neue Beispielprojekte
Dragon Crashers - UI Toolkit Beispielprojekt
Dieses offizielle UI Toolkit-Projekt bietet Spieloberflächen, die die Arbeitsabläufe von UI Toolkit und UI Builder für Laufzeitspiele präsentieren. Erforschen Sie dieses Projekt mit seinem Begleit-E-Book für weitere großartige Tipps.

QuizU - Ein UI Toolkit Beispiel
QuizU ist ein offizielles Unity-Beispiel, das verschiedene Entwurfsmuster und Projektarchitekturen demonstriert, einschließlich MVP, Zustandsmuster, Verwaltung von Menüs und vieles mehr mit UI Toolkit.
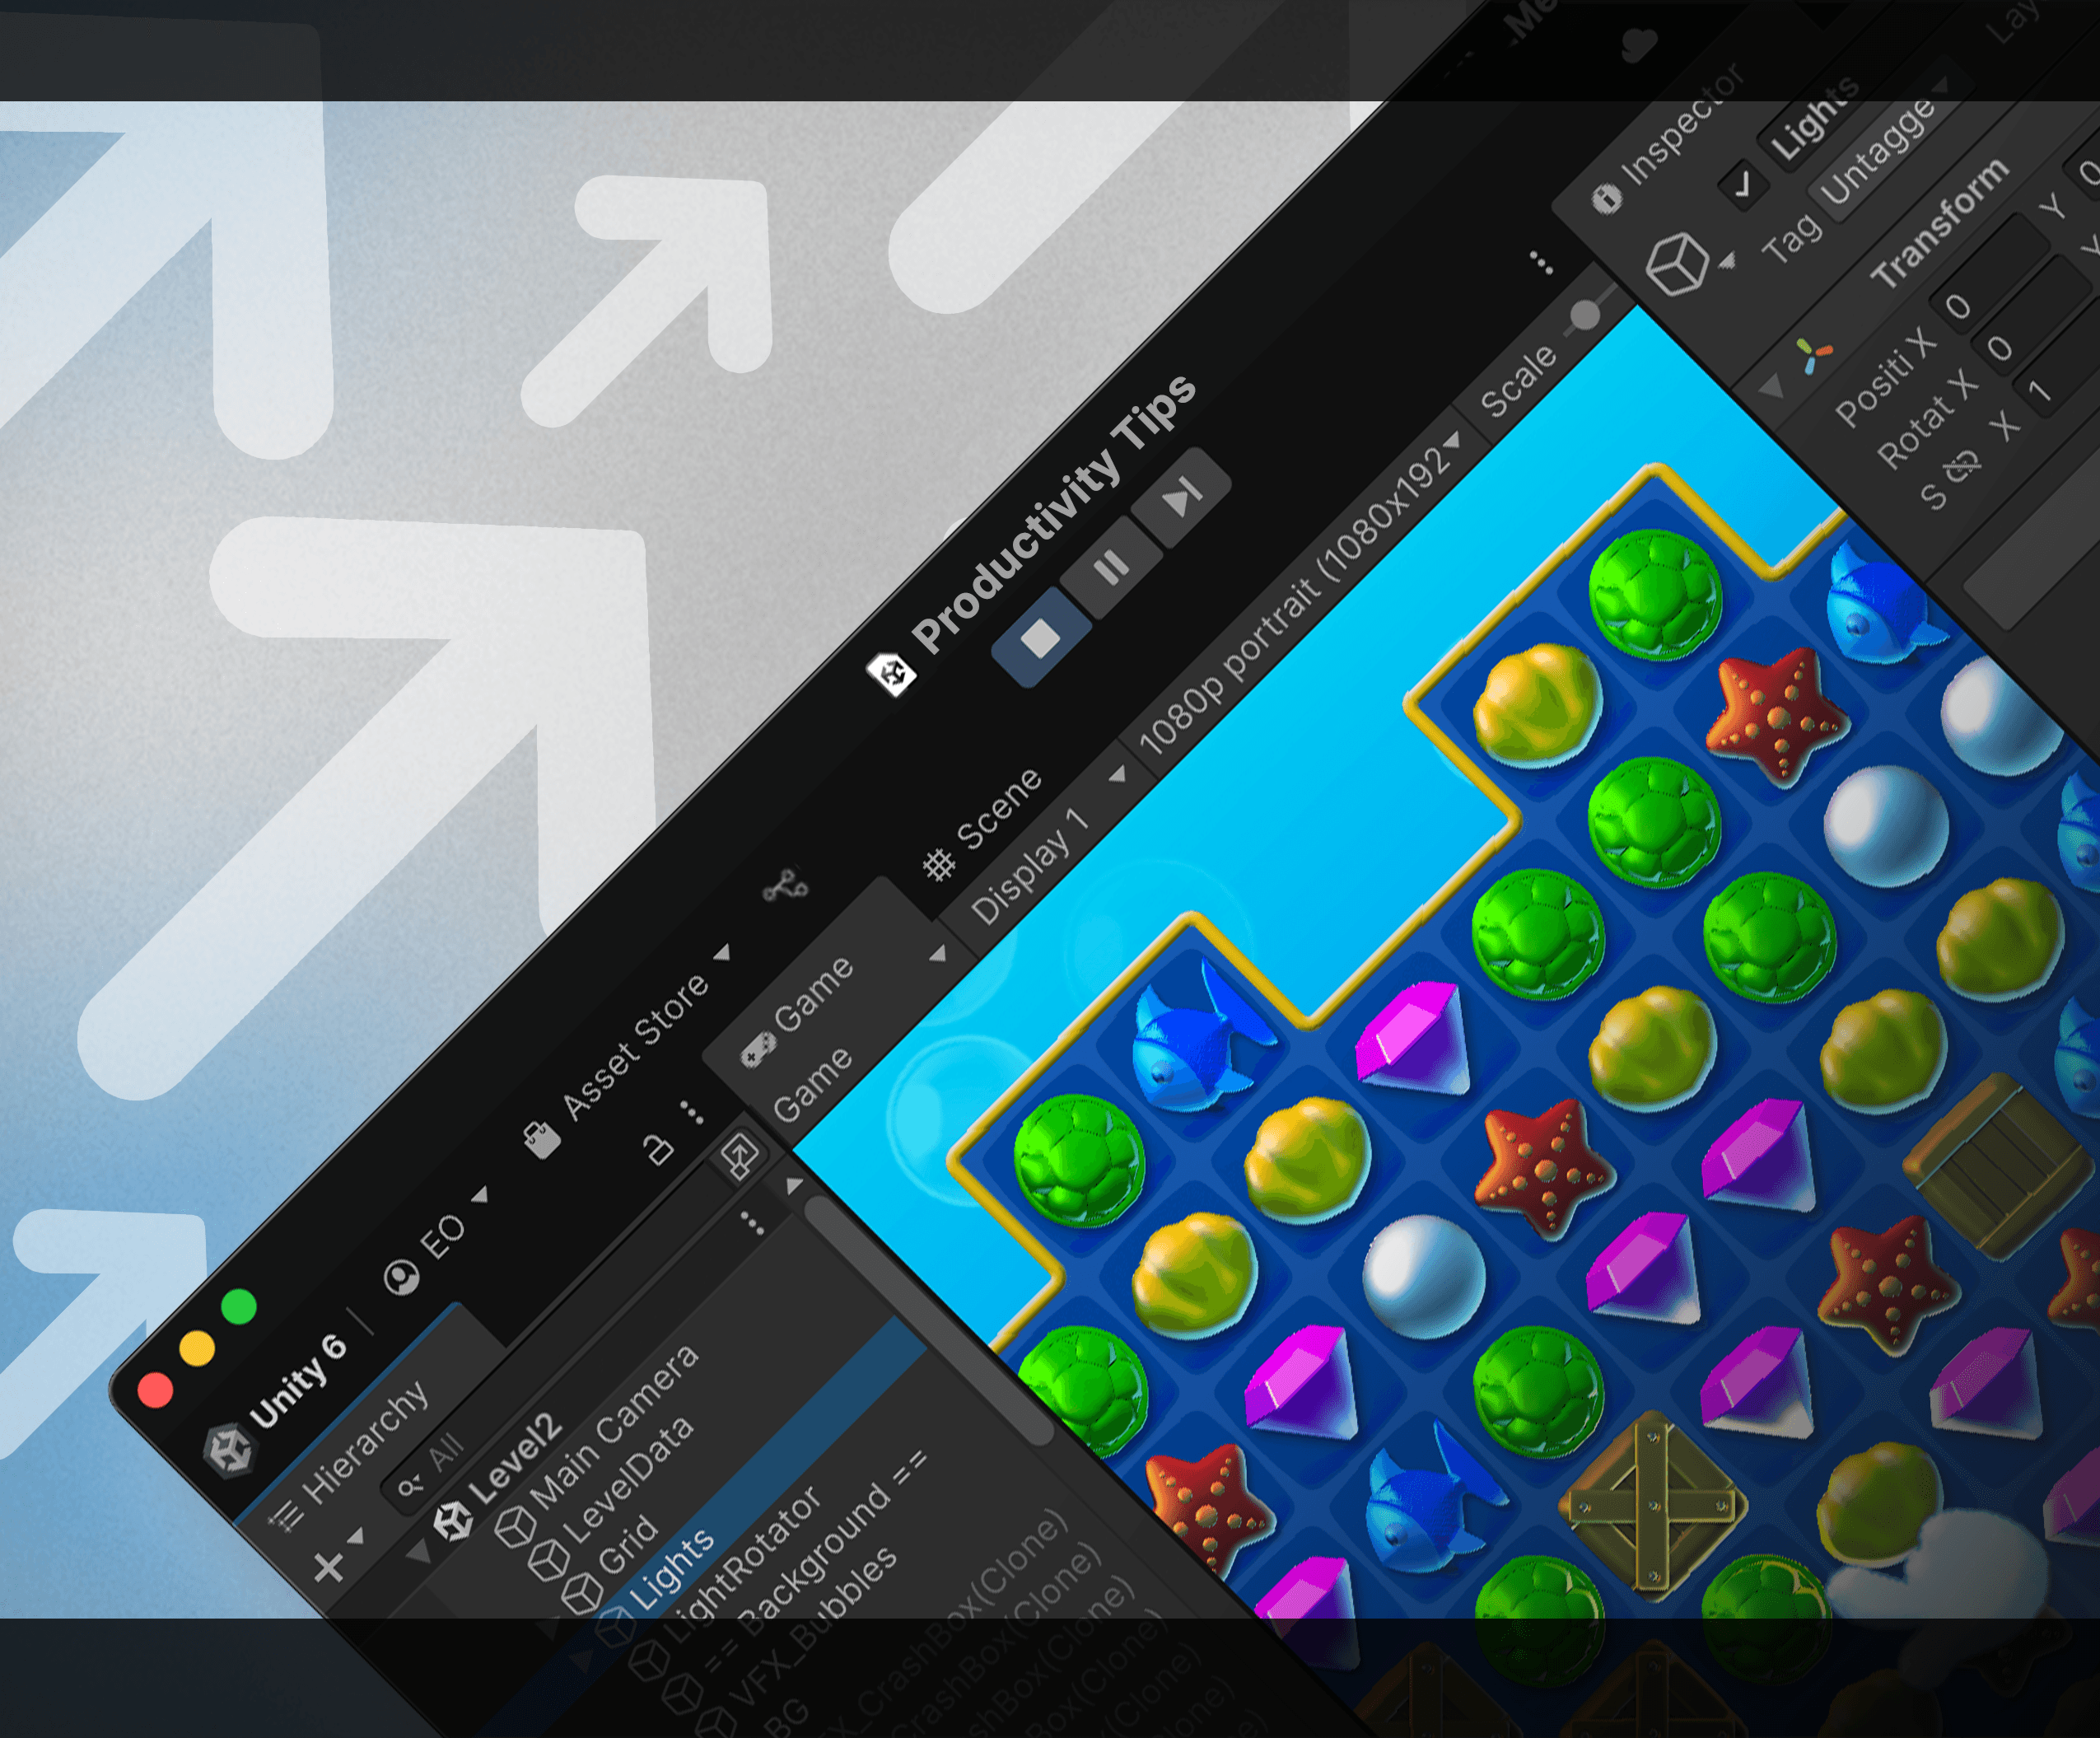
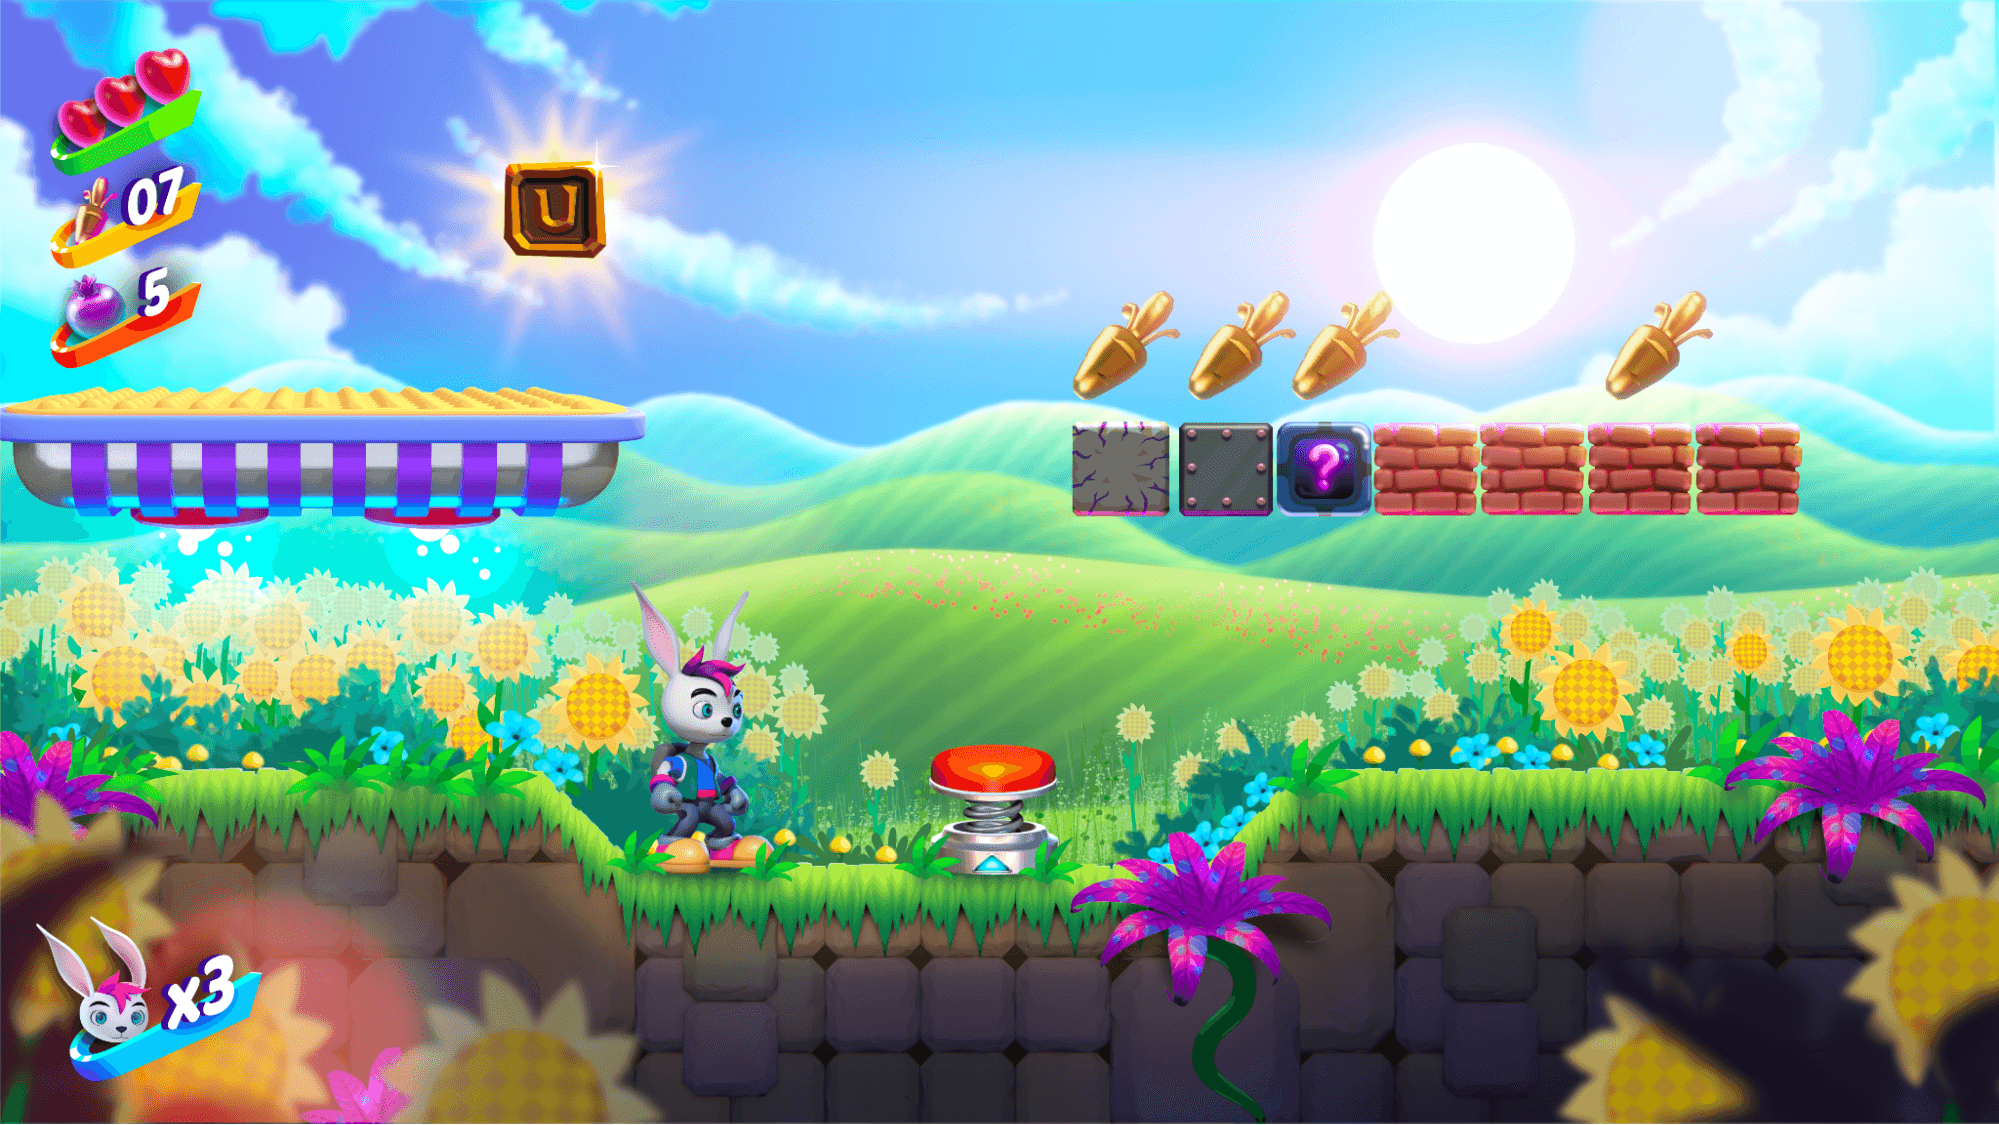
Gem Hunter Match - 2D-Beispielprojekt
Gem Hunter Match ist ein offizielles Unity-Cross-Plattform-Beispielprojekt, das die Möglichkeiten von 2D-Beleuchtung und visuellen Effekten in der Universal Render Pipeline (URP) in Unity 2022 LTS zeigt.