What you will get from this page: Part II of our collection of helpful tips for optimizing your art assets for your mobile game. Part I is here.
You can find many other mobile optimization tips in this comprehensive e-book and this Unity Learn course on 3D Art Optimization for Mobile Applications.
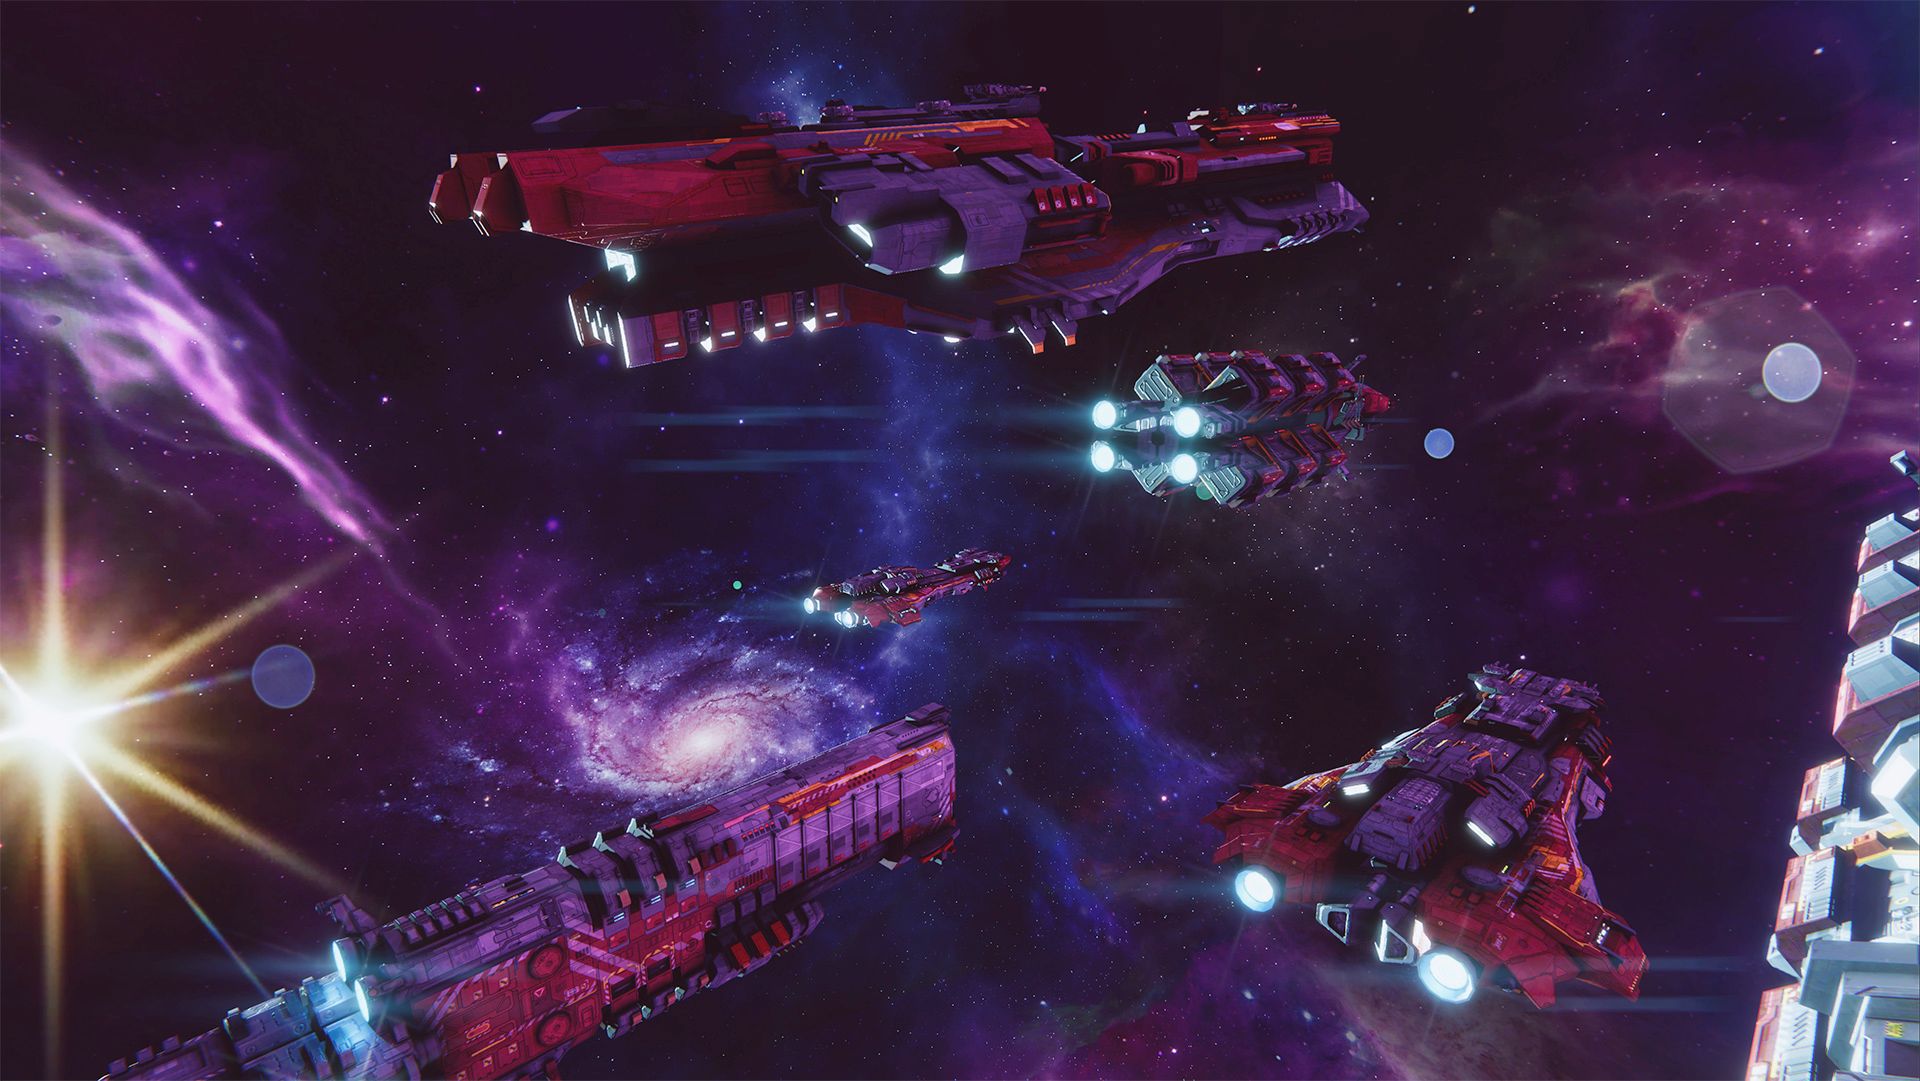
The same physically based lighting and materials from consoles and PCs can also scale to your phone or tablet with the Universal Render Pipeline (URP).
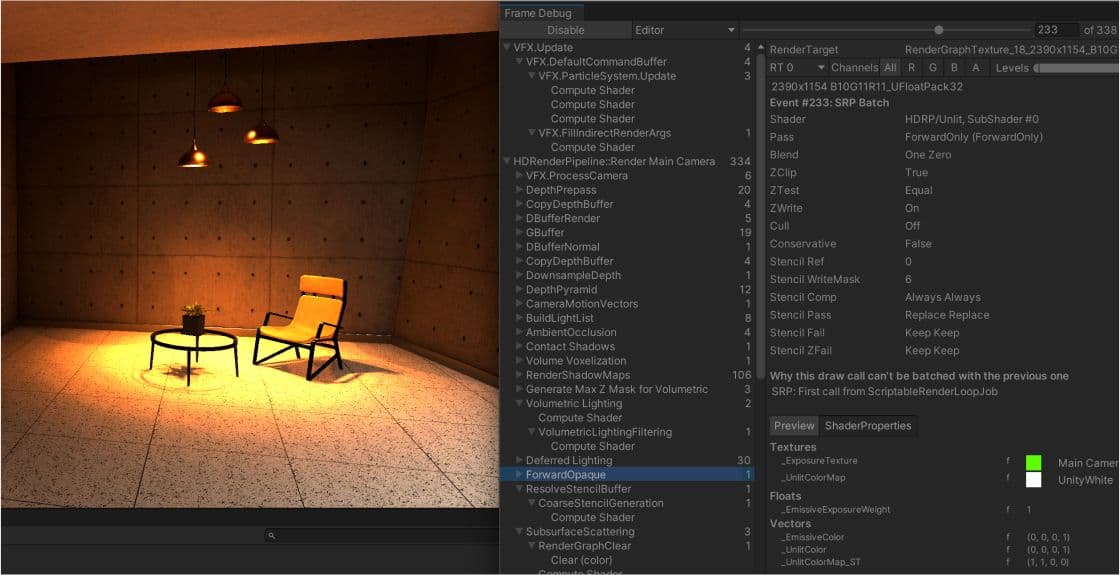
Batch your draw calls
With each frame, Unity determines the objects that must be rendered, then creates draw calls. A draw call is a call to the graphics API to draw objects (e.g., a triangle), whereas a batch is a group of draw calls to be executed together. Batching objects to be drawn together minimizes the state changes needed to draw each object in a batch. This leads to improved performance by reducing the CPU cost of rendering objects.
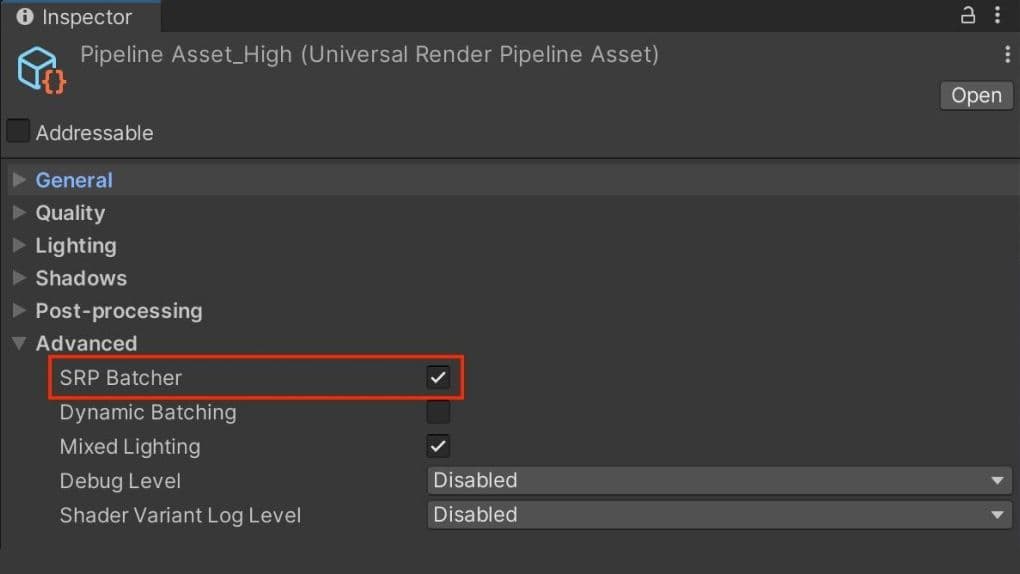
SRP Batching: Enable the SRP Batcher in your URP asset under Advanced. This can speed up your CPU rendering times significantly, depending on the scene.
It’s crucial to avoid adding too many dynamic lights to your mobile application. Consider alternatives like custom shader effects and light probes for dynamic meshes, as well as baked lighting for static meshes.
See this feature comparison table for the specific limits of URP and Built-In Render Pipeline real-time lights.
Shadow casting can be disabled per MeshRenderer and light. Disable shadows whenever possible to reduce draw calls.
You can also create fake shadows using a blurred texture applied to a simple mesh or quad underneath your characters. Otherwise, you can create blob shadows with custom shaders.
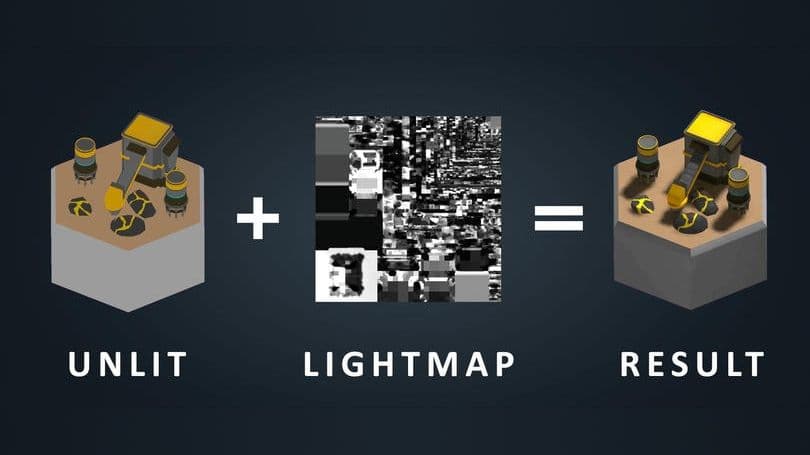
Add dramatic lighting to your static geometry using Global Illumination (GI). Mark objects with Contribute GI so you can store high-quality lighting in the form of lightmaps.
Baked shadows and lighting can then render without a performance hit at runtime. The Progressive CPU and GPU Lightmapper can accelerate the baking of Global Illumination.
Follow the manual and this article on light optimization to get started with lightmapping in Unity.
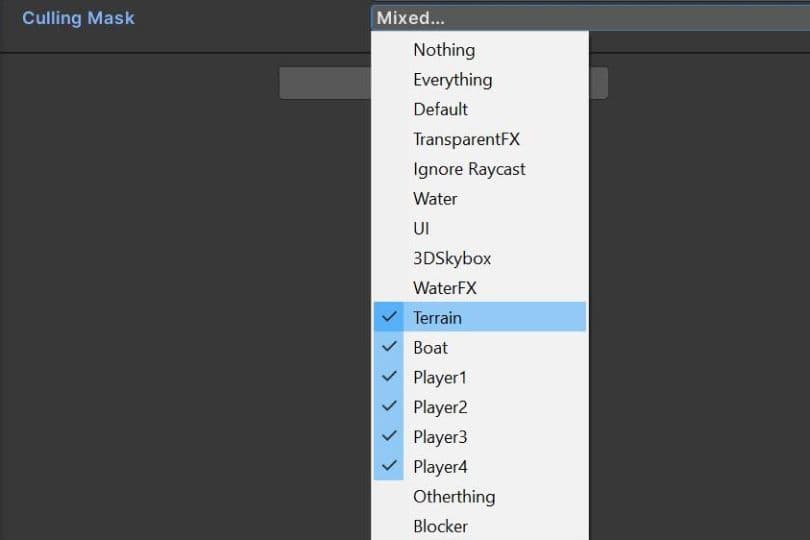
For complex scenes with multiple lights, separate your objects using layers, then confine each light’s influence to a specific culling mask.
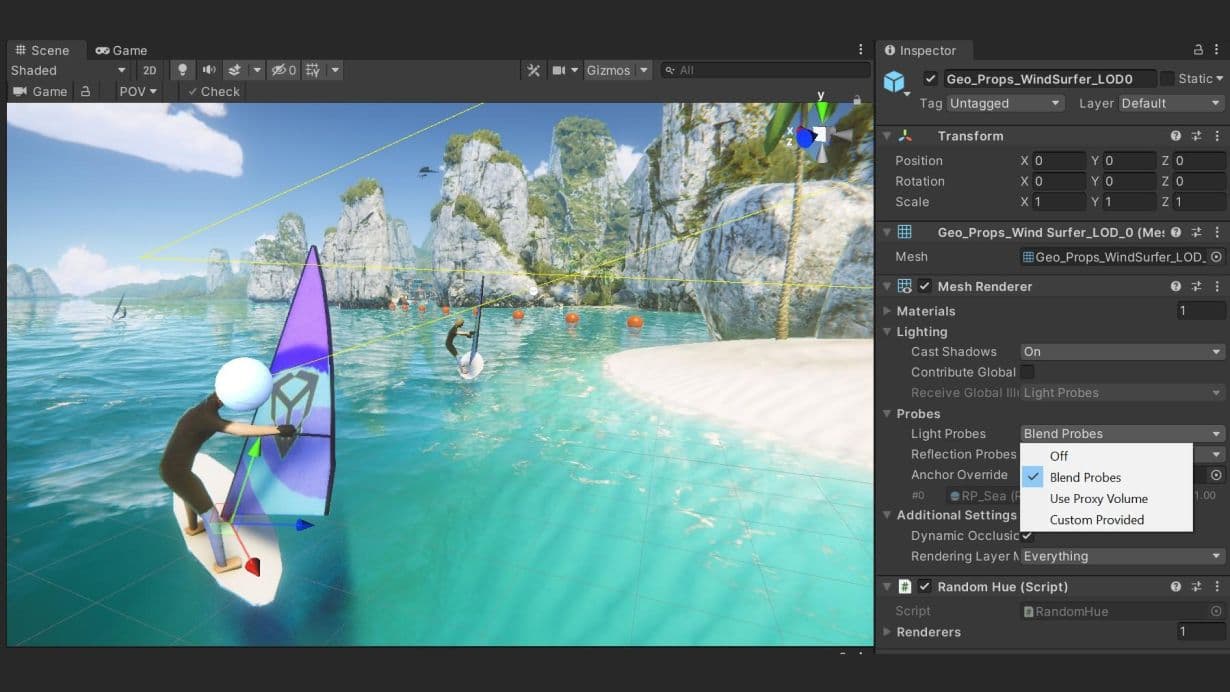
Light Probes store baked lighting information about the empty space in your scene, while providing high-quality lighting (both direct and indirect). They use Spherical Harmonics, which calculate quickly compared to dynamic lights.
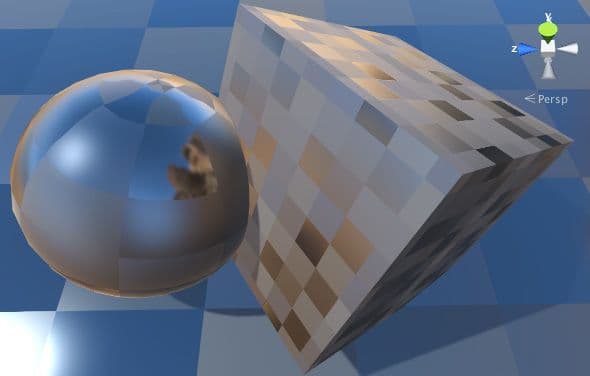
A Reflection Probe can create realistic reflections, but can be very costly in terms of batches. Use low-resolution cubemaps, culling masks, and texture compression to improve runtime performance.
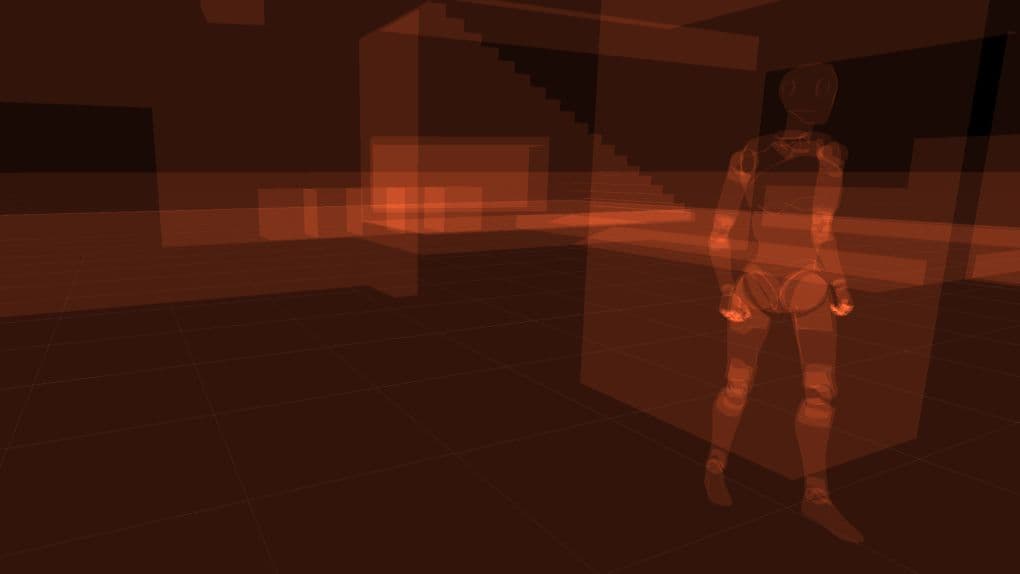
Rendering an object with transparency always uses more GPU resources than rendering an opaque object, especially when transparent objects are rendered on top of one another multiple times, a process known as overdraw. It’s a good practice to use an opaque material whenever possible, especially for mobile platforms. You can check overdraw using the RenderDoc graphics debugger.
Use the simplest shader possible (such as an unlit shader) and avoid using unnecessary features. Use Unity’s prebuilt shaders designed specifically for systems such as particles. URP includes several lightweight Lit and Unlit shaders that are already optimized for mobile platforms. To minimize overdraw, reduce the number and/or size of particles in your game.
For performance goals consider using Unlit Opaque materials with half precision, when possible, and be mindful of complex operations in the nodes. Find more tips in this session on Shader Graph.
When creating a shader, you can decide how the material will react to light. Most shaders are classified as either lit or unlit. An unlit shader is the fastest and computationally cheapest shading model. Use it if you’re targeting a lower-end device.
Key points to consider include:
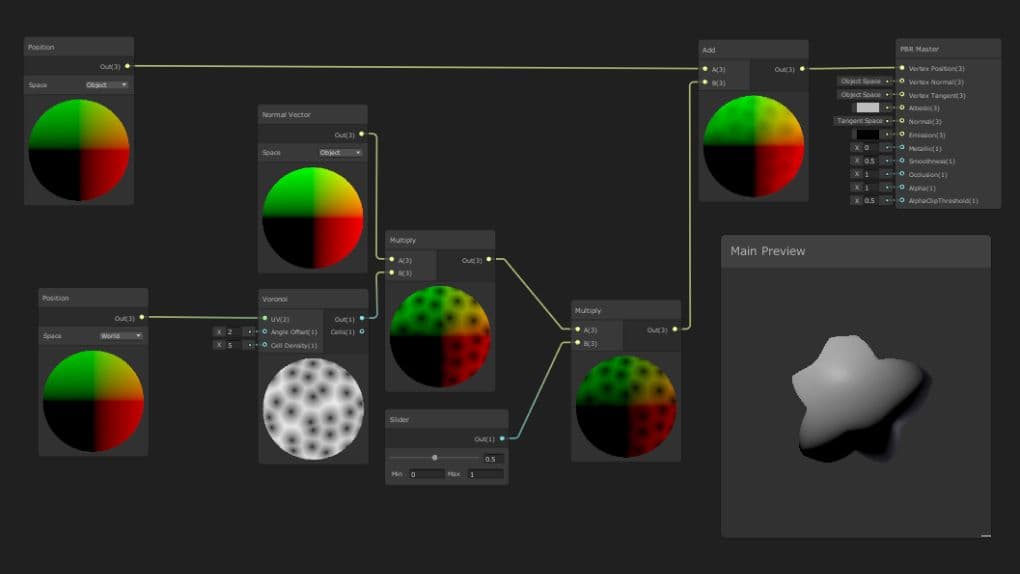
Vertex shaders work on every vertex while pixel (or fragment) shaders run on every pixel. Usually, there are more pixels that are being rendered than there are vertices on-screen. This means that the pixel shader runs more often than the vertex shader. Because of this, we recommend that you move computation from the pixel shader to the vertex shader whenever possible. As usual, after working on optimizations, you must do further profiling to determine the best solution for your particular situation.
Basic operations, such as addition and multiplication, are faster to process. It’s best to keep the number of slower math operations as small as possible. The amount of complicated math that is used must be kept lower on older devices, such as ones using GLES 2.0.
When toggling the SRP Batcher on, watch the Statistics window and the Rendering Section’s Vertices Graph in the Profiler view. Aside from a bump in FPS, the number of triangles and vertices being processed decreases dramatically. Because our objects use a shader that is compatible with URP, the render pipeline automatically batches all relevant geometry data to reduce the amount of data processed.
By default, Unity imports animated models with the Generic Rig, though developers often switch to the Humanoid Rig when animating a character. A Humanoid Rig consumes 30–50% more CPU time than the equivalent generic rig because it calculates inverse kinematics and animation retargeting each frame.
Rendering skinned meshes is expensive. Make sure that every object using a SkinnedMeshRenderer requires it. If a GameObject only needs animation some of the time, use the BakeMesh function to freeze the skinned mesh in a static pose, then swap to a simpler MeshRenderer at runtime.
Primarily intended for humanoid characters, Unity’s Mecanim system is fairly sophisticated but is often used to animate single values (e.g., the alpha channel of a UI element). Avoid overusing Animators. Particularly in conjunction with UI elements, consider creating tweening functions or using a third-party library for simple animations (e.g., DOTween or LeanTween).
Work on a specific time budget per frame
Each frame will have a time budget based on your target frames per second (fps). Ideally, an application running at 30 fps will allow for approximately 33.33 ms per frame (1000 ms / 30 fps). Likewise, a target of 60 fps leaves 16.66 ms per frame.
Devices can exceed this budget for short periods of time (e.g., for cutscenes or loading sequences), but not for a prolonged duration.
Presets
Don’t rely on default settings. Use the platform-specific override tab to optimize assets such as textures and mesh geometry. Incorrect settings might yield larger build sizes, longer build times, and poor memory usage. Consider using the Presets feature to help customize baseline settings that will enhance a specific project.
Limit use of cameras
Each camera incurs some overhead, whether it’s doing meaningful work or not. Only use Camera components required for rendering. On lower-end mobile platforms, each camera can use up to 1 ms of CPU time.
Avoid full-screen effects
Fullscreen Post-processing effects, like glows, can dramatically slow down performance. Use them cautiously in your title’s art direction.
Be careful with Renderer.material
Accessing Renderer.material in scripts duplicates the material and returns a reference to the new copy. This breaks any existing batch that already includes the material. If you wish to access the batched object’s material, use Renderer.sharedMaterial instead.