

The pattern is simple: You create a new branch to work on for each new task in your issue tracker. Task branches are best suited to work with Unity Version Control because it can easily handle thousands of branches. This workflow is not required, and ultimately, you must evaluate what workflow is best for your organization.
A task branch workflow is designed to better facilitate parallel development than traditional approaches, which may only use a single branch. With each task in a separate branch, you’re always ready to release from main.
Typically, developers are careful about committing changes, which can keep changes outside source control for too long. Task branch workflows allow for frequent checkins, so you can always see the full change history within the system.
Main branch organization is one of the goals of the branch-per-task method. Carefully controlling everything entering the main branch means there’s no easy way to break the build accidentally, since new bugs are isolated in a task branch.
In the DevOps spirit, this workflow can shorten task cycle times and get new content into production as soon as possible. Root software deployments in your daily routine.
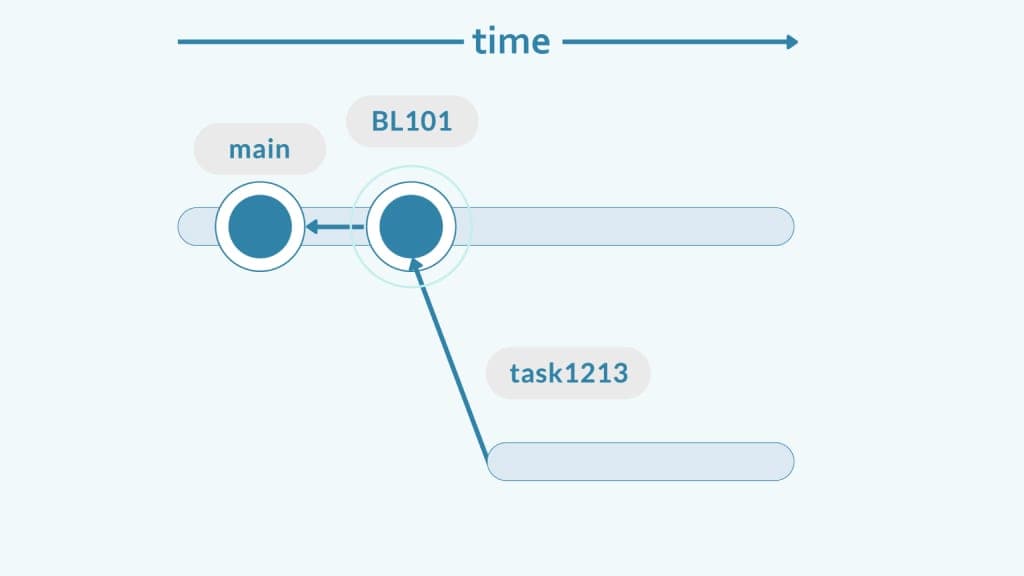
The process starts with a task in your issue tracker or project management system: Jira, Bugzilla, Mantis, OnTime, or your own in-house solution. The key here is that everything you do must have an associated task. It doesn’t matter whether it’s part of a new feature or a bug fix – create a task for it.
Next, you create a branch for that task.
We recommend a straightforward branch naming convention: A prefix (“task” in the example) followed by the task number in the issue tracker. This helps you keep full traceability of changes.
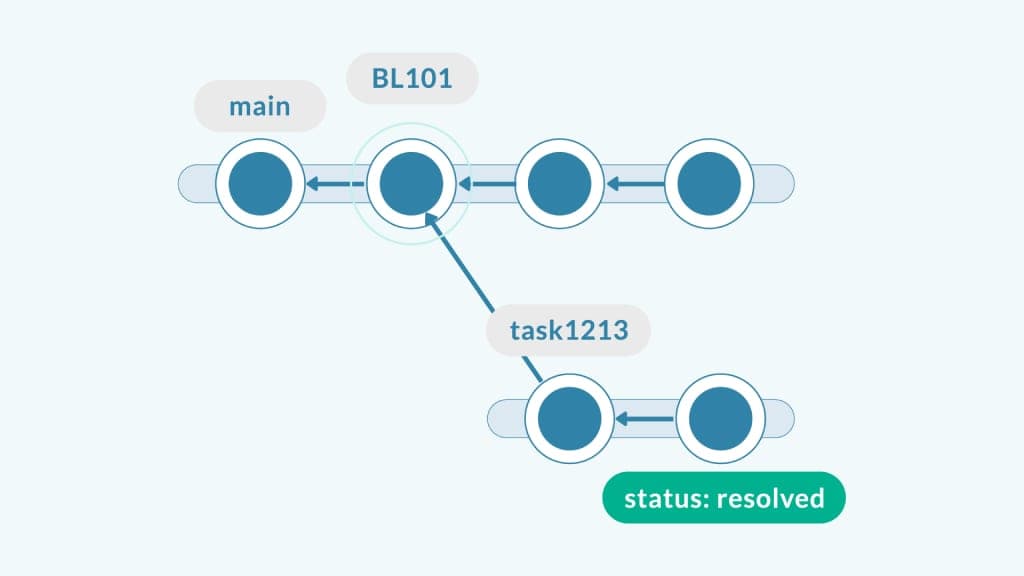
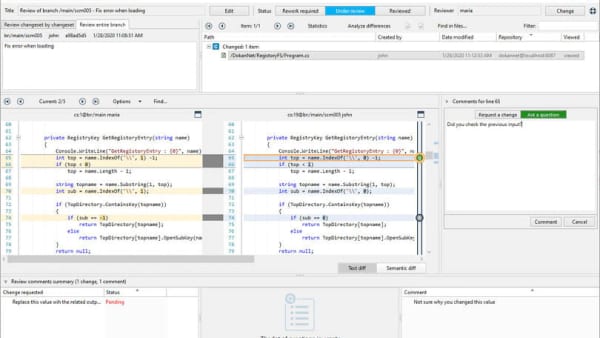
Work on the task branch and make as many checkins as needed. Explain each step in the comments to provide clarity to any reviewer.
When the task is done, set a “status” attribute on the branch as “resolved.”
Alternatively, you can mark it as completed in your issue tracker. It all depends on your particular toolset and how you will actually end up implementing the workflow.
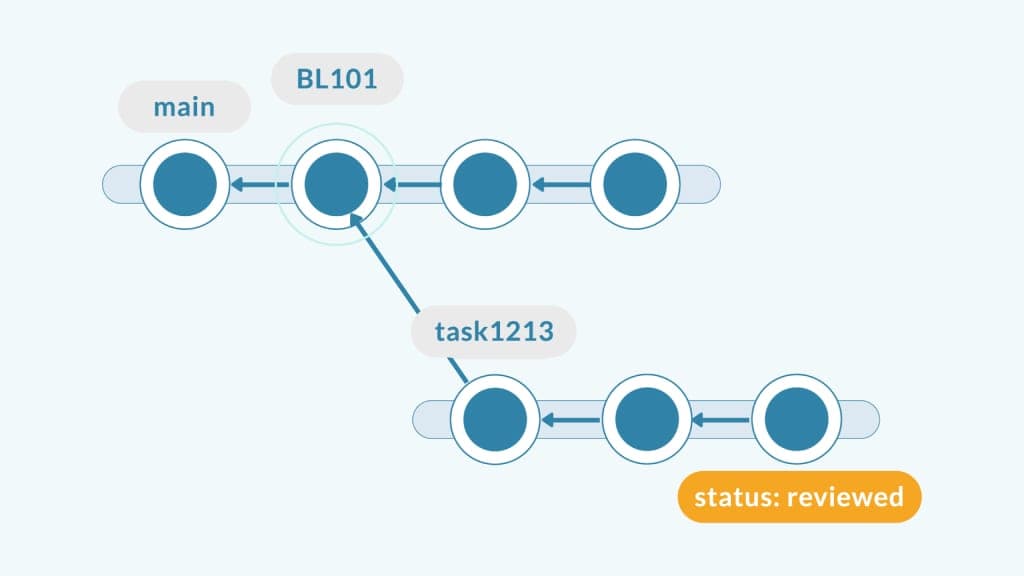
Once you mark your task as completed, it can be reviewed by a colleague.
Now it’s the reviewer’s turn to look at your changes and see if they can spot bugs, errors, or inconsistencies in your coding style, or any aspects of design that should be changed. If so, the task will be reopened and the cycle restarts.
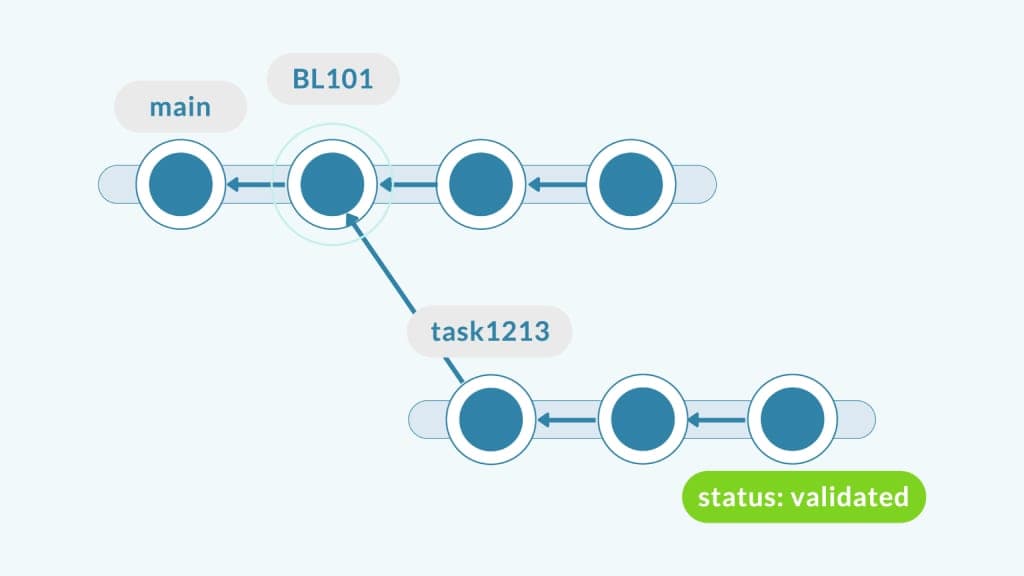
Validation is an optional step.
Some teams will “validate” the task – another team member will do a short exploratory test to make sure the new feature or change makes sense. They don’t look for bugs (automated tests take care of that) but look into the change from a customer perspective. The status can be set to “validated” in the attribute.
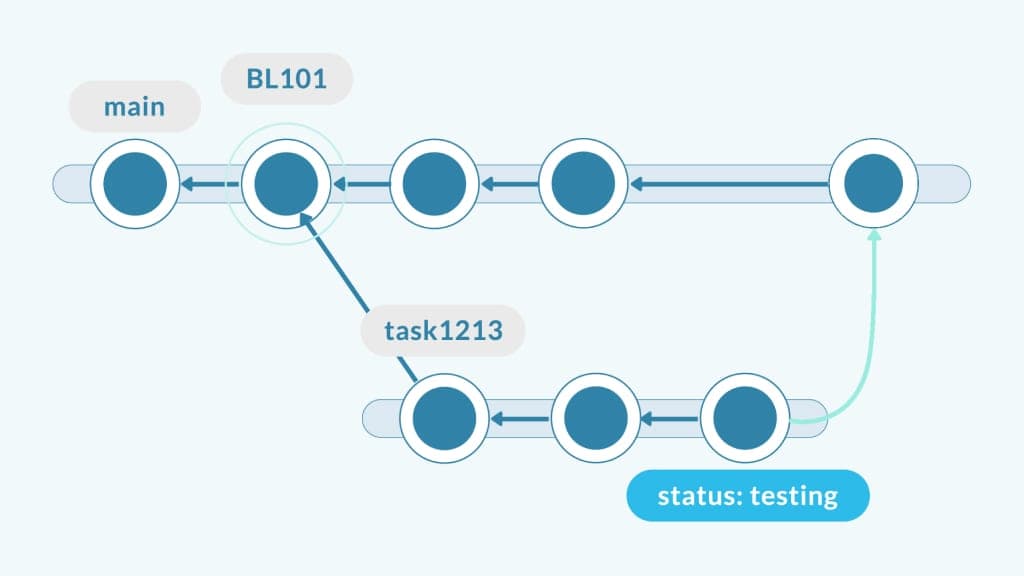
Configure your continuous integration (CI) system to monitor all branches that have a given attribute set. A branch will only be considered by the CI system when it reaches a given status (in this case, “validated”).
Once the task is reviewed/validated, the task branch is automatically tested before being merged into main.
If the test suite passes the merge, it will be confirmed and submitted to the CI system to build and test. This process helps prevent breaking the build. If it fails, the process will be restarted, and you will have to rebase from main to solve any conflicts.
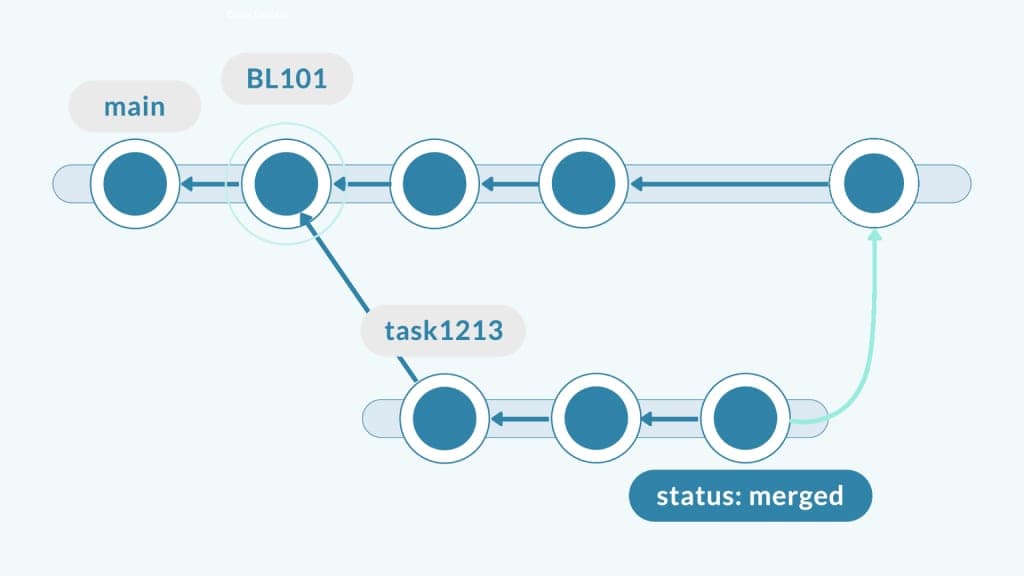
If tests pass, the merge is checked in and the branch is now ready to be delivered. Notice the status is now set to “merged.”
If the new release is ready to be deployed, the new changeset on main is labeled as such and the software deployed to production.
You can get a new release after every new task passes through this cycle, or you can decide to group a few. When practicing continuous deployment, deploying every task to production is the most logical workflow.
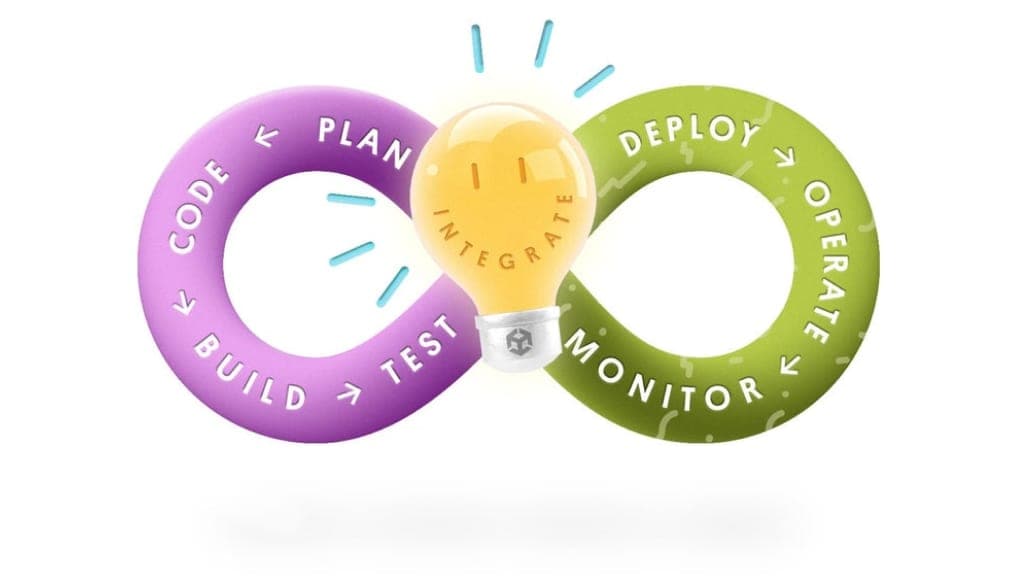
With Unity Version Control, the automated testing and merging step can be configured using the plug-in for your chosen CI tool, such as Jenkins, Bamboo or Unity Cloud Build.
This step can also be orchestrated using Unity Version Control’s mergebot feature. The mergebot can merge the branches and trigger a build to make sure it works. Merges are confirmed only if the build is good, avoiding broken builds.
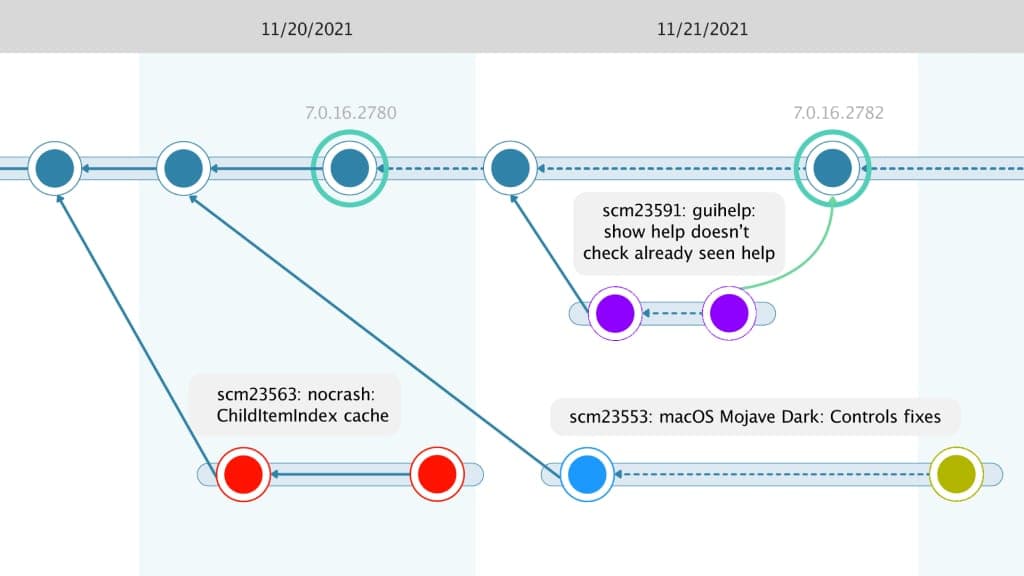
We like to stick to the following naming convention: prefix + task number. For example, branches might be named task1213, task1209, and task1221. The prefix is “task,” and the number represents the actual task number in the associated issue tracker.
The screenshot also shows a description for each branch together with the number since the branch explorer retrieves the number from the issue tracker. You can also see the branch description by selecting “display branch task info.”
Scrum rules state that tasks shouldn’t be longer than 16 hours. This practice keeps project timelines under control.
Task branches must be closed quickly. Ideally, you should have many small tasks that you can close in just a few hours. This structure helps maintain your project rhythm and facilitates continuous deployment. A larger task that spans for a week, for example, grinds the cycle to a halt.
One red flag to keep in mind: Don’t create “machete cut” tasks. If you need to cut a task into smaller pieces, ensure the task still makes sense in isolation and can be deployed independently.

Task branch workflows can only succeed with buy-in across the whole team.
Like any DevOps process, there’s a cultural component to this workflow. Task branches are about openly communicating progress and avoiding silos. Before mandating a workflow or particular way of working with tasks, you need to drive for alignment. Help team members understand the benefits of closing a small piece of a larger task today, rather than struggling with larger tasks for longer.
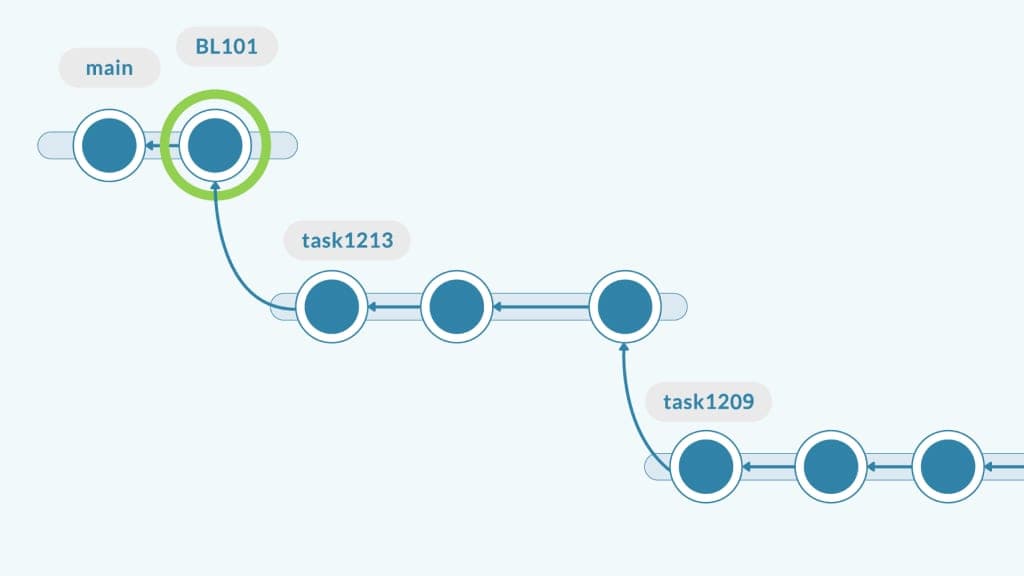
Ask yourself (or your teammates): Do you really need the code you just finished in task1213 to start task1209?
Tasks tend to be much more independent than you might think. Yes, they may be on the same topic, but you don’t need to touch exactly the same code. You can simply add something new and trust the merge to do its job.
Suppose that 1213 and 1209 in the example above were bug fixes instead of tasks. You don’t want one to depend on the other. You want them to hit main and be released as quickly as possible. Even if they touch the same code, they are different fixes.
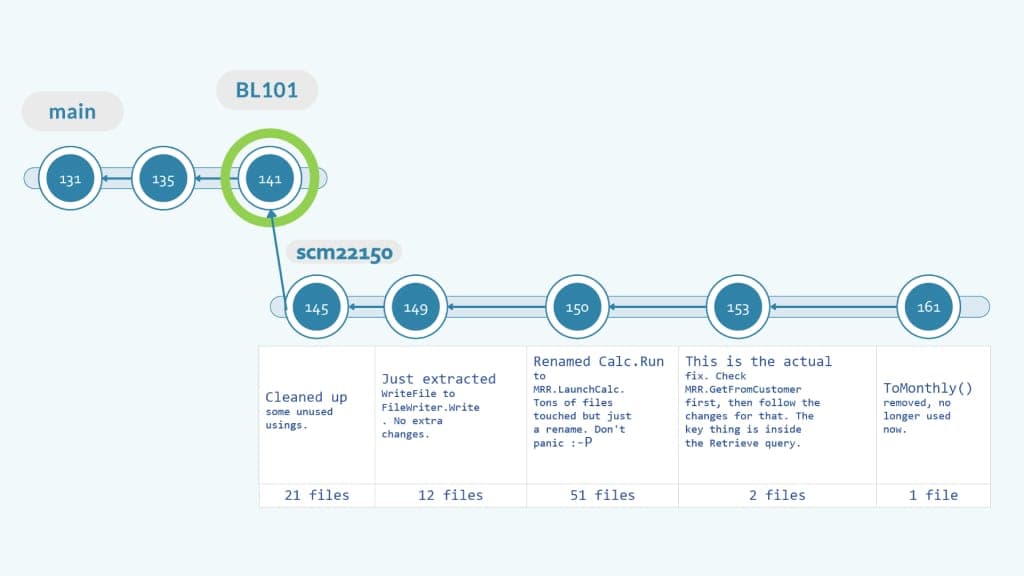
Every checkin must help the reviewer follow your train of thought and process to understand how you tackled the task.
Leaving details in the comments of your checkin will help the reviewer, as they won’t need to diff the entire branch. Instead, they’ll diff changeset by changeset. And they’ll be following the prerecorded explanation you made to clarify each stage of the task. They won’t find themselves looking at a bold list of 100+ modified files. Instead, they’ll go step by step.
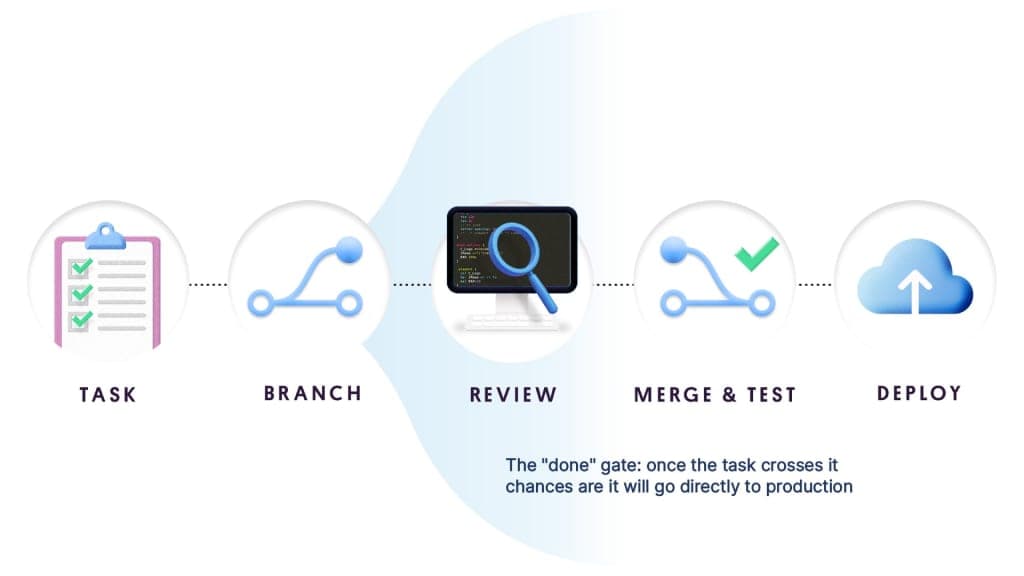
Every task branch must be ready to integrate once finished. If a change is fragile or will make the product behave awkwardly, then the task shouldn’t be set as finished.
This is a small price to pay for the benefits of automation. The team must align on the definition of “done,” meaning “ready for production.” In return, you can enjoy peace of mind knowing that moving your task to production is easy, fully automated, and won’t lead to a fire drill at 2:00 am.
What are feature toggles? These are critical for continuous deployment. This software development technique allows features to be tested before they’re completed and ready for release.
A feature toggle can hide, enable, or disable the feature during runtime. It allows you to enable a feature only for the dev team, a small number of early adopters, or for everyone. For example, a developer can enable a feature for testing and disable it for other users during development.
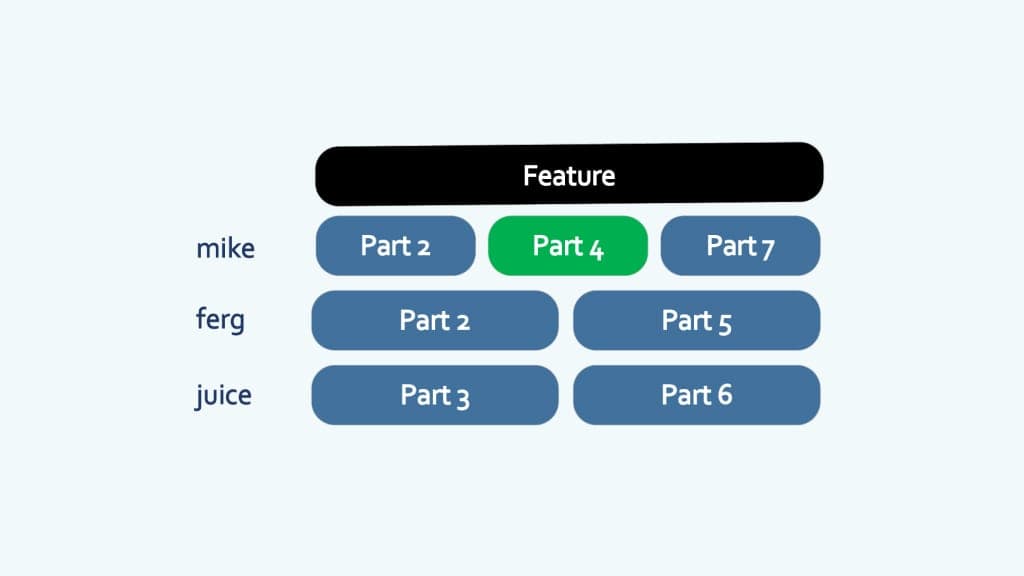
Let’s look at an example. You have a big feature split into seven parts that will be converted to tasks and implemented using task branches. How is it possible to deploy Part 4 if nothing else is ready?
Part 4 can be merged to the main branch and even deployed while still hidden using a feature toggle.
Hidden doesn’t mean the new code skips testing before release. When the entire feature is ready to be activated, the individual parts will already have been tested several times. The integration of the last piece won’t trigger a big-bang merge; it’s just a smaller part going through into main.
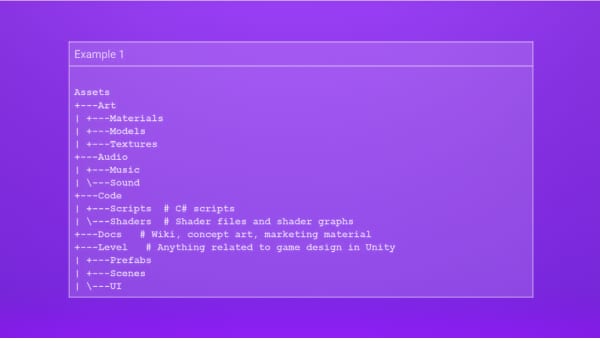
Position your team for effective game development with these useful tips on setting standards for your Unity projects.
Discover best practices to help you make the most of whatever version control system you choose.

If you found this helpful, check out another resource on best practices for organizing your projects.