
Unity Version Control - это масштабируемый, не зависящий от движка инструмент контроля версий и управления исходным кодом для более эффективного сотрудничества между различными дисциплинами. Обладая превосходной скоростью работы с большими файлами и двоичными файлами, он сочетает в себе как централизованные, так и распределенные рабочие процессы, поэтому художники и программисты могут работать так, как им нужно.
В этом руководстве рассказывается о том, как настроить контроль версий в Unity с любой из следующих версий редактора:
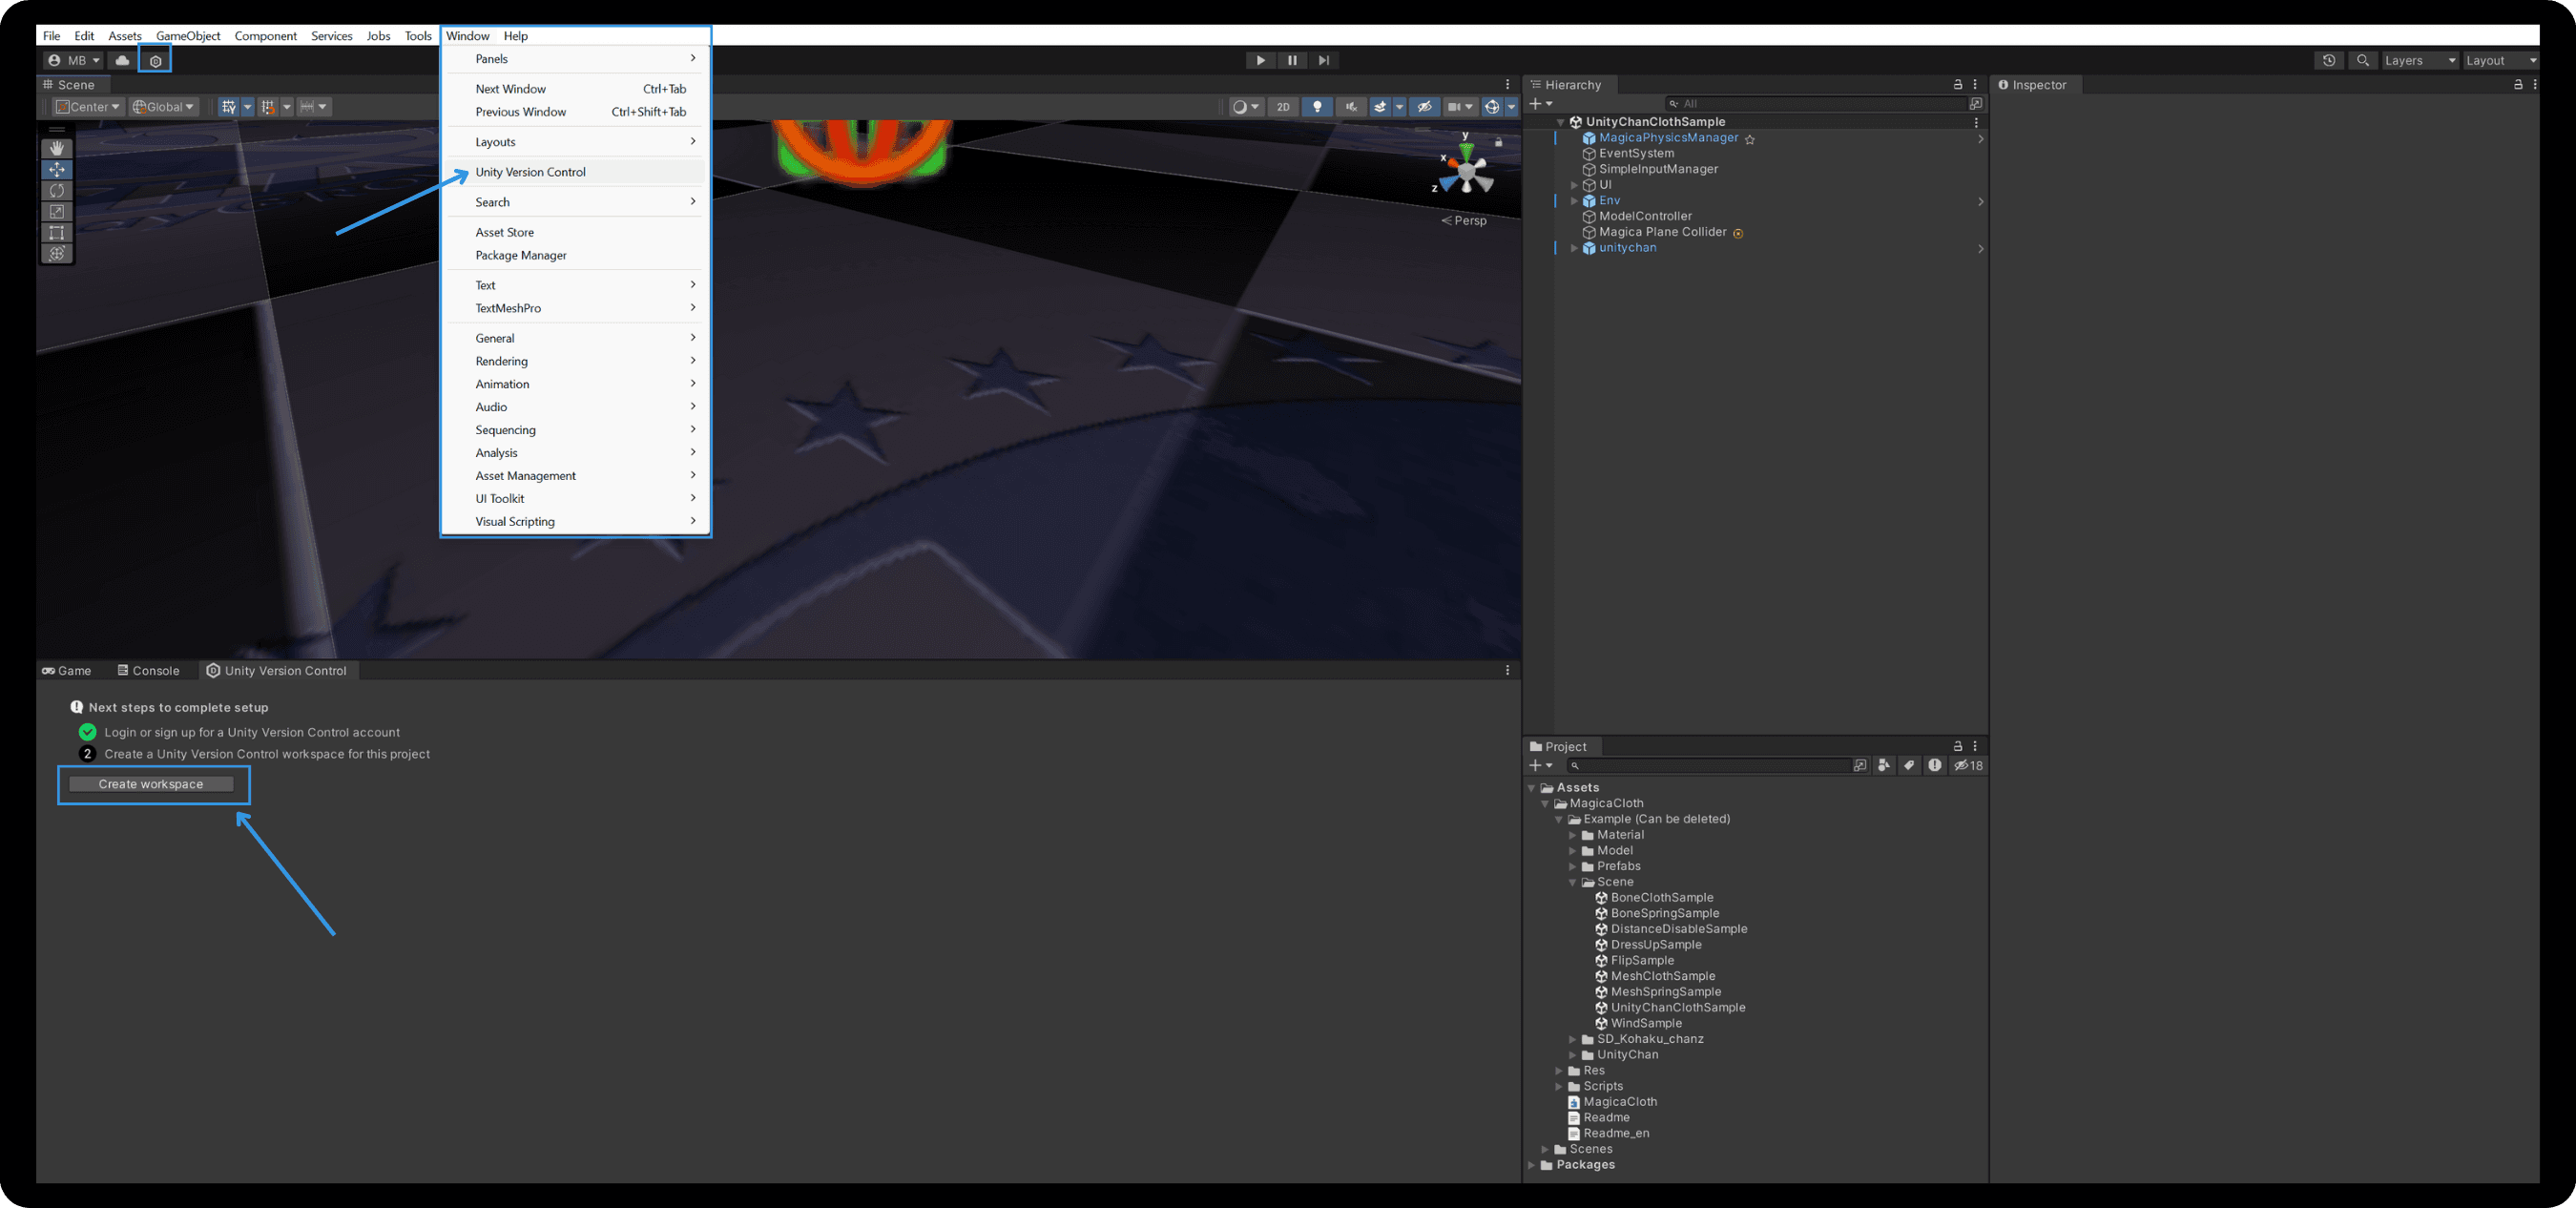
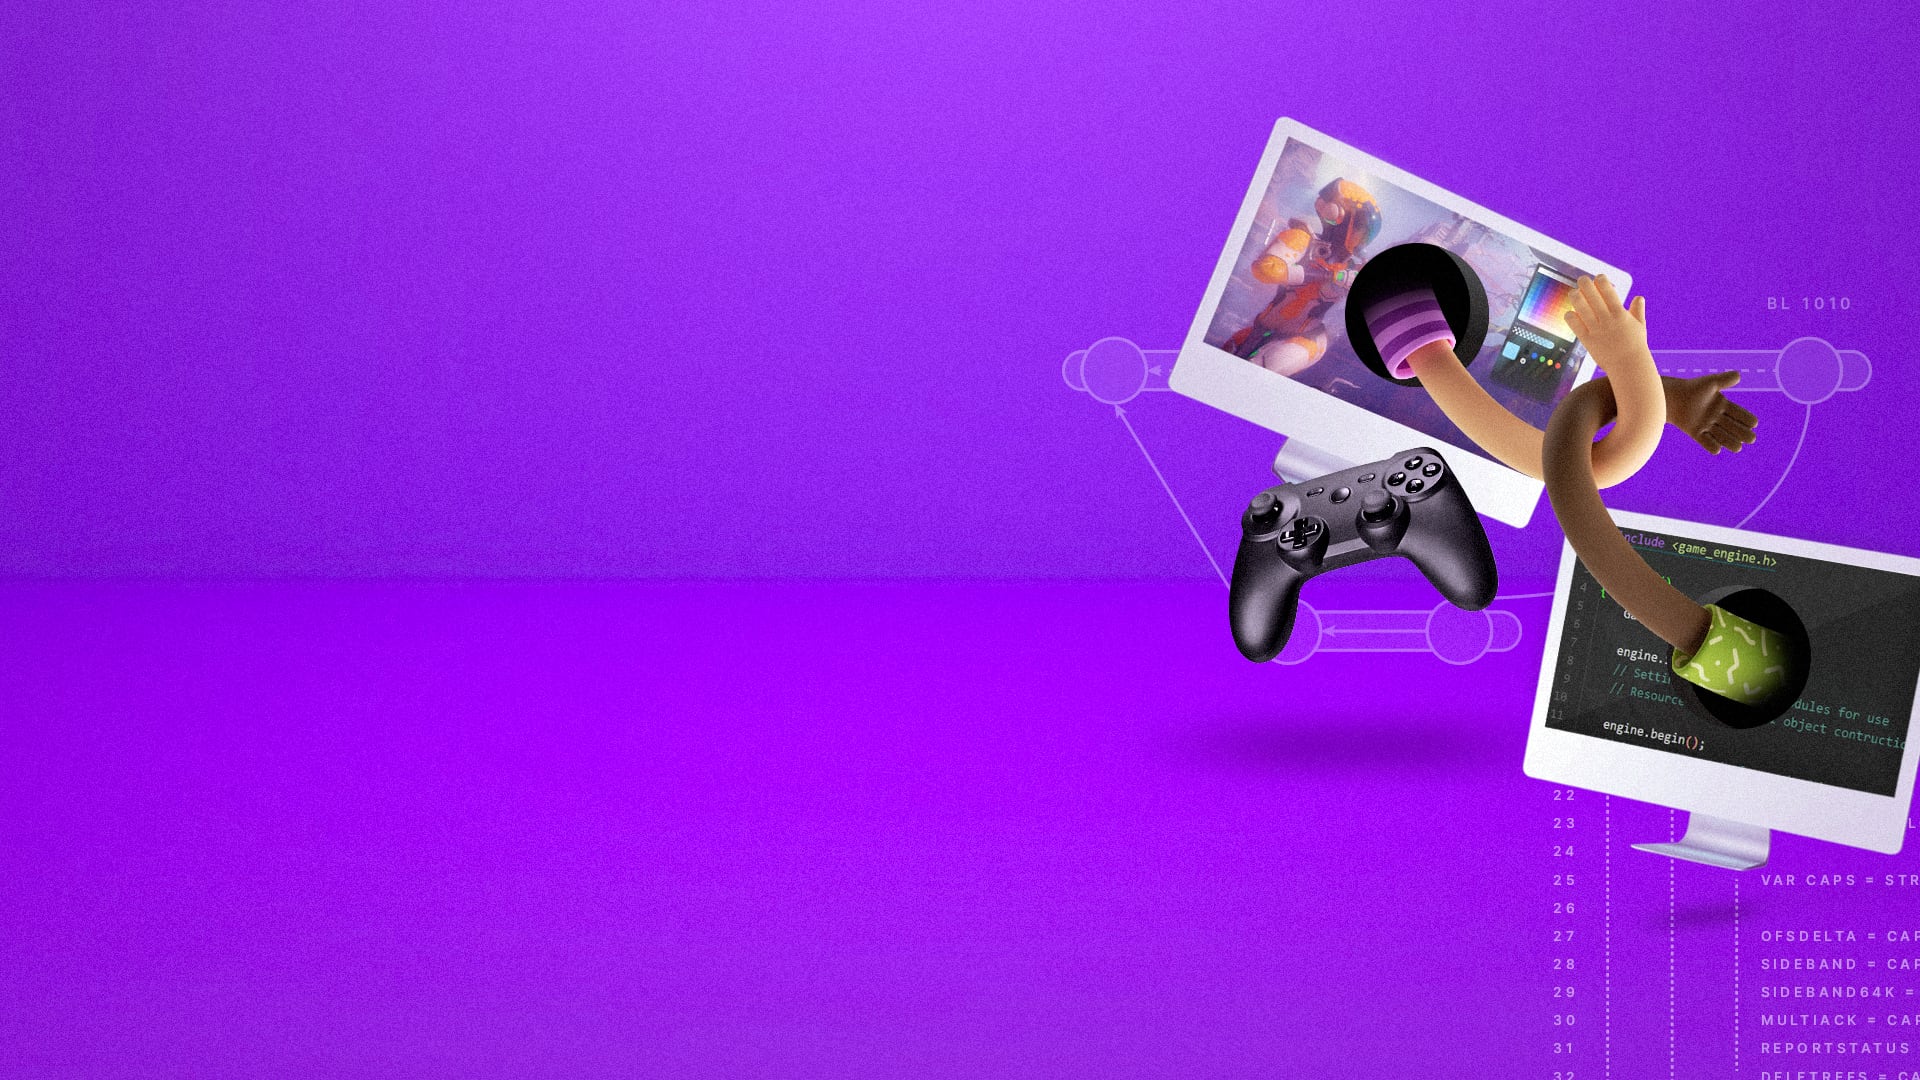
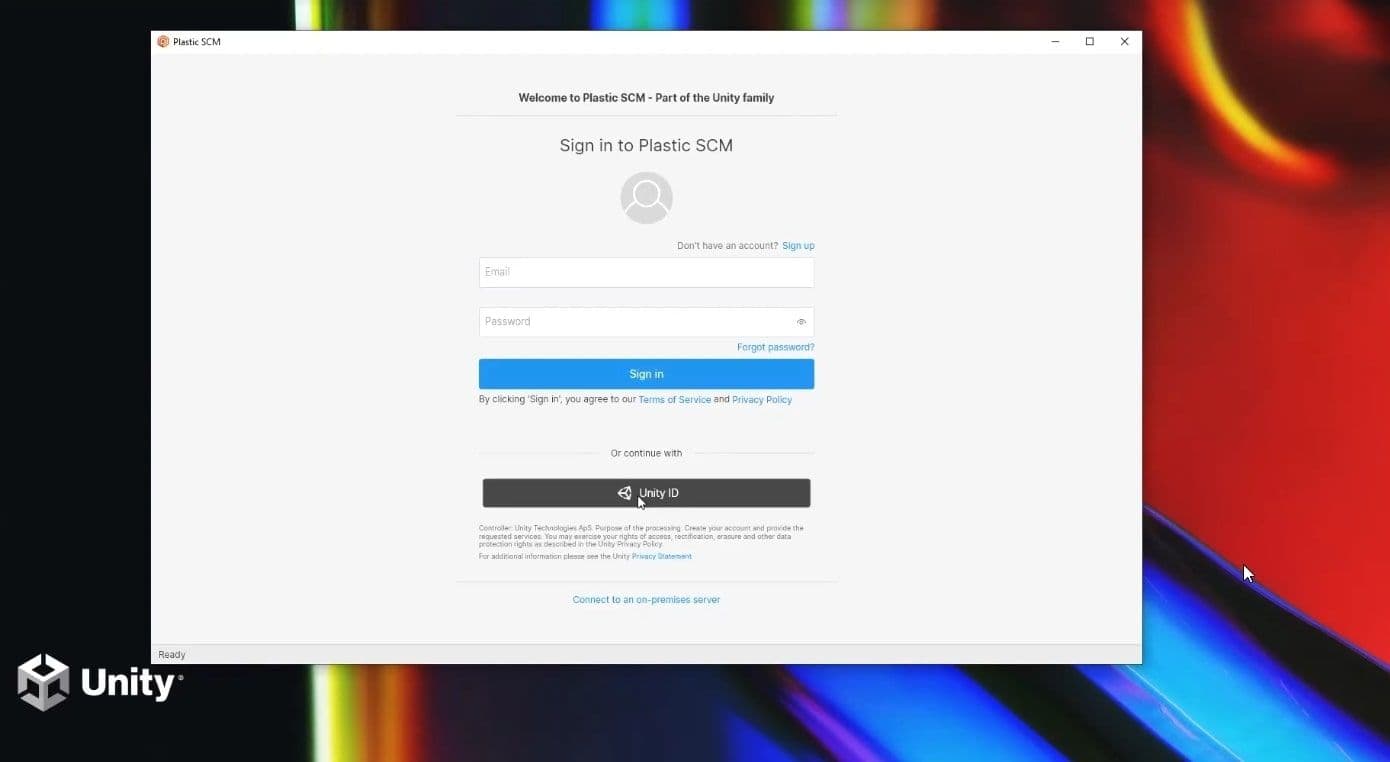
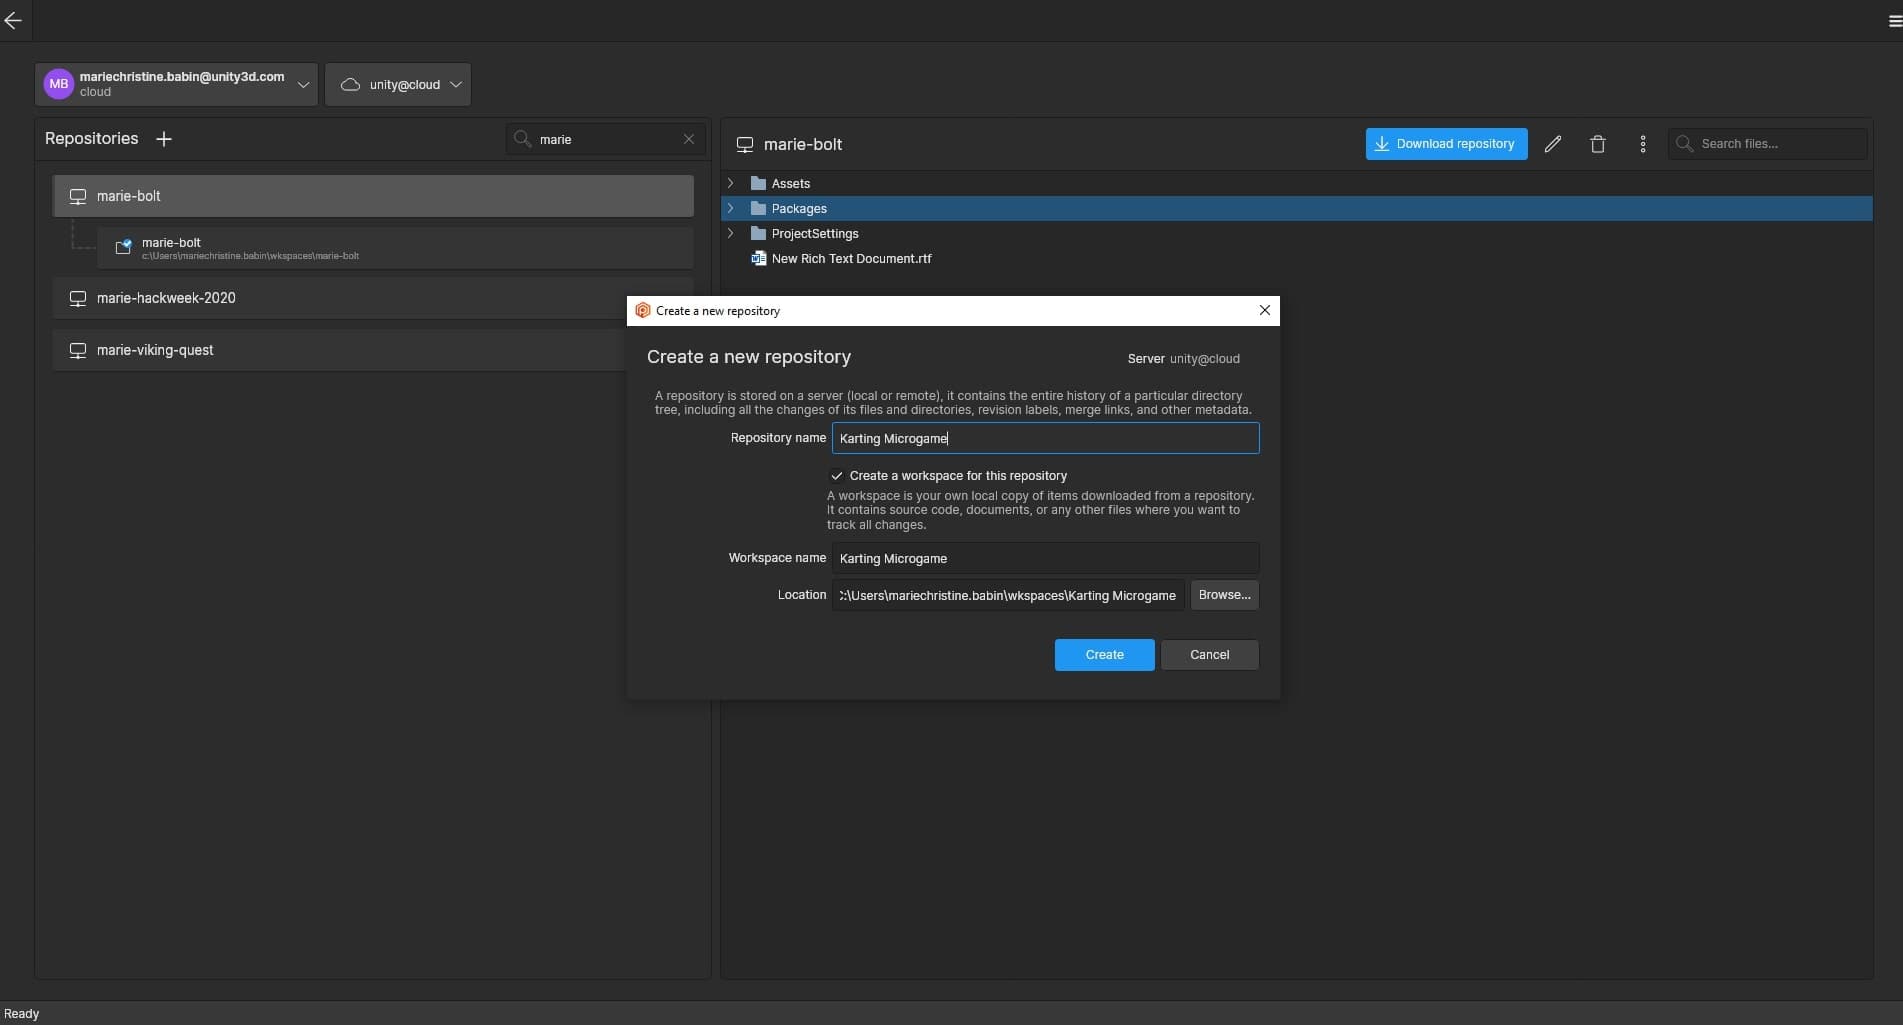
Для начала подключите свой Unity ID к Unity Version Control, а затем выберите или создайте новую организацию.
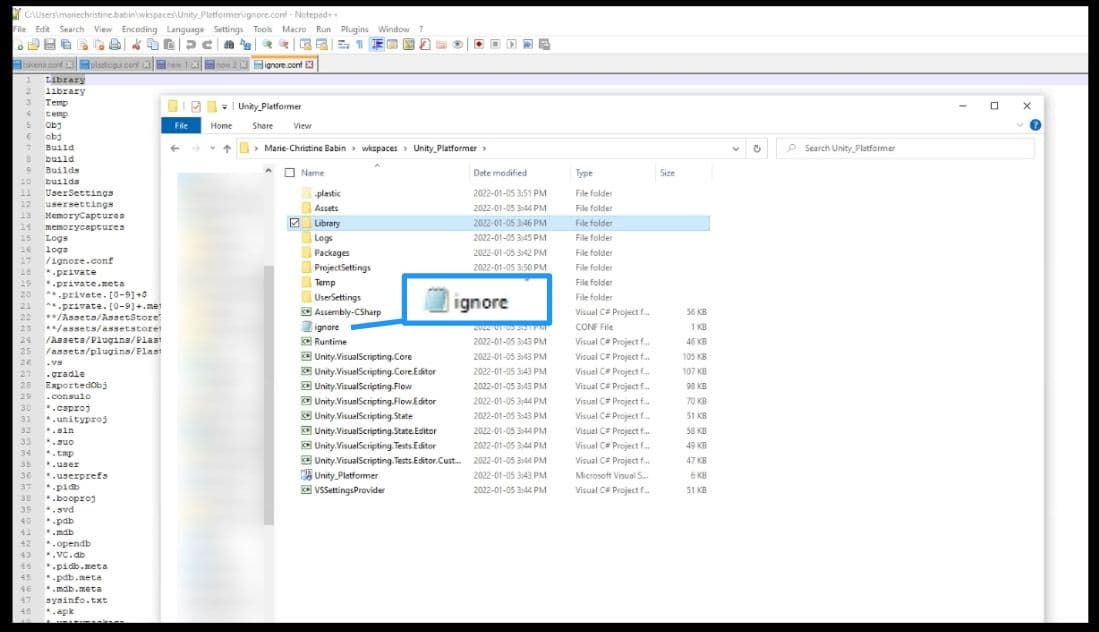
В корневом файле проекта ignore.conf сохранен список файлов, которые по умолчанию нужно игнорировать. Вы можете отредактировать его, добавив или исключив файлы.
Примечание: Вам может быть предложено войти в систему с помощью вашего идентификатора Unity ID, если вы не вошли в облачную панель управления версиями Unity.
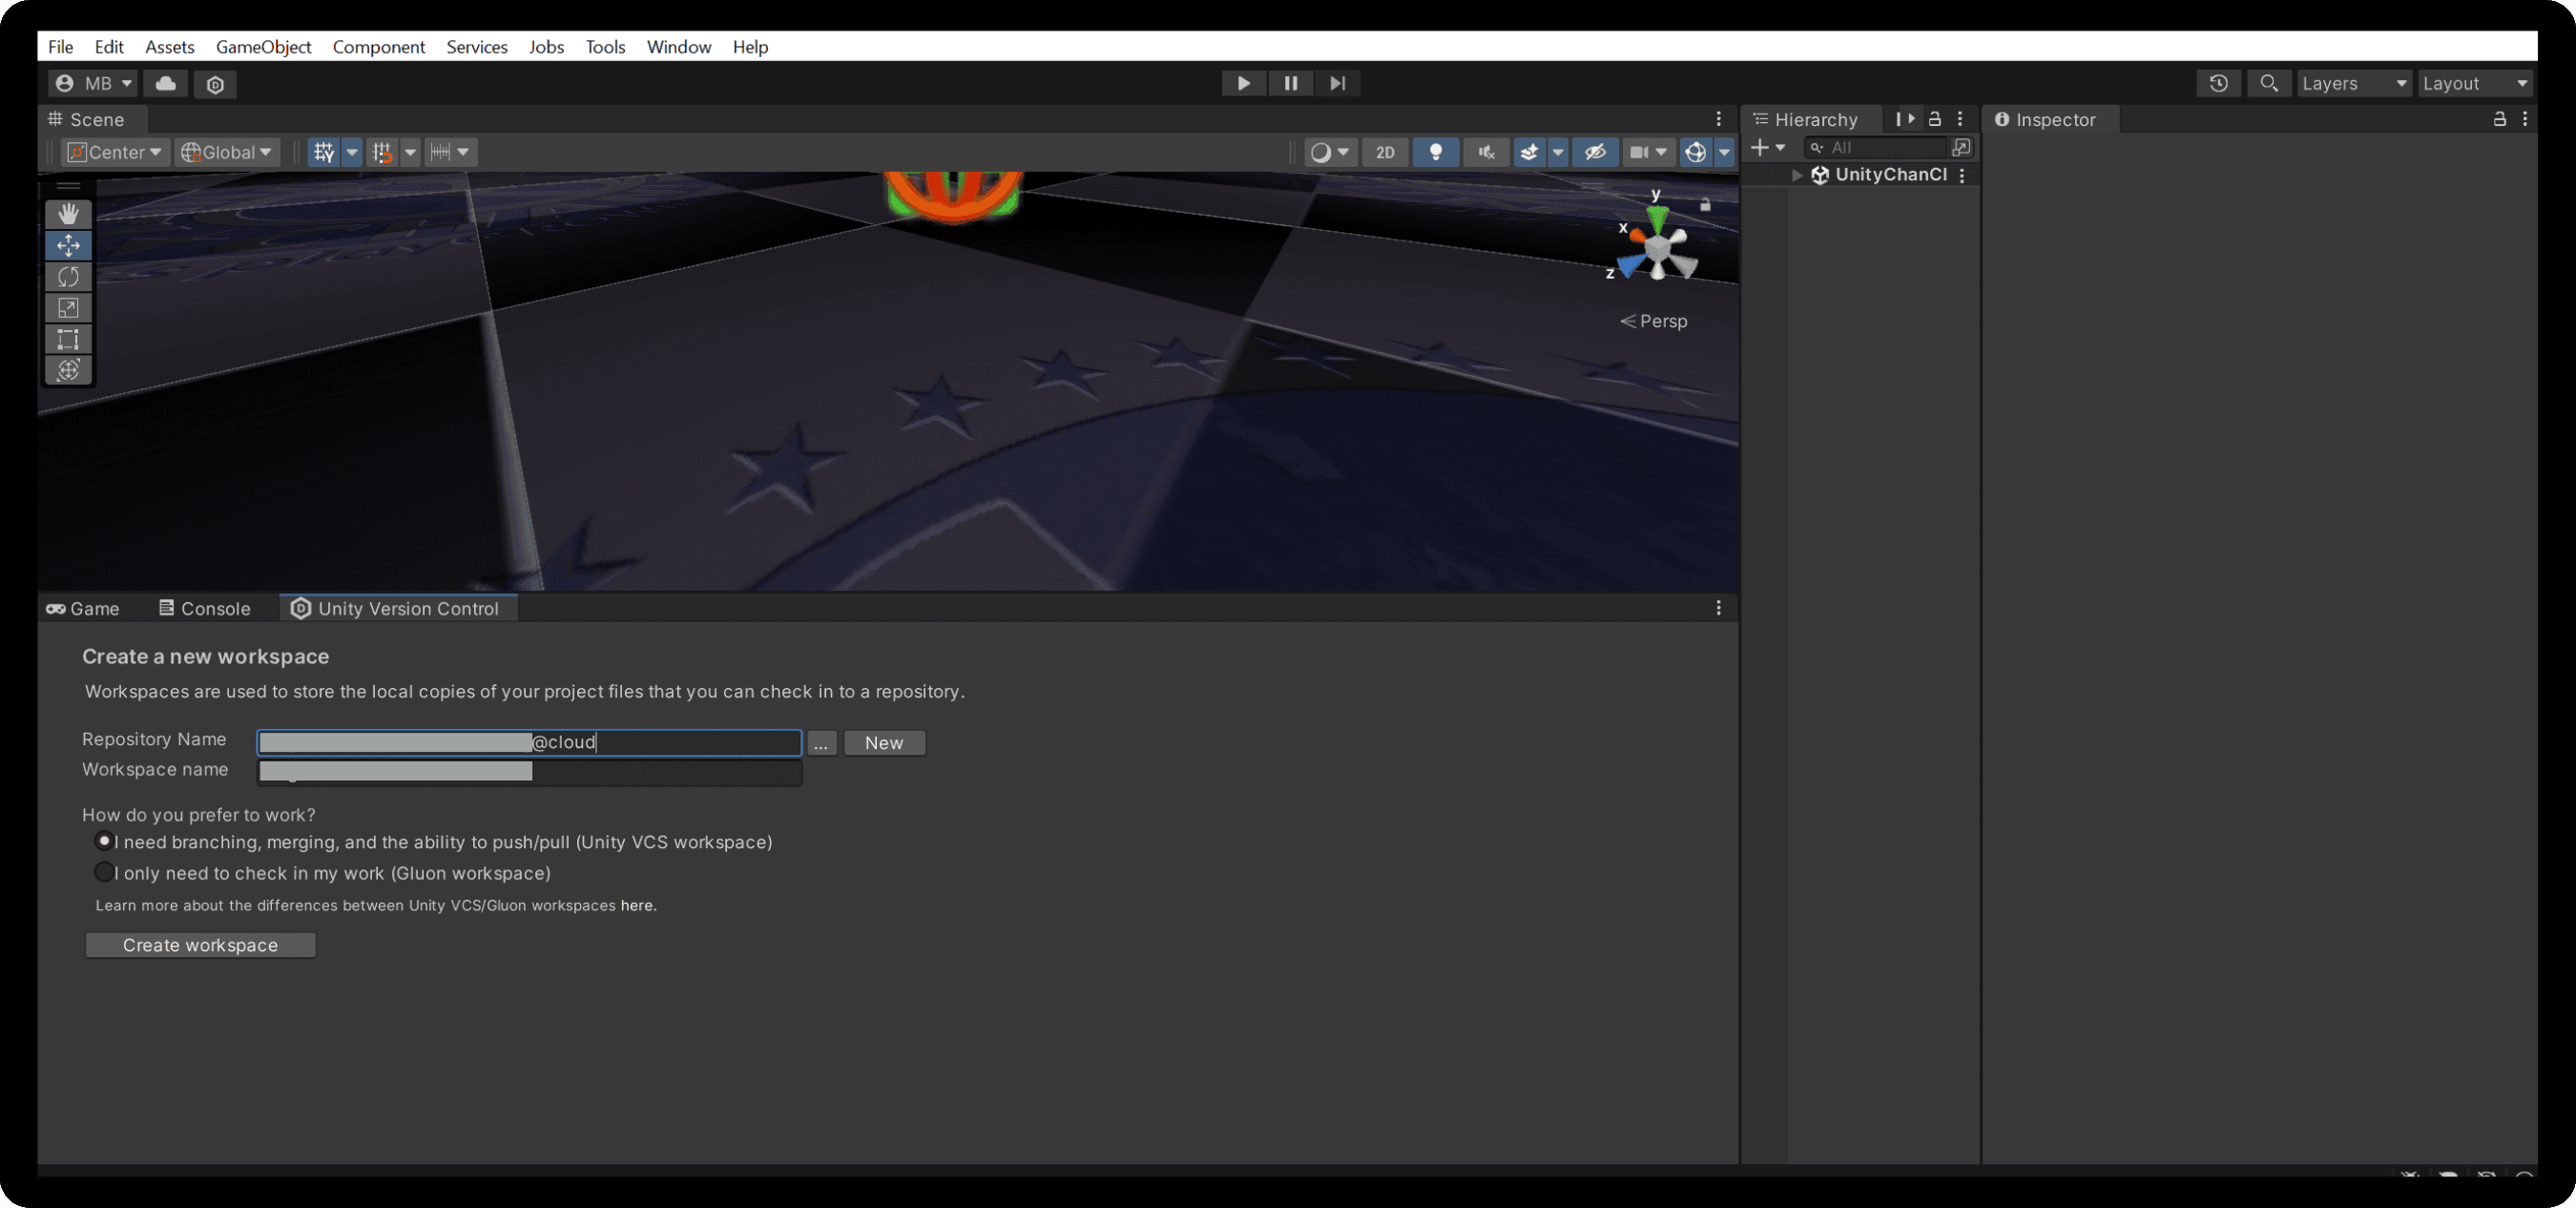
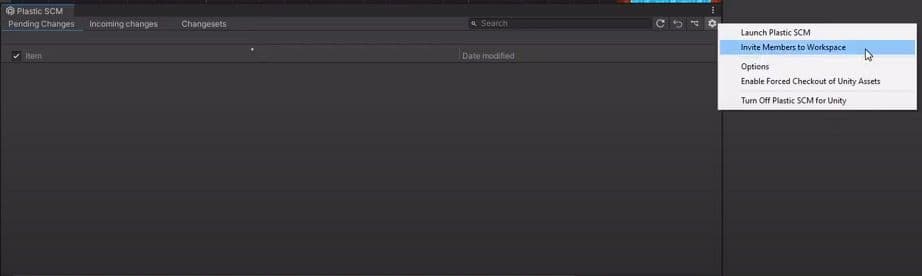
На вкладке Pending changes (Изменения на рассмотрении) можно посмотреть изменения, которые вы внесли в проект и отправили в репозиторий.
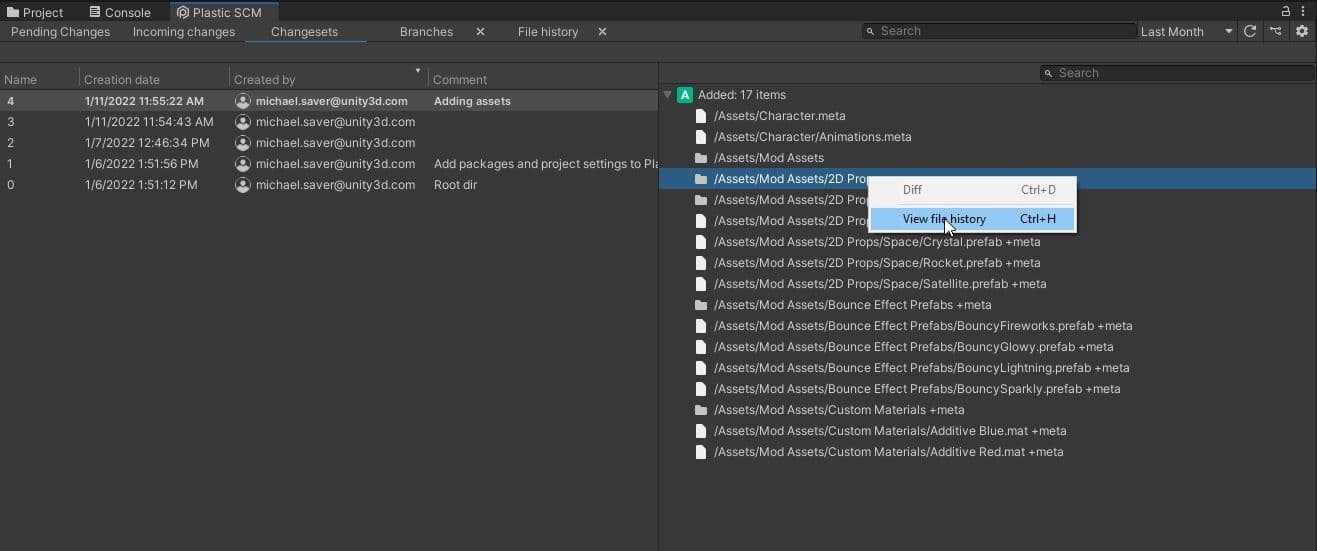
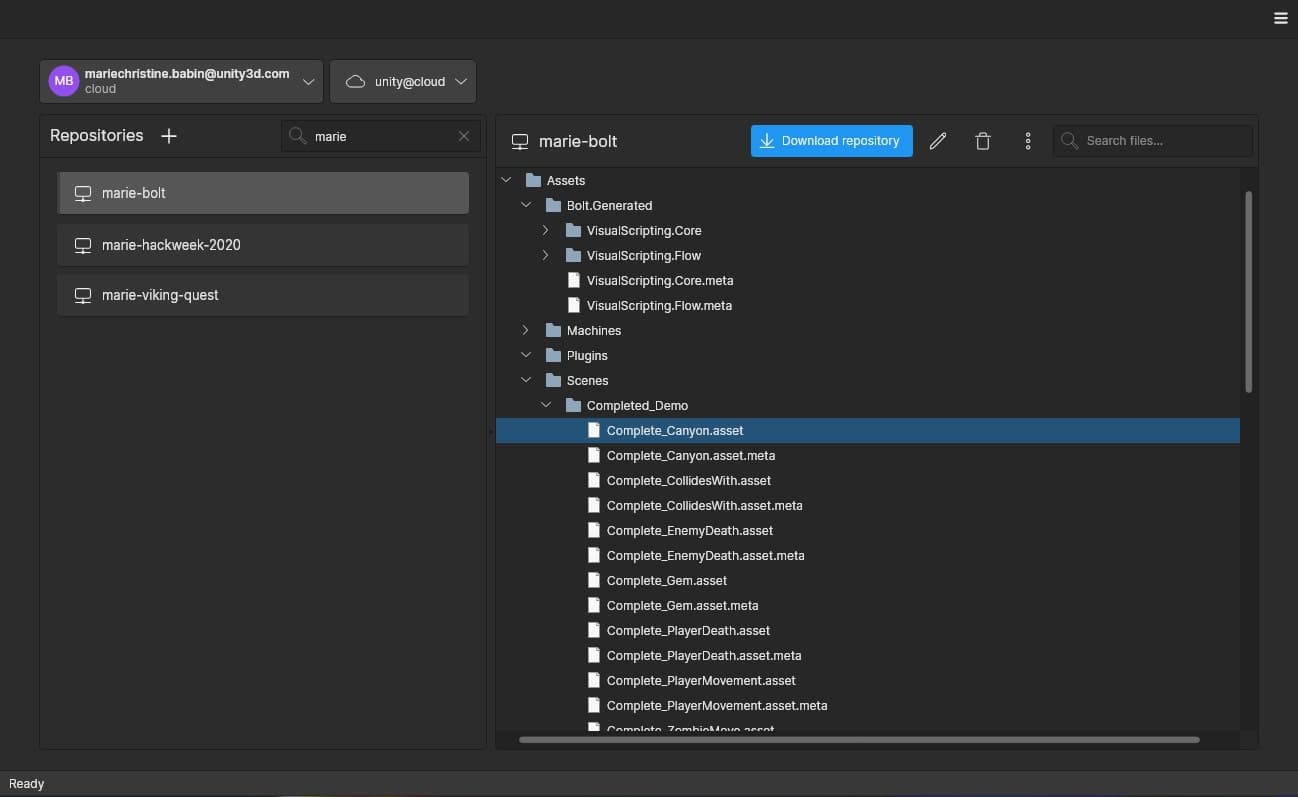
На вкладке Changesets (Наборы изменений) представлена история изменений проекта, внесенных в репозиторий. Здесь также указаны авторы изменений. Щелкнув на каждом из перечисленных наборов изменений, вы сможете увидеть, какие файлы были затронуты этим набором изменений.
Чтобы просмотреть историю каждого файла, нажмите правой кнопки мыши и выберите View file history (Посмотреть историю файла), . Вы увидите список изменений, внесенных в файл. Вы можете щелкнуть правой кнопкой мыши на более ранней версии и выбрать пункт Revert file to this revision.
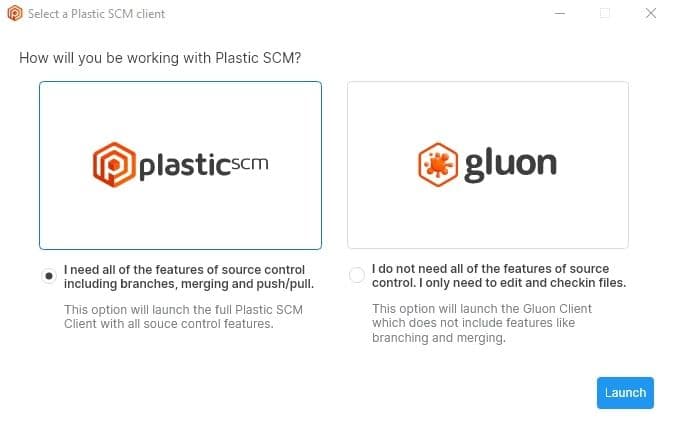
Независимо от того, используете ли вы Unreal Engine, неподдерживаемую версию Unity или другой движок, вы все равно сможете воспользоваться всеми возможностями Unity Version Control, загрузив полный клиент.
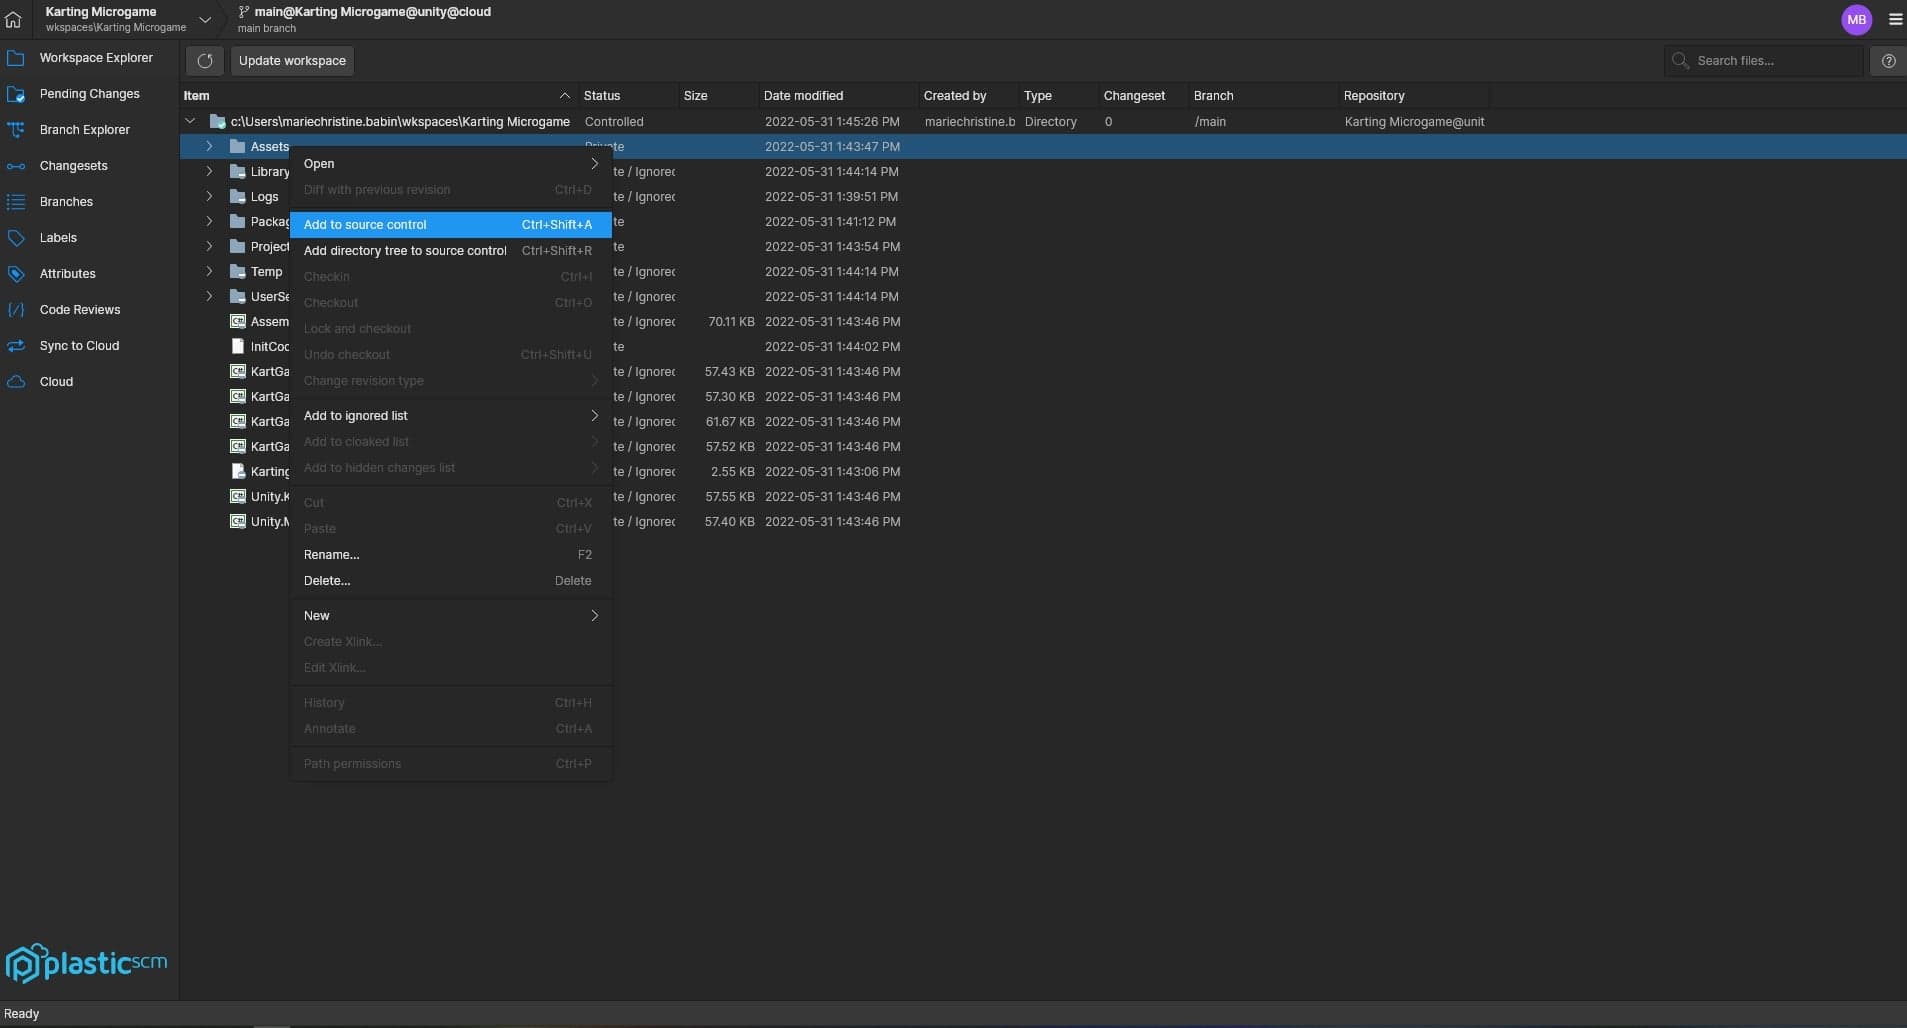
В корневом файле проекта ignore.conf сохранен список файлов, которые по умолчанию нужно игнорировать. Вы можете отредактировать его, добавив или исключив файлы.
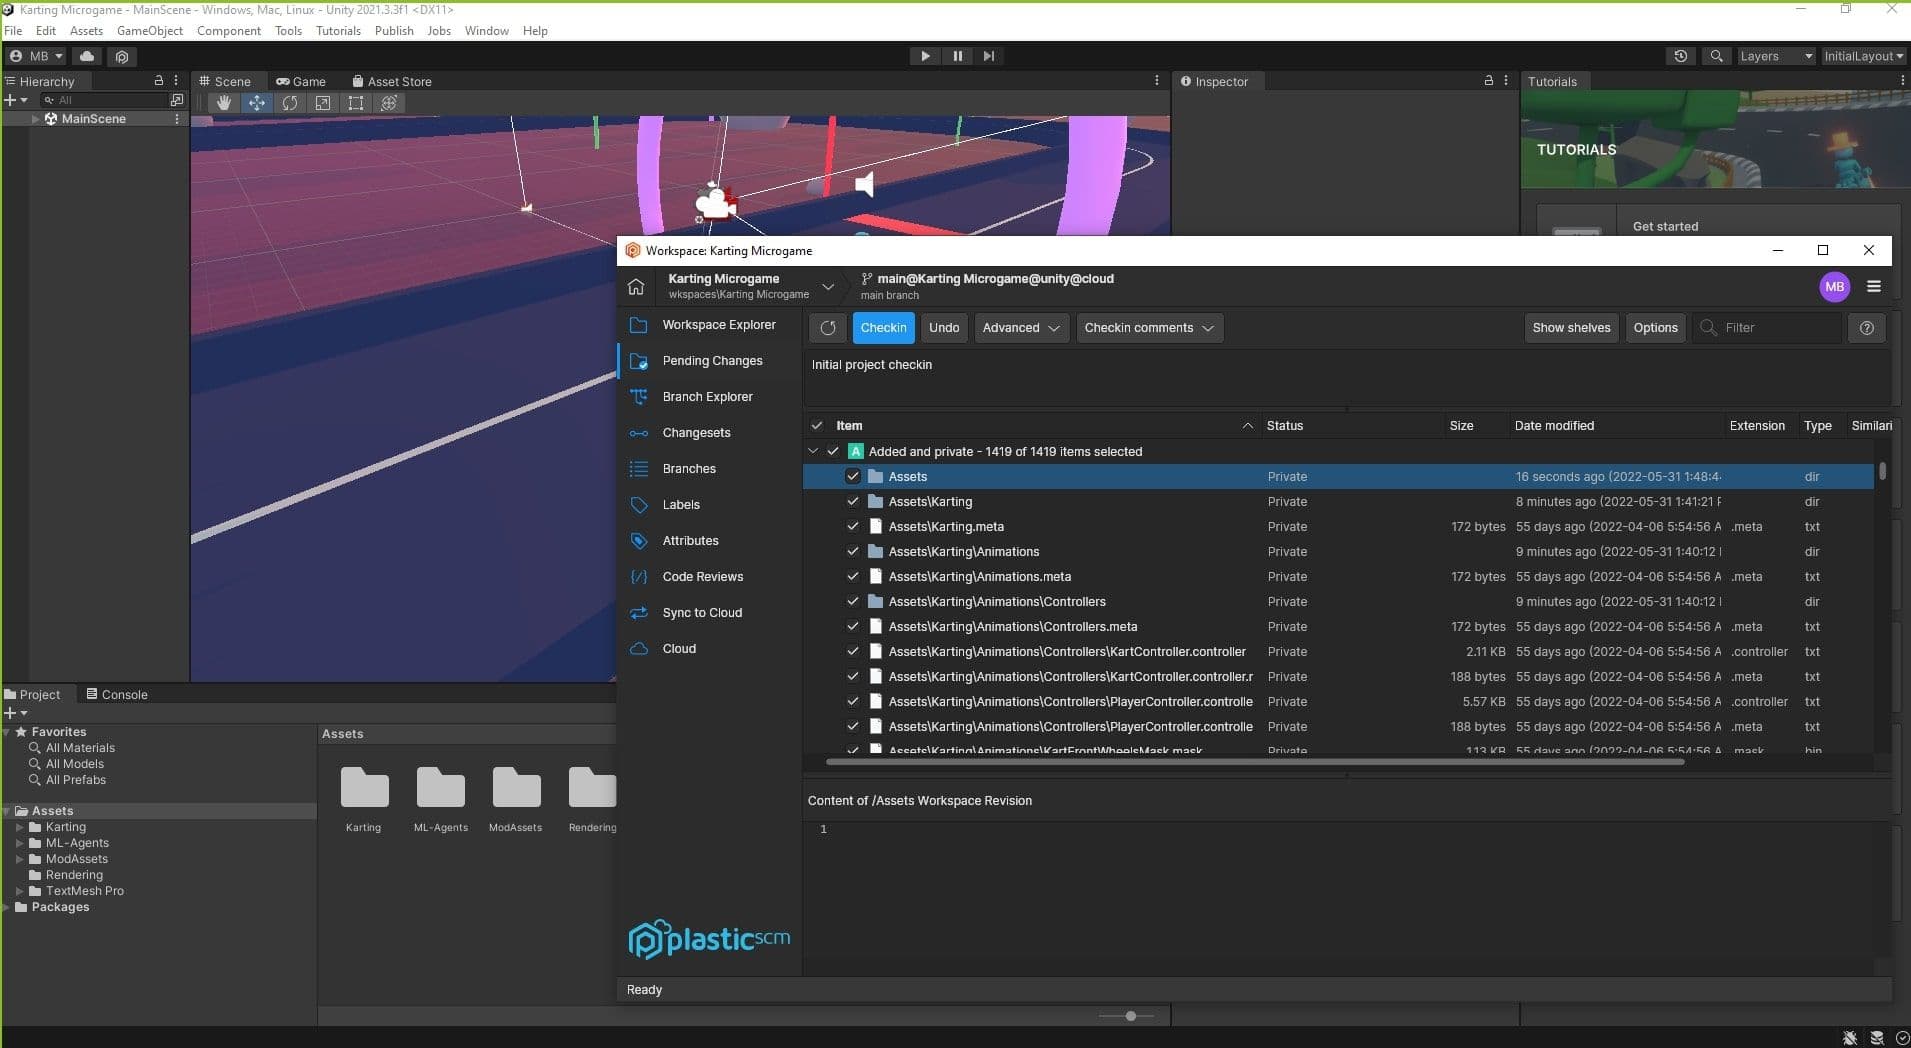
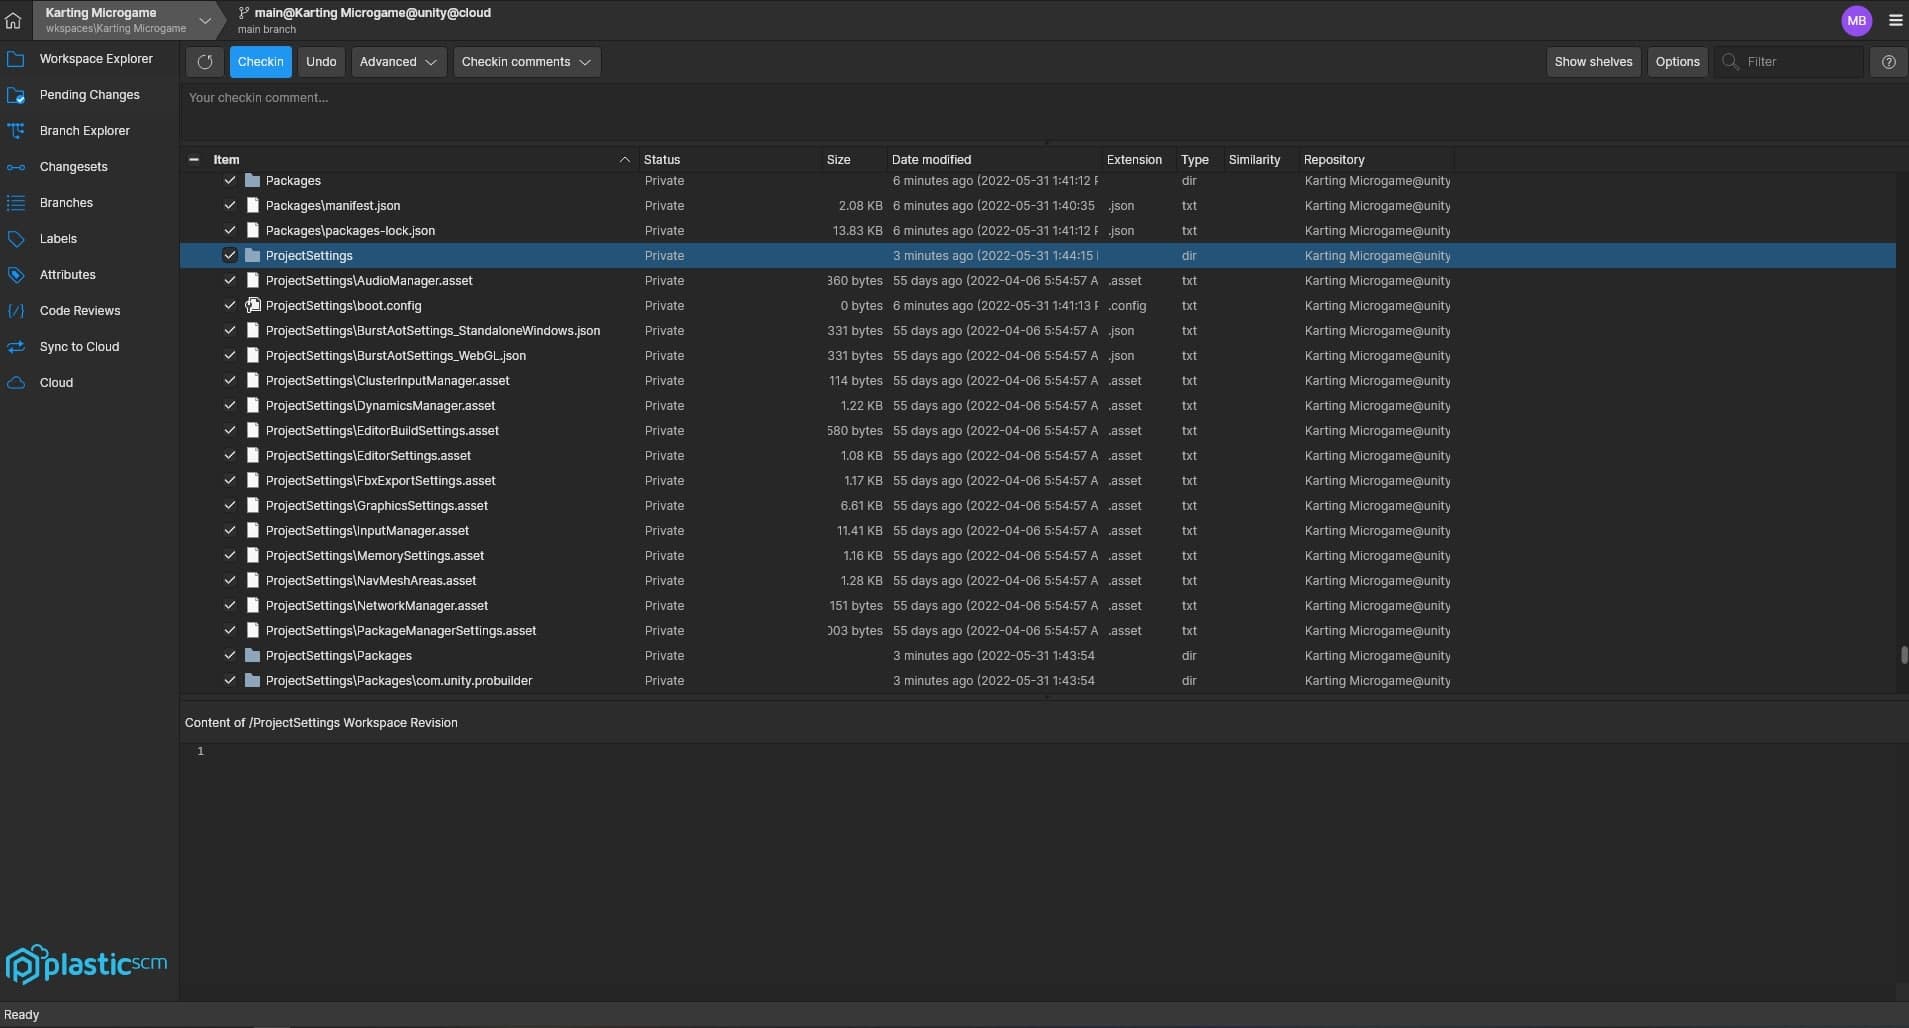
При использовании отдельного клиента Unity Version Control вне движка вам нужно будет проверить изменения, сохраненные в проекте с помощью клиента, в отдельном окне.
На вкладке Pending changes(Изменения на рассмотрении) (или Checkin changes (Регистрация изменений) в Gluon) можно посмотреть изменения, которые вы внесли в проект и отправили в репозиторий.

На вкладке Changesets (Наборы изменений) представлена история изменений проекта, внесенных в репозиторий. Здесь также указаны авторы изменений. Нажав дважды на набор изменений, вы увидите, какие файлы затронуты этим набором.
Чтобы просмотреть историю каждого файла, нажмите правой кнопки мыши и выберите View file history (Посмотреть историю файла), . Вы увидите список изменений, внесенных в файл. Вы также можете нажать правой кнопкой мыши на более раннюю версию и выбрать Revert to this revision. (Вернуть к этой версии).
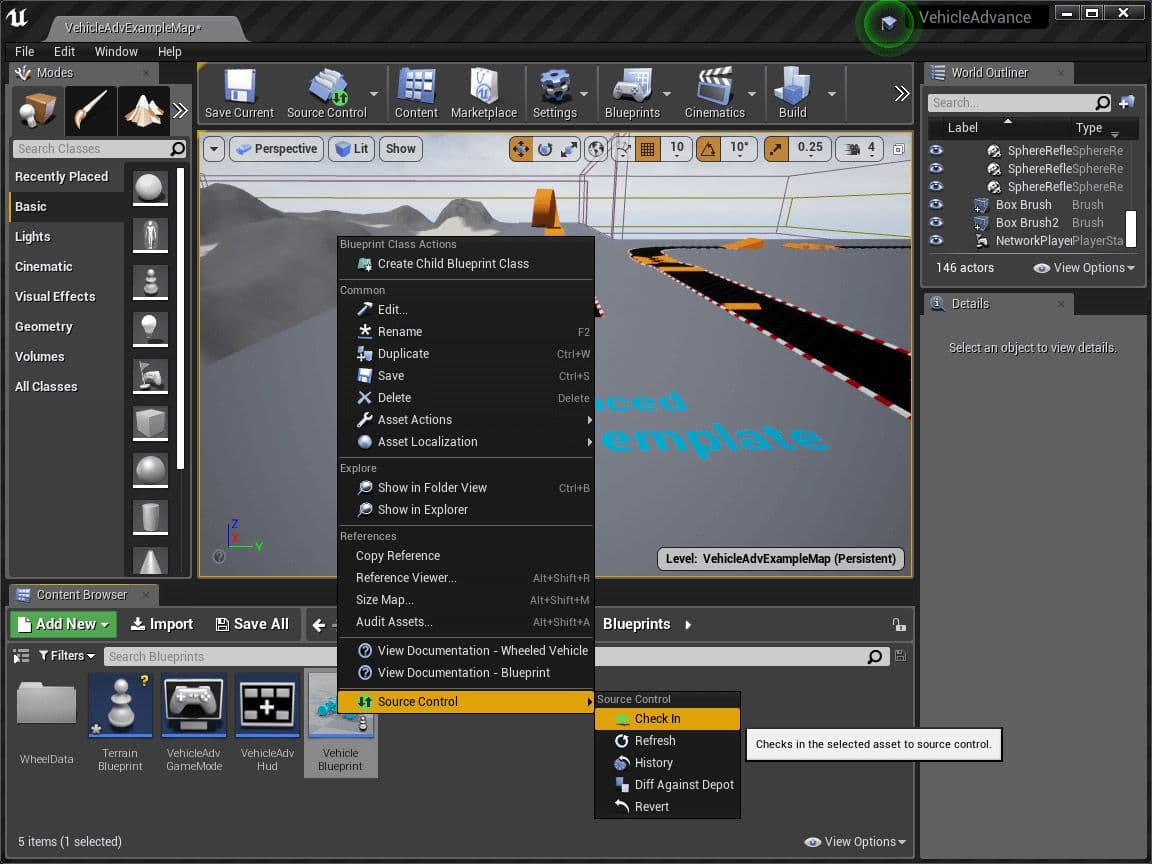
Если вы используете Unity Version Control с Unreal Engine, вы можете использовать контроль исходного кода внутри редактора, не используя отдельные окна для большинства задач. Узнать больше о плагине Unreal Engine можно по ссылке ниже.

Мы попросили наши команды по управлению продуктом и разработке рассказать о трех основных подводных камнях, которые мешают студиям делать их работу — создавать игры.

Узнайте, как обеспечить для своей команды быстрый и гибкий рабочий процесс с особой философией. Эффективный рабочий процесс ветвления задач помогает командам добиться скорости благодаря непрерывному потоку изменений.
Узнайте ключевые особенности системы управления версиями, а также получите советы по настройке проекта Unity для максимально эффективной и простой совместной работы.